
Painting over a varnished wooden door is a simple, budget-friendly way to update your space—if you know how to do it properly. While it’s completely possible to paint directly over varnish, skipping the right prep will lead to peeling, streaks, and disappointment.
At J&D Sprayers & Makeovers, we specialise in professional spray refinishing for internal doors across Scotland. But if you’re thinking of tackling the job yourself, here’s how to do it the right way—and when to call in the pros for a factory-smooth finish.
Yes, absolutely—but proper prep is essential. Varnish creates a slick, glossy surface that paint won’t adhere to unless it’s broken down through sanding and priming. That shiny finish might look nice, but it’s your topcoat’s worst enemy.
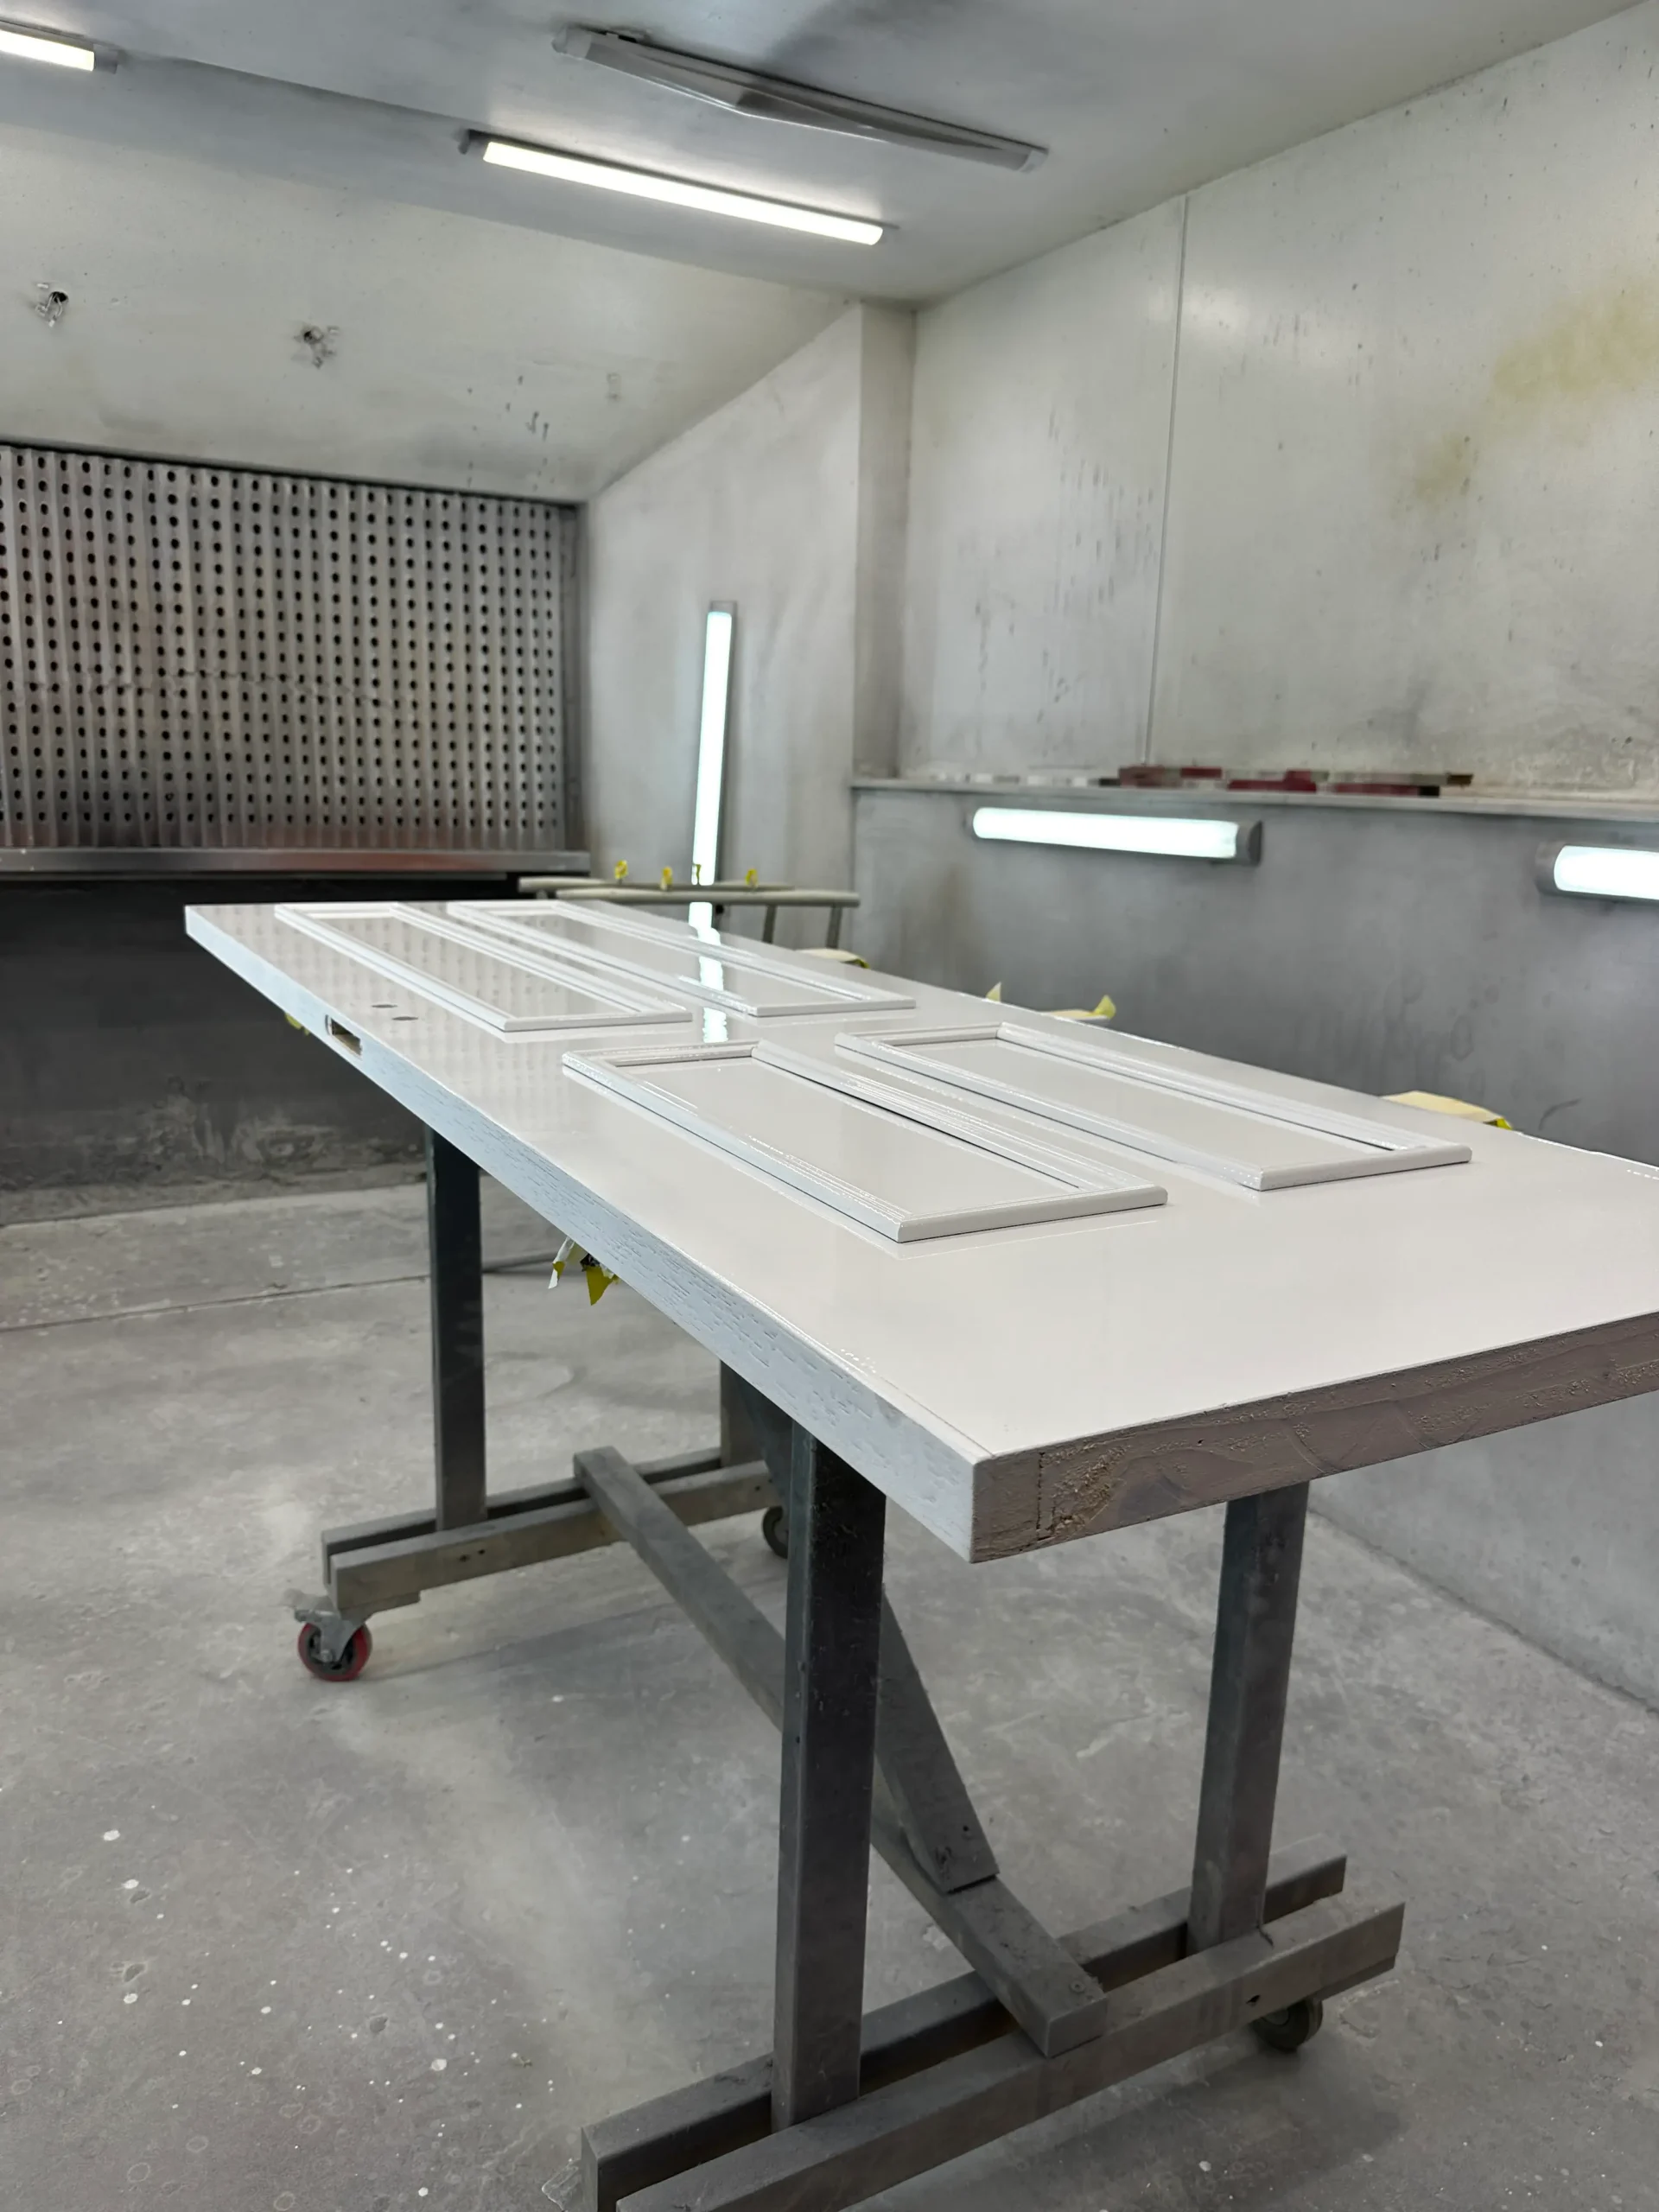
Take the door off its hinges and lay it flat across sawhorses or a sturdy surface. Remove all hardware—handles, locks, hinges—to ensure a clean, even finish.
Pro Tip: Painting the door flat minimises drips and helps achieve a more uniform surface.
Use a sander or sanding block to dull the entire surface and remove the varnish’s glossy layer. Pay attention to mouldings and grooves—these areas often hold onto varnish the longest.
Once sanded, wipe the surface clean with a damp cloth or vacuum to remove all dust.
Apply a bonding primer that’s suitable for previously varnished wood. This step helps the paint grip the surface and blocks any bleed-through from the old finish.
Allow the primer to dry fully according to the product’s instructions.
Choose a wood-specific paint in your desired sheen (satin or semi-gloss are ideal for doors). Use a brush for edges and panels, and a foam roller for flat areas. Always apply thin, even coats, and let each coat dry completely before adding another.
2–3 coats are typically needed for full coverage.
For high-traffic areas, we recommend a clear protective topcoat. This adds durability and protects your painted finish from scuffs, scratches, and daily wear.
Once the door is completely dry, reinstall your hardware. You can take this opportunity to polish or replace handles and hinges to match the fresh new look.
Reattach the door to its frame, oil the hinges if needed, and admire the transformation. That once-dated varnished door now looks modern, clean, and completely refreshed.
While DIY painting can deliver decent results, professional spraying provides a perfectly smooth, factory-grade finish—with none of the mess or stress.
At J&D Sprayers & Makeovers, we offer:
Available across Edinburgh, Glasgow, Dundee, Aberdeen and beyond.
Let us transform your varnished doors with a high-quality, ultra-smooth spray finish that lasts for years. Contact J&D Sprayers & Makeovers today for a free quote.