
There were moments I genuinely wondered if this day would ever come – but at last, I can share the completed renovation of our bathroom. While I gave updates on Instagram throughout the process, I wanted to do a full round-up here, covering not just the finished result, but also the costs, materials, builders, and all the unexpected stress involved. Renovation projects are rarely as straightforward as they seem.
If you saw part one of our renovation journey, you’ll know that the first builder we hired disappeared without warning. It took us over a month to gather quotes and actually get tradesmen to come out – something I hadn’t expected to be so difficult. With most tradespeople fully booked and in demand, even getting someone to quote was a task in itself.
After meeting with five or six different builders, we finally chose the one who best suited our needs. Each quote varied massively, and we also had to consider availability – some were free in a month, others were booked well into 2019. Timing was key, especially since my partner needed to be home during the works; this wasn’t something I was willing to take on solo.
We researched every builder thoroughly, read all their reviews, and made sure to gather as much information as possible. Our biggest concern was hiring someone unreliable or, worse, someone who would leave the job half-done. Fortunately, the team we chose were absolutely fantastic – professional, hardworking, and incredibly respectful. I was nervous at first, but once the work started, my anxiety faded, and excitement took over.
The builder we hired was impressively thorough – he even showed up with a notebook to measure and plan in detail. Others had simply guessed measurements, which didn’t fill us with confidence. One of the best pieces of advice I can offer is to request a detailed breakdown of your quote. That way, every single element is accounted for.
We reviewed the quote every few days to ensure we were still on track and that nothing unexpected had been added. It’s tempting to request small extras here and there, but it’s easy to forget they often come with extra charges – something important to keep in mind.
Money can feel awkward to discuss, but something that always frustrates me is when people share their renovation stories without touching on the costs. So here’s a clear breakdown of what we spent on our bathroom:
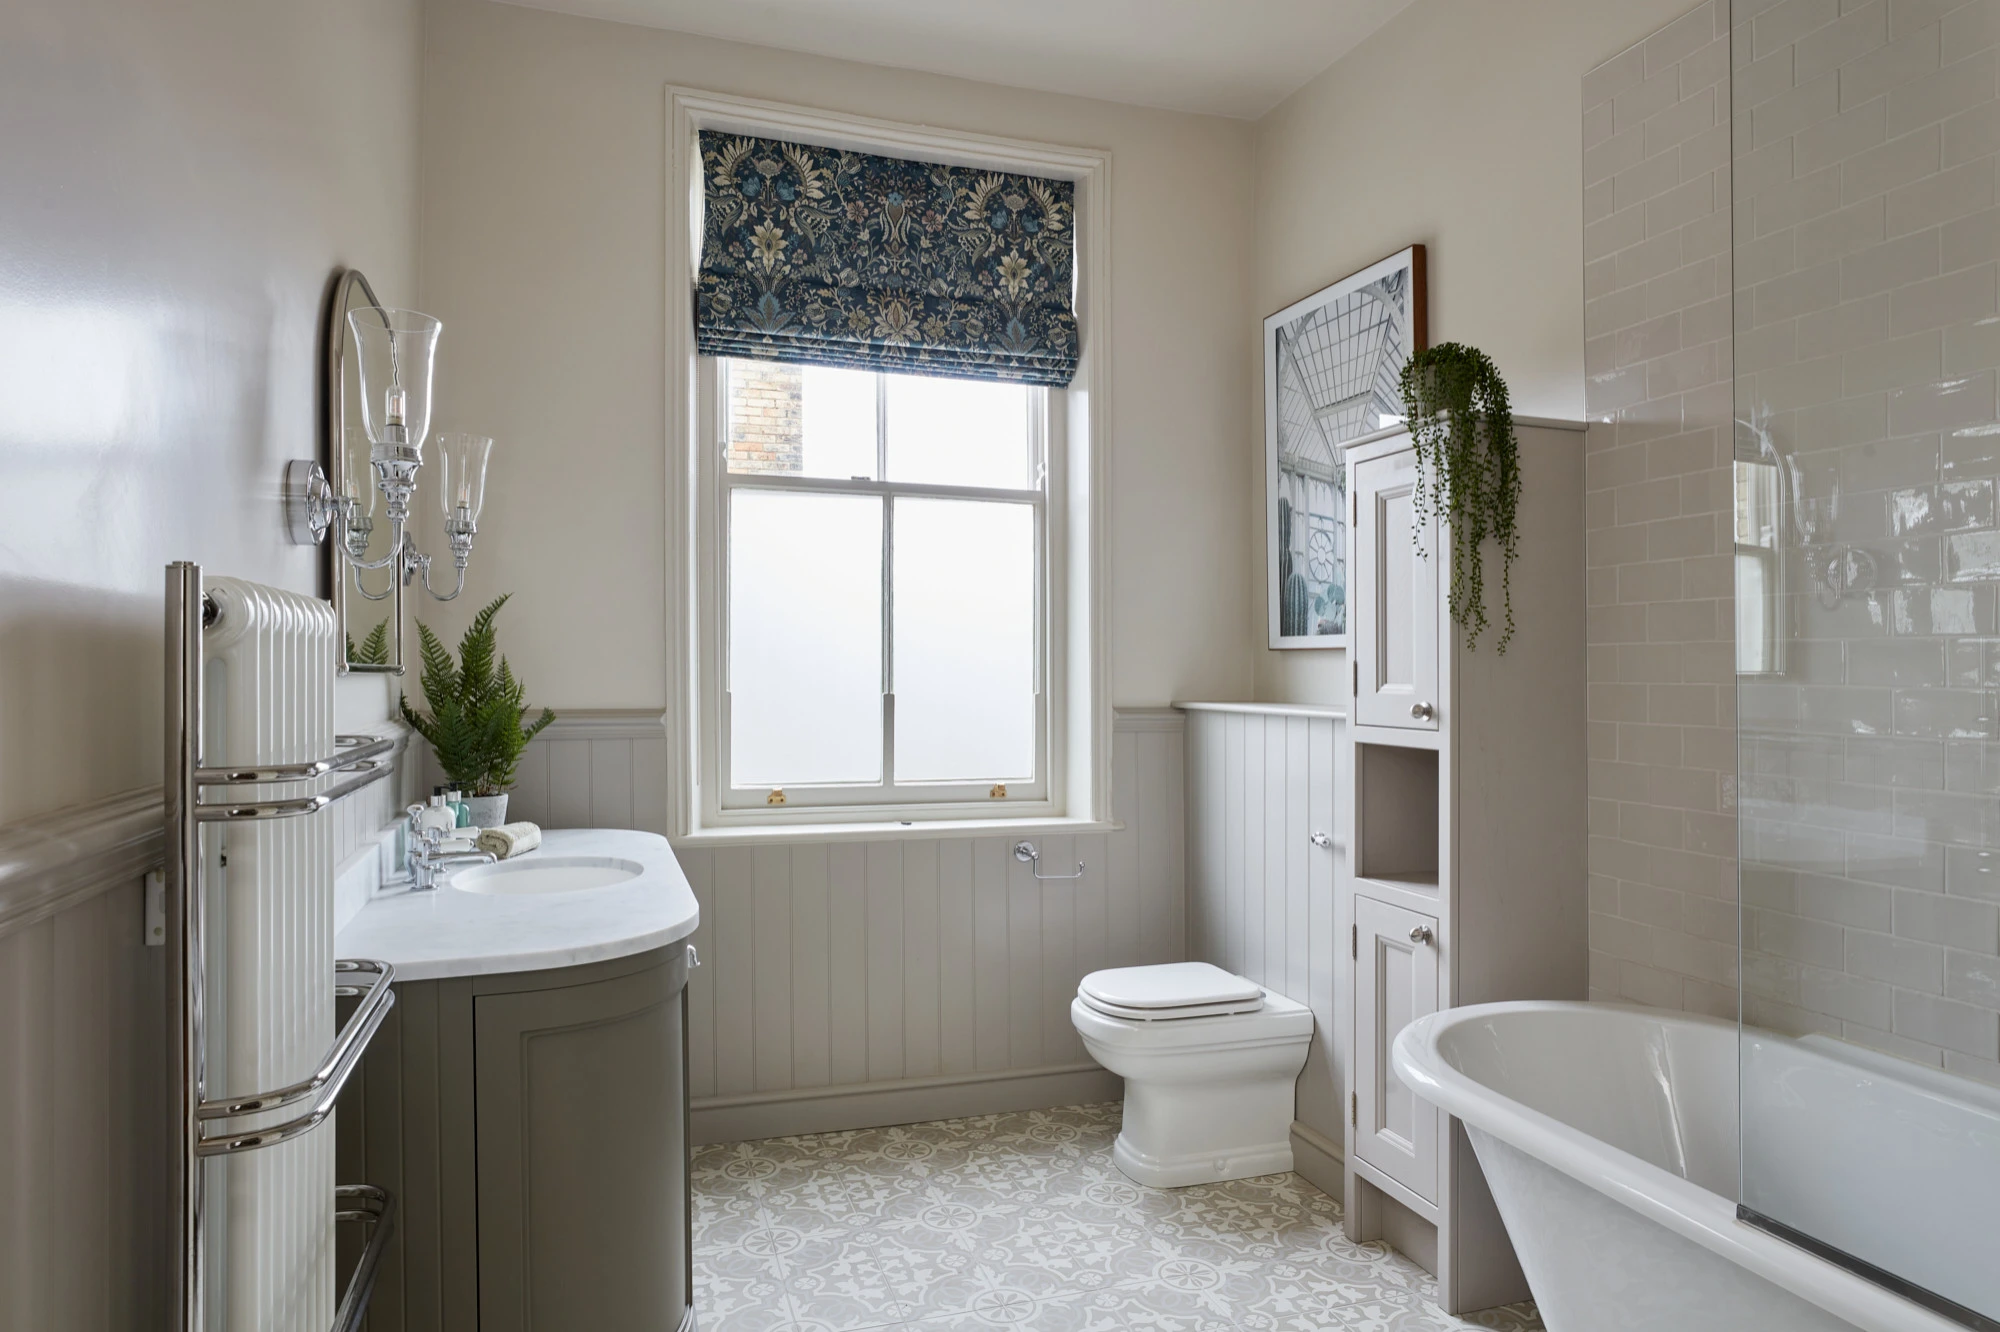
The design of the room added to the cost – especially as there are over 1,000 tiles due to the size of the space and its 9ft ceilings. Tiling is usually charged per square metre, and smaller tiles mean more work, so it adds up quickly. Although the design is fairly minimal, the amount of tiling and flooring meant a higher price – but the result was worth every penny.
The work took 9 days spread over a couple of weeks. Beforehand, I was worried it might drag on, but the days flew by. The builders worked from 9am to 6pm on weekdays. We weren’t home the entire time – mainly because of the dogs – and I think the builder preferred that we were out during the messier stages.
The hardest part was trying to work from home during the renovation. I stuck to essentials and met brand commitments, but everything else had to wait until the weekend. My office became a temporary storage space for tools, so sitting down to work properly just wasn’t possible. Being without access to the upstairs all day wasn’t ideal, but thankfully we had a door to block it off.
If you also work from home, you’ll already know how disruptive renovations can be. And the guilt of not getting enough done is real.
The second week was by far the most exciting – when everything finally came together. Week one was all the behind-the-scenes work, which felt slow but was essential. Watching the fittings go in made it feel real at last.
I’m genuinely over the moon with the result – it’s exactly what I hoped for. We used a design from B&Q (which, in hindsight, I wouldn’t necessarily recommend), but seeing it all come to life in our own home was amazing. It still feels surreal that the job’s done, especially after such a rocky start. In the end, it might’ve been a blessing that our original builder disappeared.
It’s hard to believe that just weeks ago we had a mouldy, crumbling bathroom we hated. Now we have a bright, tiled sanctuary we love. For our first renovation, it couldn’t have gone better – no major stress, which I know is quite rare.
Have you ever completed a renovation project?
Let me know your experience – I’d love to hear how it went and what you learned along the way.