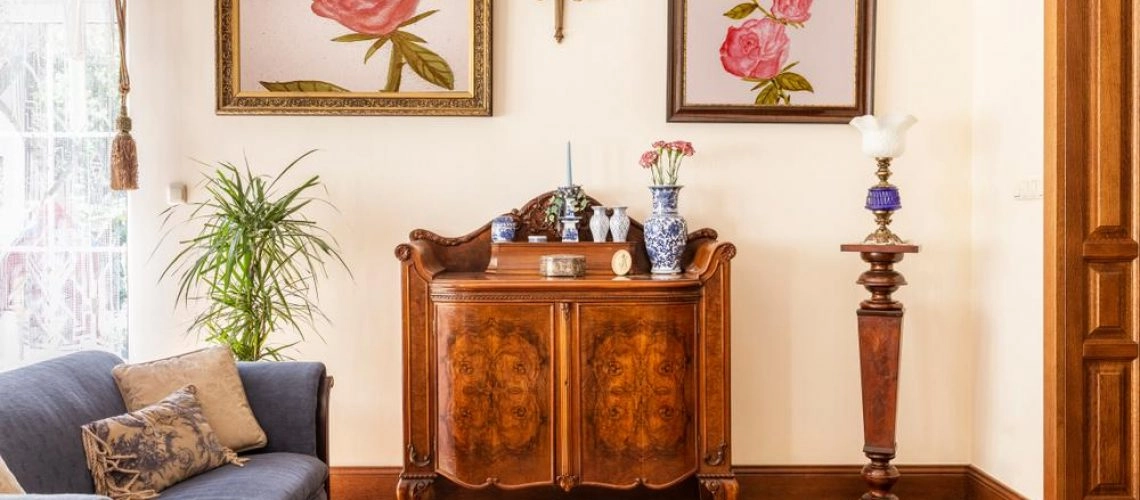
At J&D Sprayers & Makeovers, we see every piece of wooden furniture not just as a surface, but as a story worth saving. Whether you’re preserving family heirlooms, restoring water- or fire-damaged items, or simply giving a beloved table a second chance, wood furniture restoration offers an environmentally friendly, cost-effective, and beautiful solution.
In this guide, we’ll walk you through the best practices we follow to ensure professional, long-lasting results — and help you avoid the most common mistakes we see in DIY attempts.
Wood furniture restoration is the process of repairing, refinishing, and revitalising wooden items to preserve their structural integrity, visual appeal, and value. While it may include surface work, true restoration also involves fixing cracks, replacing missing elements, and addressing the deeper wear that naturally occurs over time.
At J&D Sprayers, we combine craftsmanship, industrial-grade coatings, and experience to transform tired or damaged furniture into pieces that can last for decades to come.
While these terms are often used interchangeably, they serve different purposes:
We’re specialists in both. Whether you need a piece brought back to its original state or completely reimagined to suit a modern interior, we can advise on the right process.
Restoration offers unique benefits:
✅ Cost Savings – It’s usually cheaper than buying new, especially when quality craftsmanship is involved.
✅ Sustainability – Keeps furniture out of landfill and reduces demand for new resources.
✅ Character – Restored pieces tell stories and often feature detailing modern furniture lacks.
✅ Customisation – Choose stains, finishes, or hardware to match your décor.
Whether you’re updating a dining set, restoring a fire-damaged vanity, or refinishing a vintage sideboard, restoration is both eco-friendly and elegant.
Here’s how we approach restoration for a long-lasting, professional-grade result:
We always examine the piece first:
Not every item is worth restoring — and we’ll tell you honestly if your piece is beyond practical repair.
Some of the key tools we use include:
Pro Tip: Our spray system, combined with our custom lacquer and sealant mixes, gives a perfectly even finish — far superior to brush-on applications.
We begin with a deep clean to remove dirt, wax, or polish. If needed, we apply a commercial-grade chemical stripper — safe for the wood and effective even on delicate veneers.
DIY Warning: Store-bought strippers are weaker, messy, and often ineffective on thicker finishes. They also increase the risk of damage, especially if over-sanding follows.
Once the old finish is removed, we sand gradually (60 → 220 grit), always with the grain, and wipe away residue using tack cloths.
Once prepped, we apply stain or paint depending on your vision:
Thin, even coats with sanding in between are key to a flawless finish. Whether brushed or sprayed, we always test colours first and never rush the drying time.
The finish is what locks everything in and protects against moisture, wear, and UV damage. We use:
We apply two to three coats in a sealed spray booth, using professional guns to avoid streaks, drips, or dust settling. This is what sets us apart from basic DIY finishes.
🔴 Skipping prep – Dirt, wax or old finish can ruin adhesion.
🔴 Over-sanding – Can damage veneer or details permanently.
🔴 Rushing drying time – Leads to sticky or uneven results.
🔴 Wrong finish – Not all topcoats suit every use case.
🔴 Poor lighting or ventilation – Causes oversight and health risks.
We’ve fixed plenty of DIY attempts gone wrong. When in doubt, get professional advice before starting.
Whether it’s a sideboard from a family home, a dining set in need of a new look, or a post-disaster furniture recovery, J&D Sprayers & Makeovers offers expert wood restoration across Scotland. We’re passionate about quality, detail, and giving your furniture a future.
📞 Get a free quote today – Simply send us a few photos and a brief description of what you’d like done. We’ll recommend the best course of action, no strings attached.
Your furniture tells a story. Let us help you preserve it.
– J&D Sprayers & Makeovers