
French polishing is a classic wood finishing technique known for its deep gloss, luxurious feel, and ability to highlight the natural grain of wood like no other method. While it may take time and patience to master, the results are nothing short of breathtaking. At J&D Sprayers & Makeovers, we use this traditional technique on select antique and high-end pieces — and now we’re sharing our knowledge so you can better understand how it’s done.
Whether you’re a DIY enthusiast or simply curious about the process behind our professional finishes, here’s a full breakdown of what French polishing involves.
French polishing originated in 18th-century France and became widely popular during the Victorian era. It was the go-to finish for luxury furniture, grand pianos, and decorative woodwork thanks to its mirror-like shine and tactile warmth. While modern lacquers replaced it in mass production, French polishing is still unrivalled in restoring antique furniture or achieving a high-end bespoke finish.
A flawless French polish starts with meticulous surface prep. Here’s what that looks like:
Check the furniture for any loose joints, chips, or damage. Make necessary repairs before beginning.
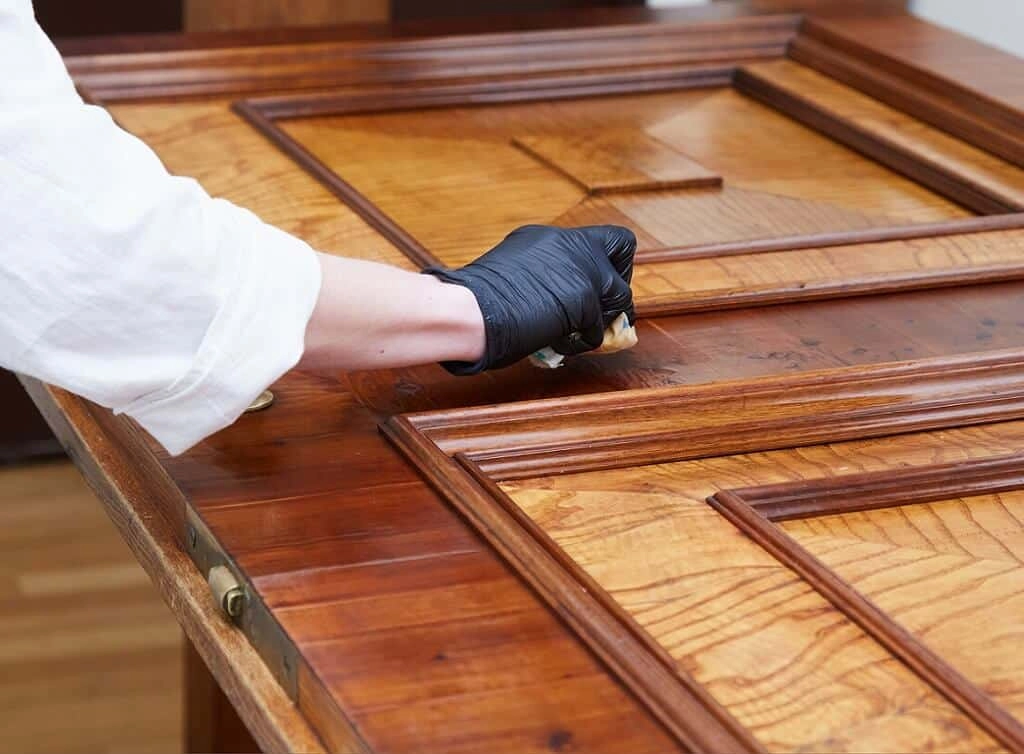
Use a paint stripper to remove any existing varnish or lacquer. Once stripped, sand the surface with fine-grit sandpaper, always working in the direction of the grain.
Use a fine wood filler to patch holes, dents, or scratches. Let it dry and then sand flush.
If desired, apply a wood stain to enhance colour consistency — particularly helpful if you’re working with faded antique wood.
Apply a coat of shellac-based sanding sealer using a French polishing brush. Once dry, lightly sand and clean the surface.
The polish itself is a mixture of shellac and alcohol, traditionally applied using a cloth pad (called a rubber).
Repeat this process over several sessions, allowing the shellac to dry between coats. With each pass, you’re slowly building up depth, richness, and clarity.
Once you’ve built up enough layers, it’s time to level and gloss the surface using a technique called spiriting off.
This step is delicate. It’s easy to overdo and strip the finish if you’re too aggressive — which is why it’s often best left to professionals like us at J&D Sprayers.
Once fully cured, protect the finish by applying beeswax or a high-quality furniture wax.
The wax enhances the depth of shine and helps safeguard the finish from daily wear and tear.
| Problem | Likely Cause | Solution |
| Sticky rubber | Too much shellac or alcohol | Reduce liquid and dab excess |
| Streaks or lines | Uneven pressure or movement | Practise lighter, steady motions |
| Blooming (milky look) | Moisture in the polish or air | Allow to dry fully, apply heat if needed |
| Uneven finish | Skipping spiriting or too few coats | Build up more layers evenly |
French polishing requires a clean workspace, controlled humidity, and patience. It’s not something to rush — which is why it’s so often admired when done well.
French polishing isn’t just a method — it’s an art. At J&D Sprayers & Makeovers, we bring this refined technique into the 21st century, applying it with the respect it deserves while combining it with modern materials when appropriate.
If you’re restoring a period piece, refinishing a family heirloom, or looking for a signature finish no spray system can replicate — French polishing is the gold standard.
📩 Thinking about restoring a wooden piece?
Contact us today to see whether French polishing or one of our professional spray finishes is the right fit.