
Painting MDF (Medium Density Fibreboard) is relatively straightforward—until you get to the edges. Unlike the smooth surface of MDF panels, the edges are far more porous and rough, making it difficult to achieve a clean, even finish without proper preparation.
In this guide, we’ll show you a fast and effective way to paint MDF edges using professional techniques and trade-grade materials. Whether you’re tackling furniture, cabinetry, or bespoke joinery, follow these steps to get a flawless result every time.
The edges of MDF boards are made up of exposed fibres that soak up paint unevenly. When painted directly, they swell, raise the grain, and leave a rough texture that looks unprofessional—even after multiple coats. To overcome this, you need to seal and sand the edges properly before applying your final paint finish.
Wipe down the board with a damp cloth to remove dust and debris. This helps the primer bond better and prevents uneven texture.
Apply acrylic primer undercoat directly to the edges using a brush or foam roller. This seals the surface and helps prevent the fibres from swelling.
Alternative method: A 50/50 PVA and water mix can be used to seal edges, but acrylic primer tends to give a better, more paint-compatible finish.
Once the primer is fully dry (usually within 30–60 minutes), sand the edges lightly using 240 grit sandpaper until smooth to the touch.
Pro Tip: Don’t panic if you sand through the primer—just reapply another coat and repeat the process for ultra-smooth edges.
Now that the edges are sealed and smoothed, prime the entire board (including edges) with the same acrylic undercoat. Allow to dry thoroughly and sand again if needed.
Apply two coats of your chosen topcoat (water-based satinwood or eggshell is ideal). Allow proper drying time between coats and lightly sand if required for a professional finish.
To paint MDF edges like a pro:
By taking the time to properly seal and sand MDF edges, you’ll achieve a flawless finish that looks clean, durable, and professional—whether you’re working on flat-pack furniture, bespoke joinery, or decorative panels.
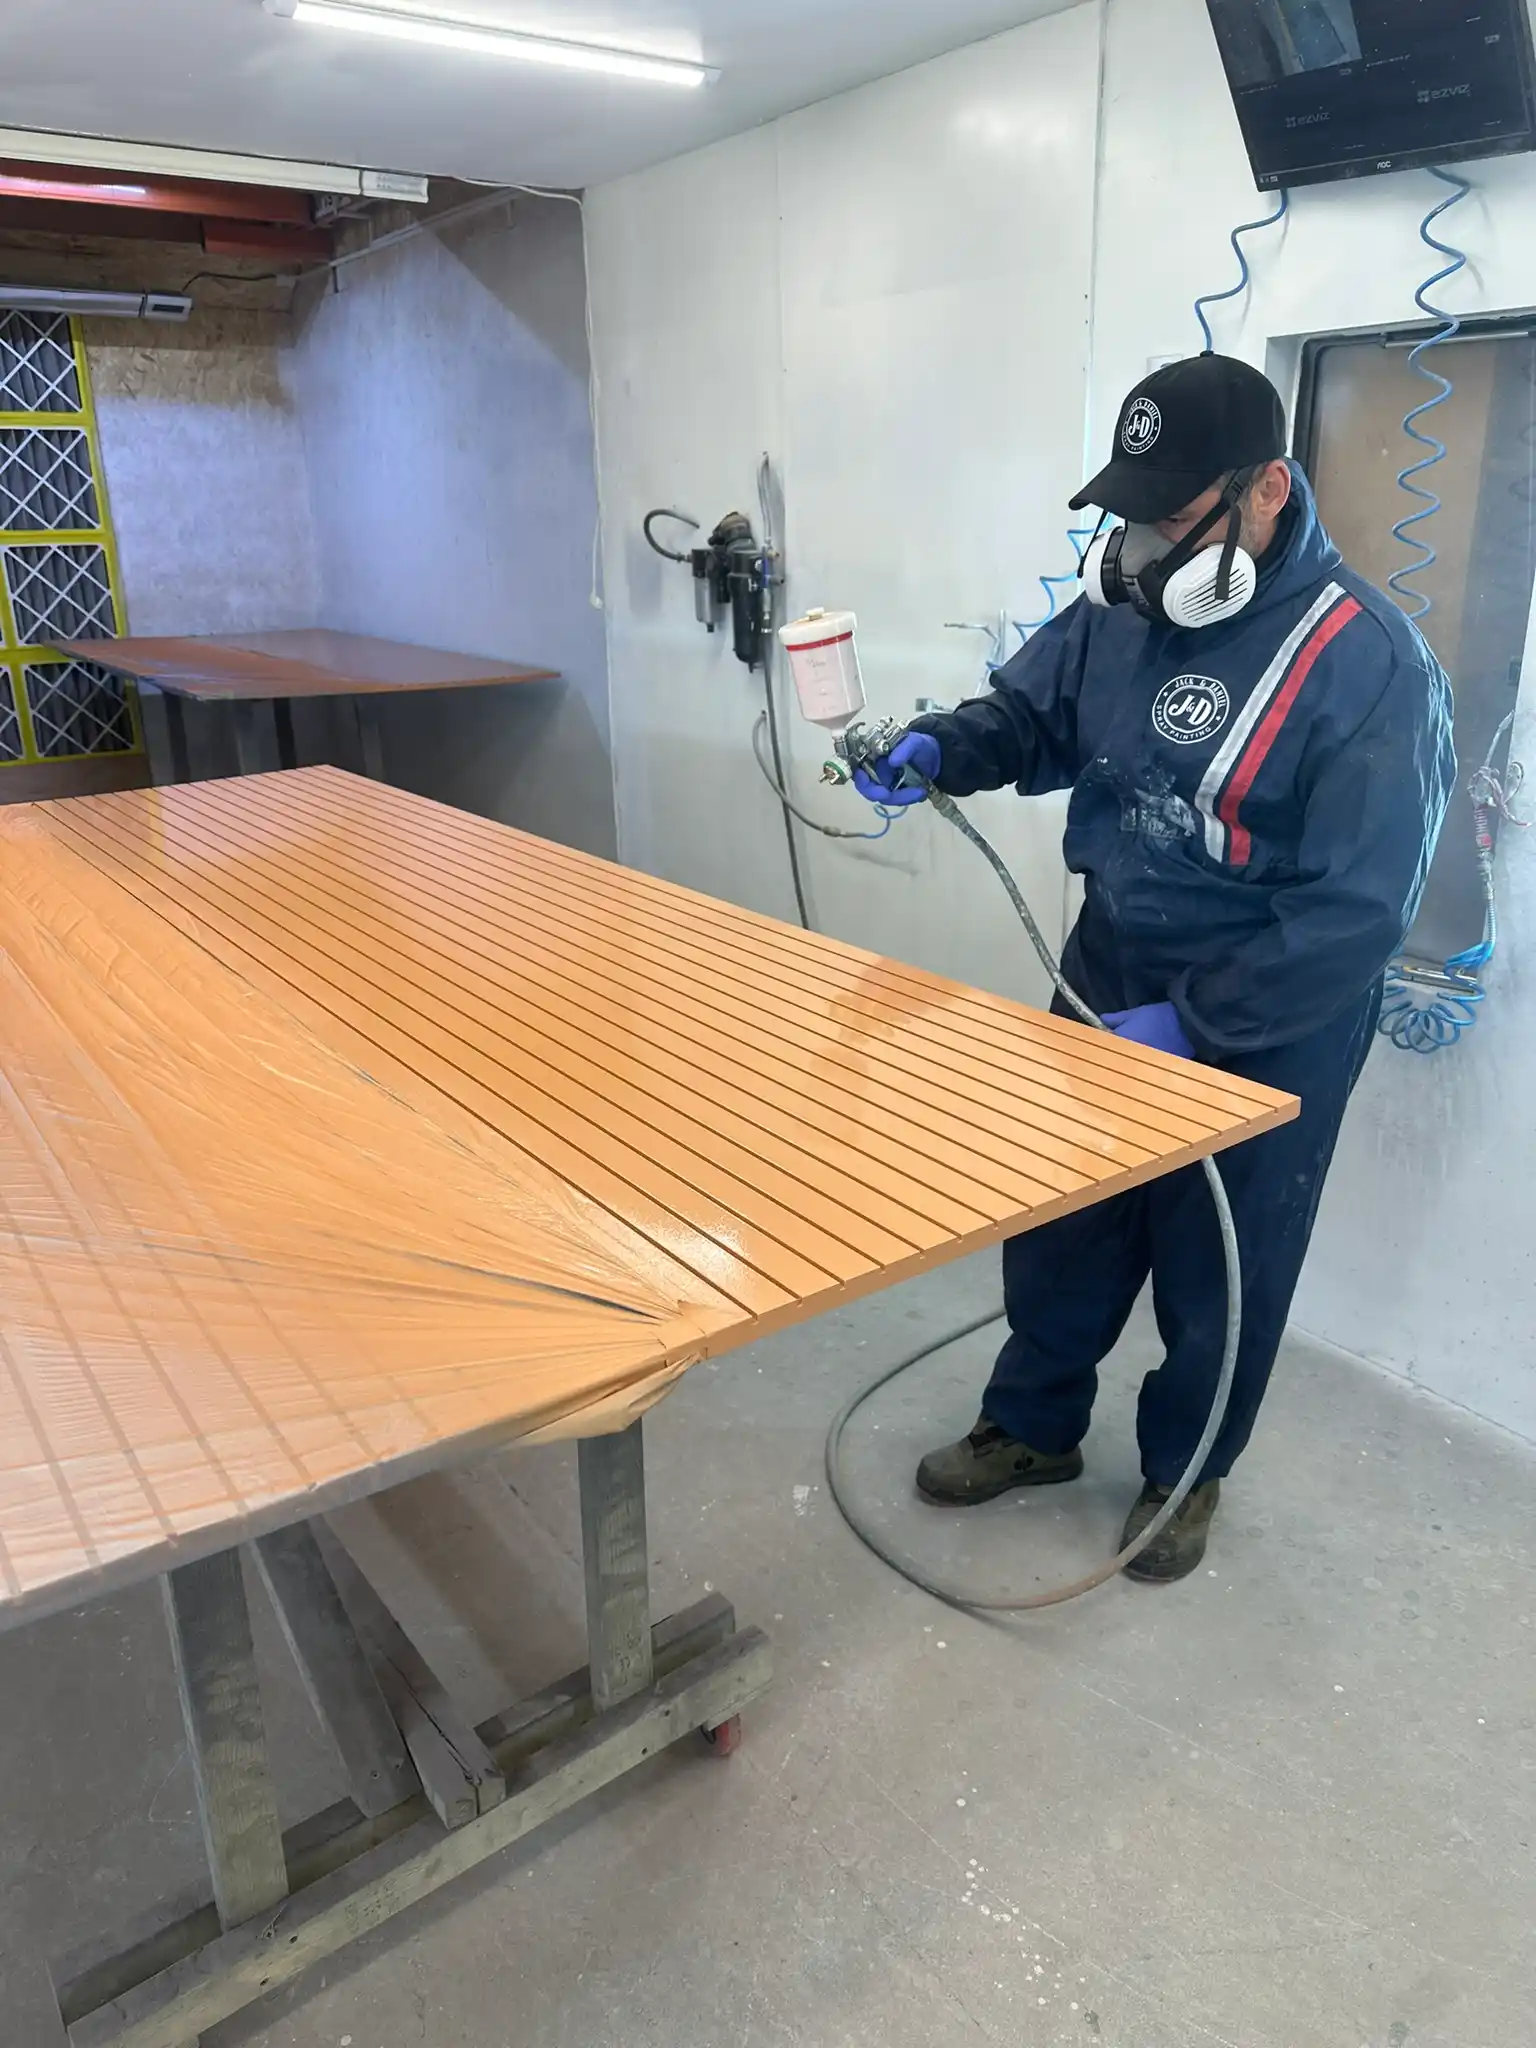
Want your MDF furniture professionally spray-finished?
At J&D Sprayers & Makeovers, we use industrial-grade primers and two-pack PU systems in our spray booth to deliver factory-quality finishes across Scotland. Contact us for a free quote today!