
Wooden furniture and kitchen worktops bring natural warmth and character to any home. But over time, wear and tear, stains, and daily use can take a toll. The good news? You don’t need to replace them. With the right approach and materials, you can restore their original beauty – or even give them a fresh new look.
At J&D Sprayers & Makeovers, we specialise in reviving tired wooden surfaces, from antique tables to solid oak worktops. Here’s our professional guide to restoring wooden furniture and kitchen worktops.
Before starting, inspect the surface for:
Minor imperfections can usually be repaired and refinished. If the wood is heavily damaged or warped, replacement sections may be needed – especially around sinks or hobs.
Thorough cleaning is essential before sanding. Use a degreasing agent or a mix of warm water and mild detergent to remove built-up grease, wax, and dirt. Let the surface dry fully.
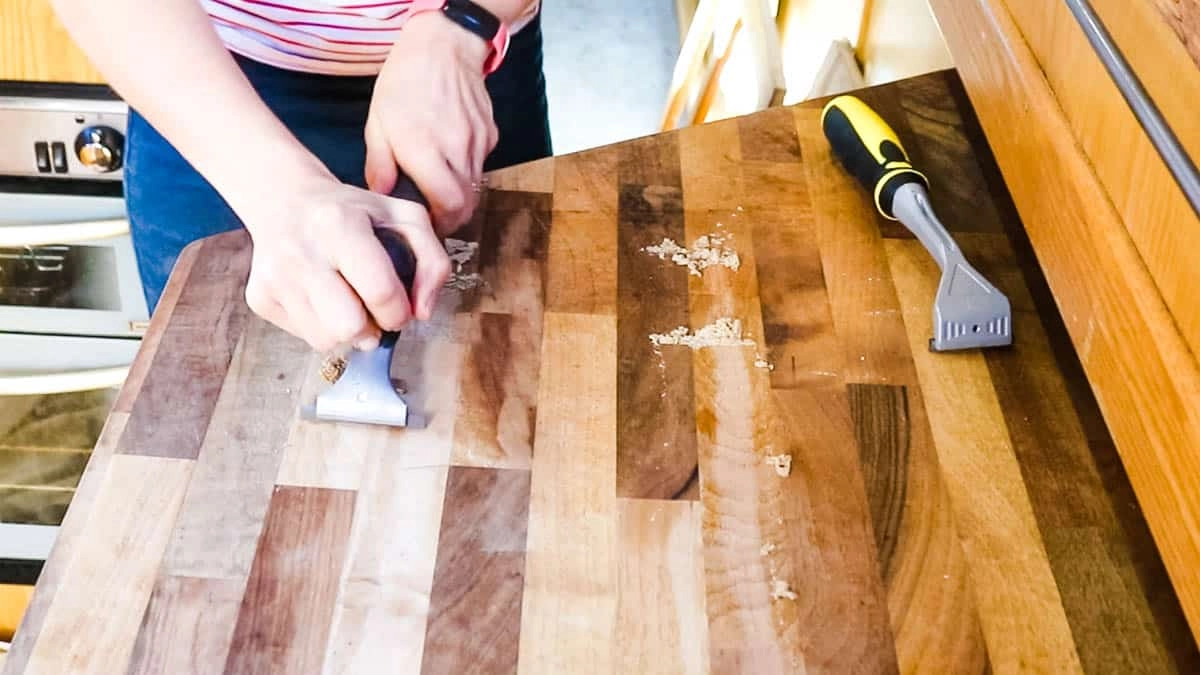
Sanding removes old finishes and smooths the surface. We recommend:
Always sand with the grain to avoid scratches.
Fill any cracks, holes or chips with high-quality wood filler. For worktops, we use waterproof filler to ensure long-lasting results. After it dries, sand the area again until flush.
You’ve got two main options for finishing:
For oils:
For sprayed coatings:
Don’t rush this step. Even if it feels dry, most finishes take 24–72 hours to fully cure. Avoid placing heavy items or exposing the surface to water until it’s hardened completely.
DIY can work for light wear, but for flawless results, professional spraying ensures:
At J&D Sprayers & Makeovers, we restore wooden worktops, tables, chairs, and cabinetry across Scotland. Whether it’s part of a kitchen makeover or a one-off furniture project, we’ll help you fall in love with your wood again.
Get in touch for a free quote or visit our Edinburgh showroom to see samples of finishes, colours and techniques in person.