
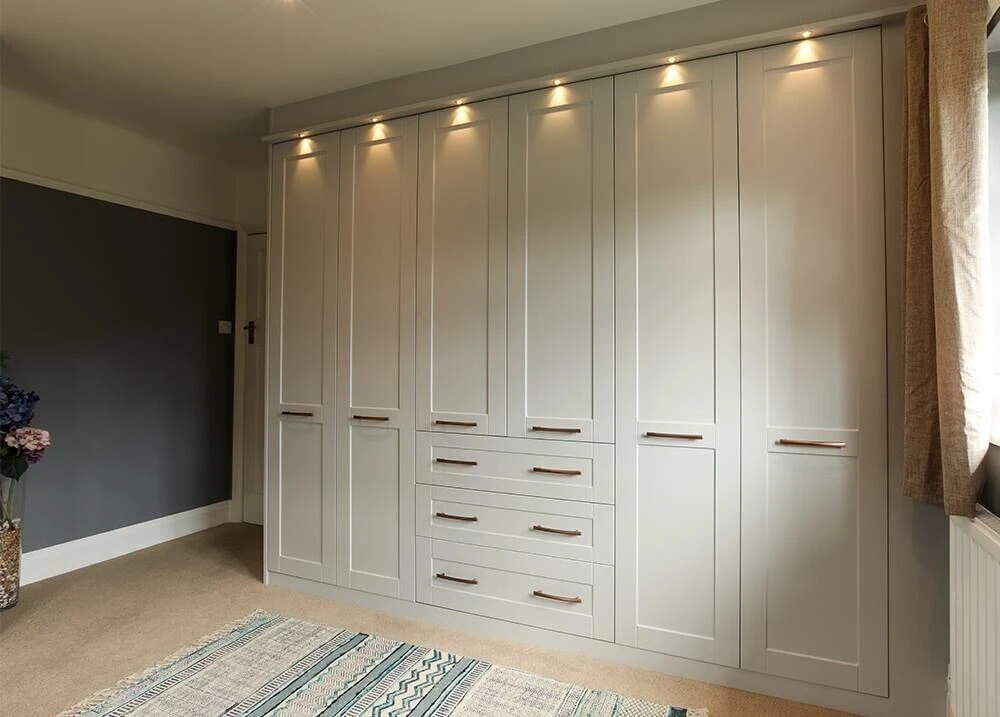
After years of improvising with clothes rails, chest drawers, and a dreaded ‘floordrobe’, finally getting a built-in wardrobe felt like a dream come true. To save on costs, we had ours made from MDF by a local carpenter—and while the build was professional, the finishing was up to us.
If you’re wondering how to prime and paint a panelled MDF wardrobe for a smooth, durable finish, here’s exactly how we did it—and what we learned along the way.
MDF is affordable and versatile, but it’s also highly porous. If you apply water-based paint directly onto it, it’ll soak up the moisture and potentially swell or warp. That’s why priming is absolutely essential before any painting begins.
After some research, we settled on Leyland Trade MDF Primer, known for its fast drying time and smooth finish. Before priming, we:
Using a foam roller for flat surfaces and a paintbrush for panelled details, we applied one coat of primer on the back first, then the front once dry. Don’t skip sanding between coats—it removes texture and prepares the surface for a smooth topcoat.
We did two coats of primer on visible areas, including the front and doors, and one coat inside (which would be hidden).
After testing a few shades, we chose ‘Steamed Milk’ by Rustoleum—a warm off-white with a hint of beige. It’s a primer, paint, and sealer in one, which gave us confidence in its durability.
Just like with the primer:
We treated the front and inside of the wardrobe the same way, though we didn’t sand the inside since it wouldn’t be visible.
Once all parts were dry:
Painting your own MDF built-in wardrobe is a satisfying and cost-effective project. You’ll need patience, the right materials, and a bit of elbow grease—but the result is a fully customised, high-end looking wardrobe at a fraction of the price.
If you’re not up for the DIY challenge, professional spraying services like those at J&D Sprayers & Makeovers can achieve a flawless, factory-quality finish in less time—and without the mess in your bedroom.