
Before we dive into the steps, it’s important to highlight the difference between professional resurfacing and DIY kits. While painting tiles yourself might seem tempting, store-bought options lack the durability and finish of our multi-step system.
DIY tile paints tend to:
Our process, on the other hand, uses industrial-grade products and specialist equipment to deliver a smooth, long-lasting finish – with a five-year warranty for your peace of mind.
The first and most important step is thorough cleaning. We use a professional-grade cleaner to remove all traces of dirt, oil, soap scum, and residue from your tiles and grout. This ensures a strong bond between the original surface and the new coating.
Next, we inspect for cracks, chips, or other damage. Any imperfections are filled and smoothed out before the resurfacing begins, so the final result is as flawless as possible.
If your grout lines are worn or uneven, we may apply a light fill to create a more uniform surface. While not always necessary, this step enhances the final finish. One benefit of tile refinishing is that both tiles and grout lines are coated – so you’ll never have to scrub absorbent grout again.
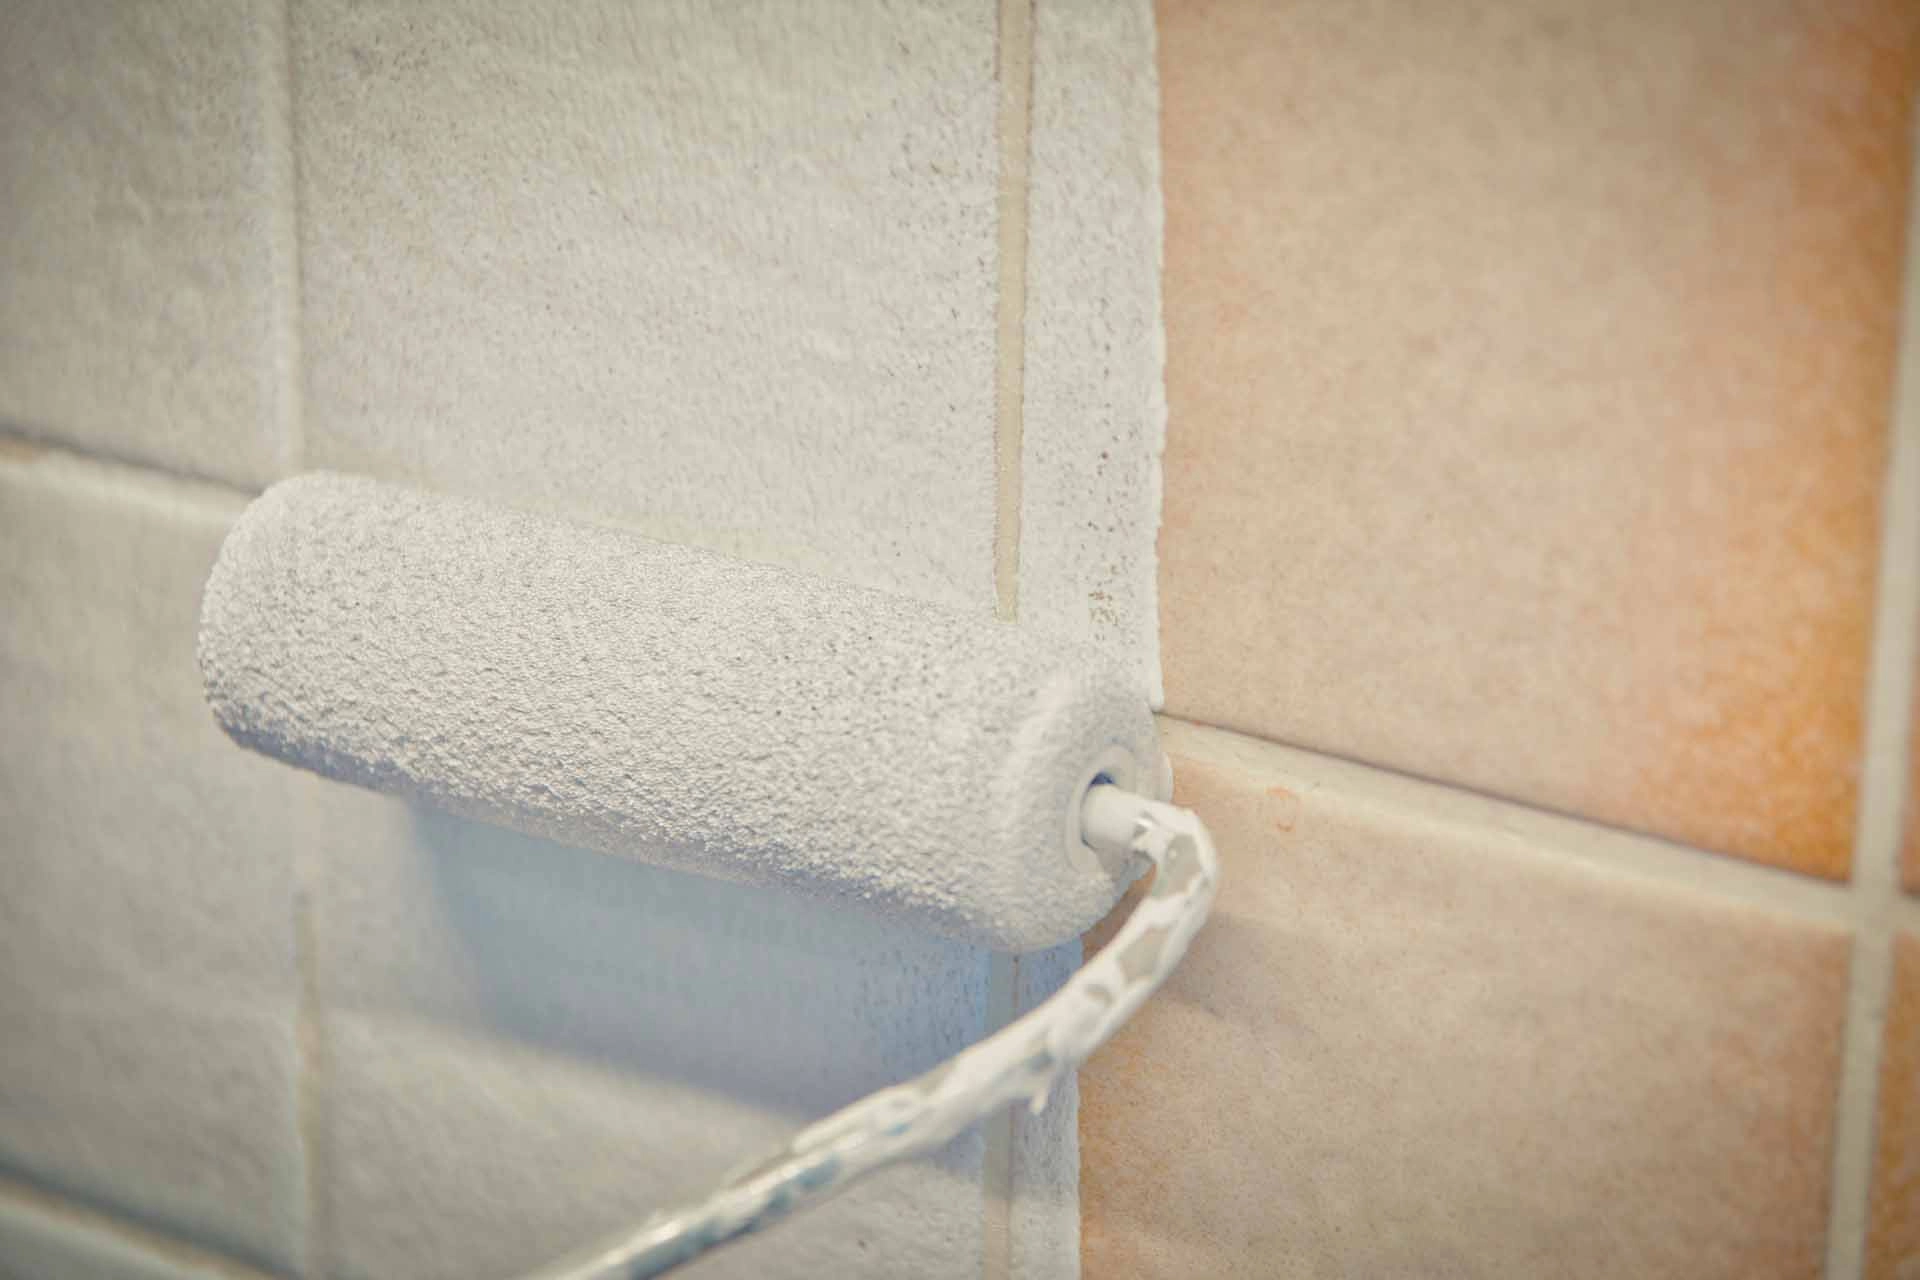
With all prep complete, we begin the resurfacing process. Multiple coats of a specialised material are applied to create your new tile finish. Choose from solid colours, faux-stone textures, or even custom patterns:
Whatever your vision, we’ll help bring it to life.
Although the surface becomes touch-dry within hours, we recommend avoiding use for at least 48 hours to allow the coating to fully cure. This ensures maximum durability and helps protect your investment.
Once the curing process is complete, your tiles are ready for everyday use — just like before, but better. Whether resurfacing bathroom walls, showers, floors or worktops, you’ll enjoy a sleek, easy-to-clean surface that looks brand new.
With no demolition, minimal disruption, and a five-year guarantee, tile resurfacing is a smart solution for homeowners looking to transform their space quickly and affordably.
Contact us today to discuss your ideas, get a quote, or schedule your professional refinishing service.