
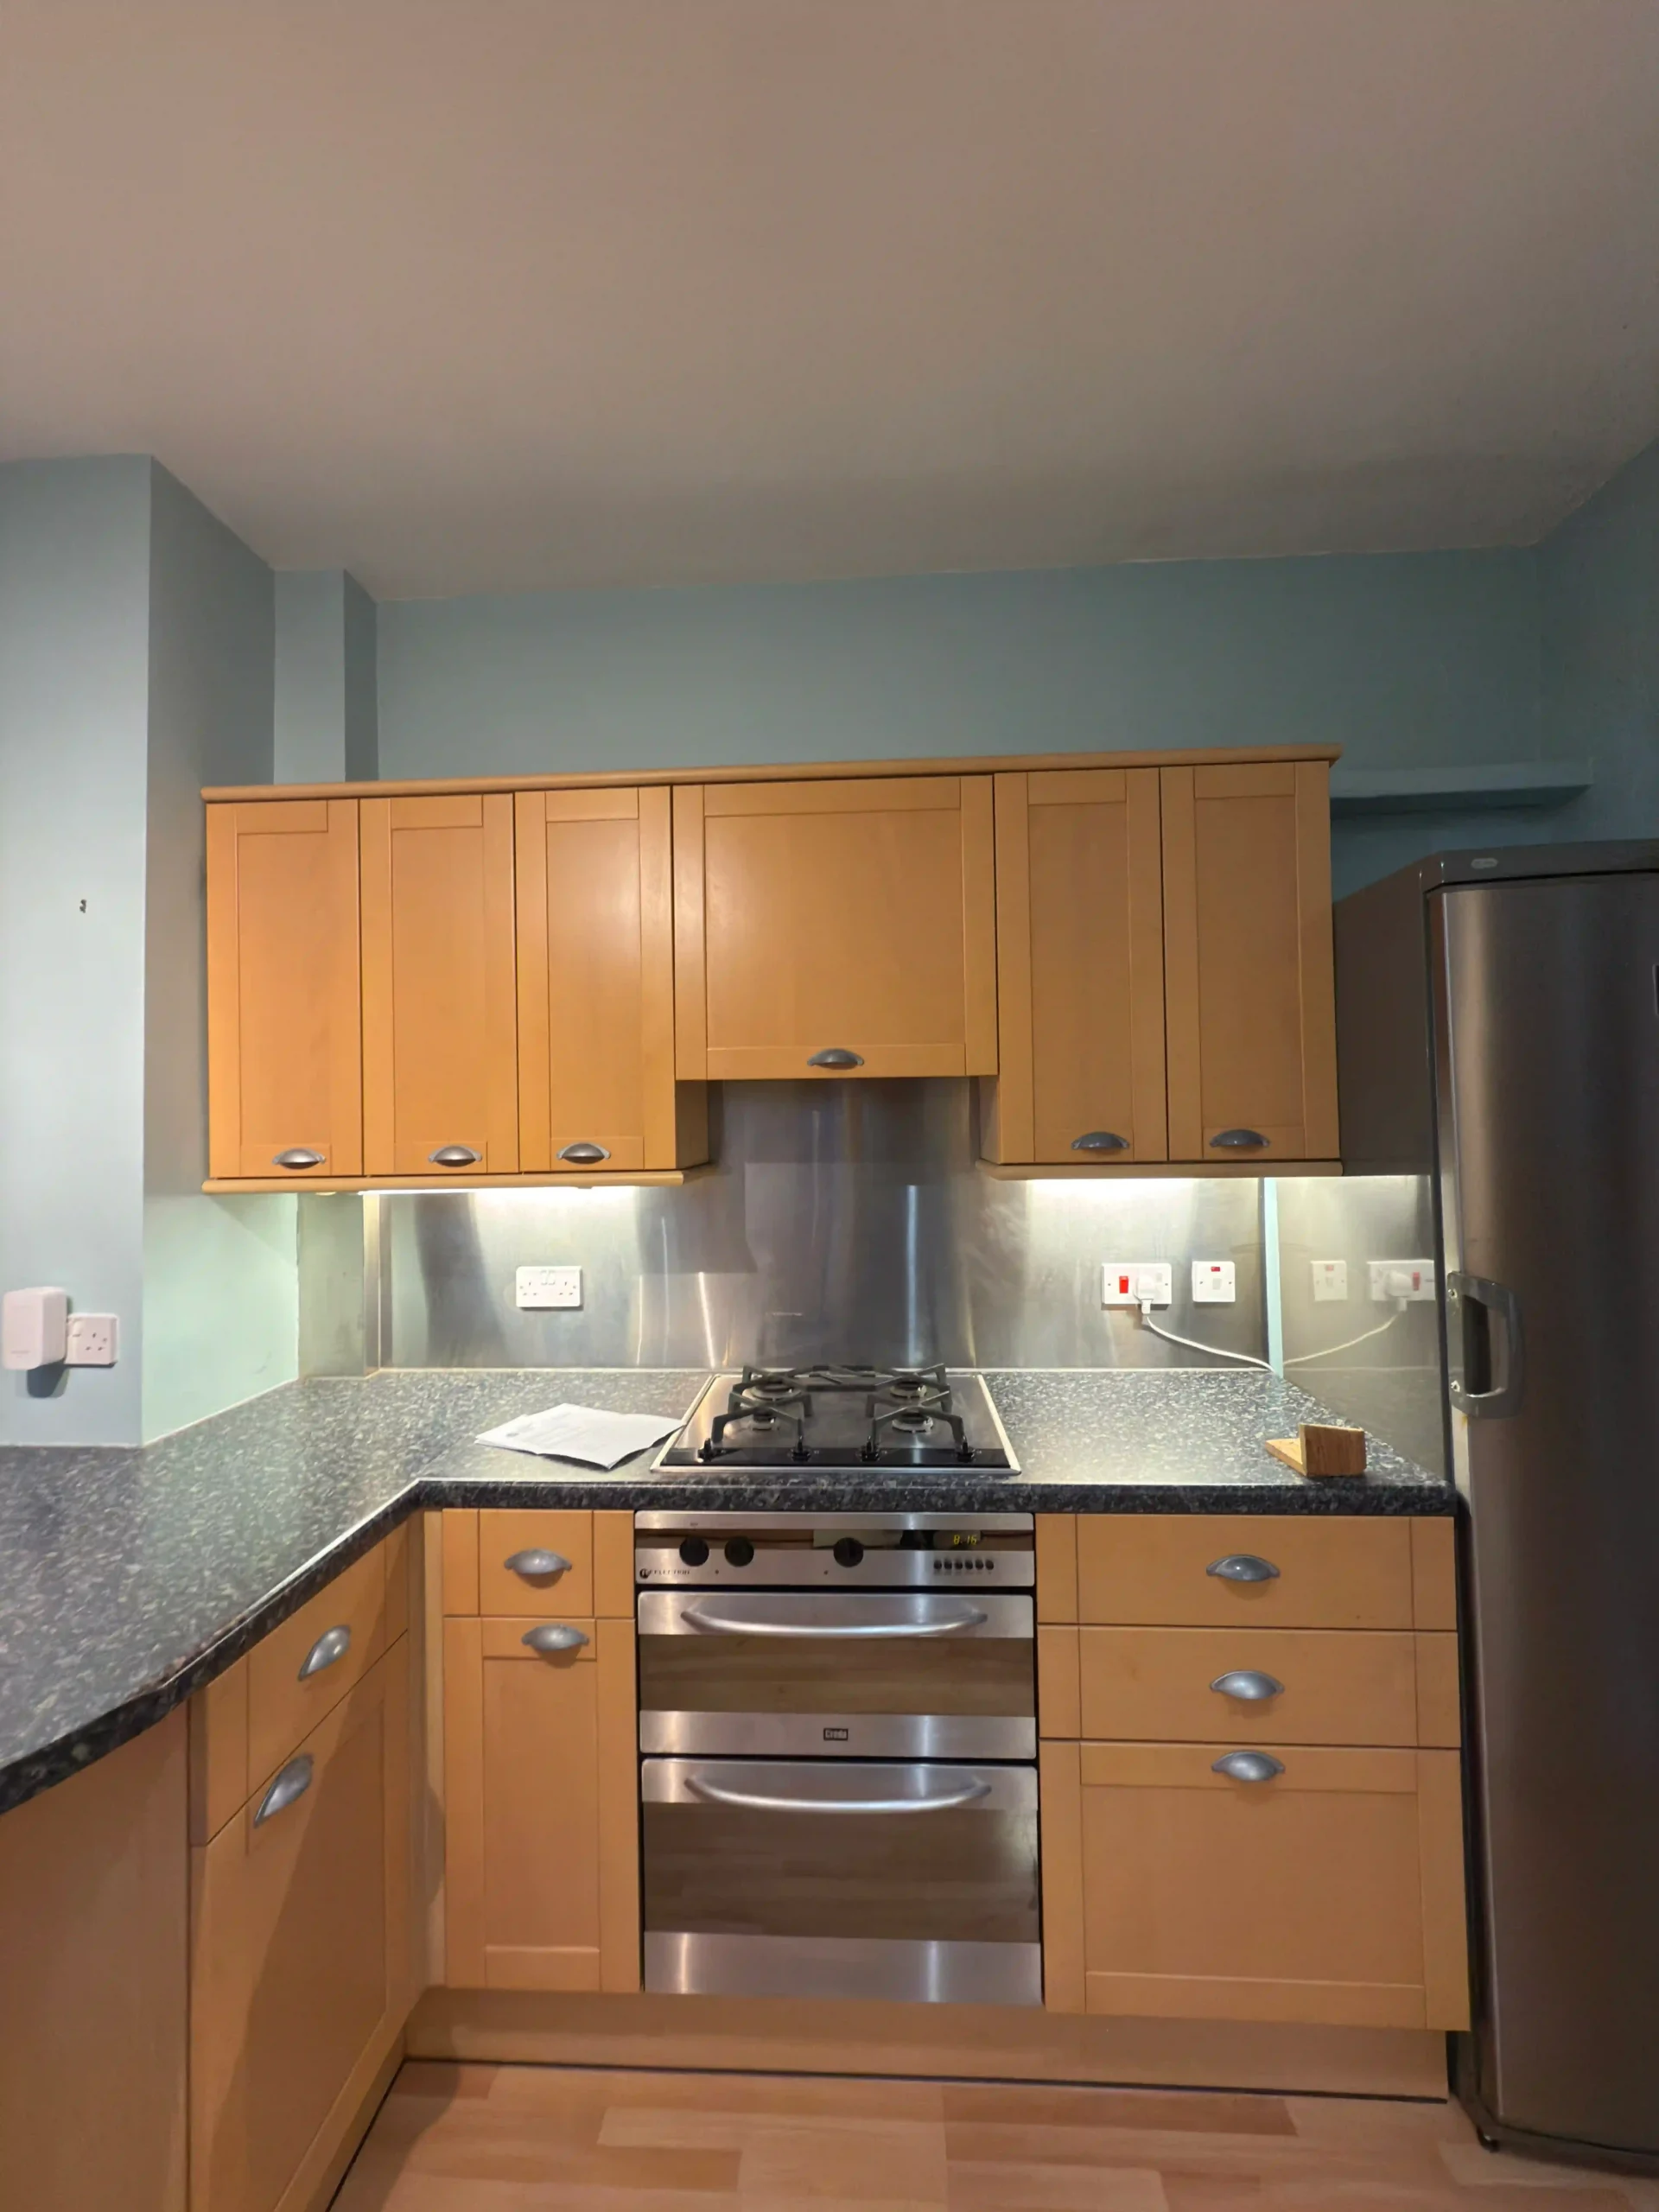
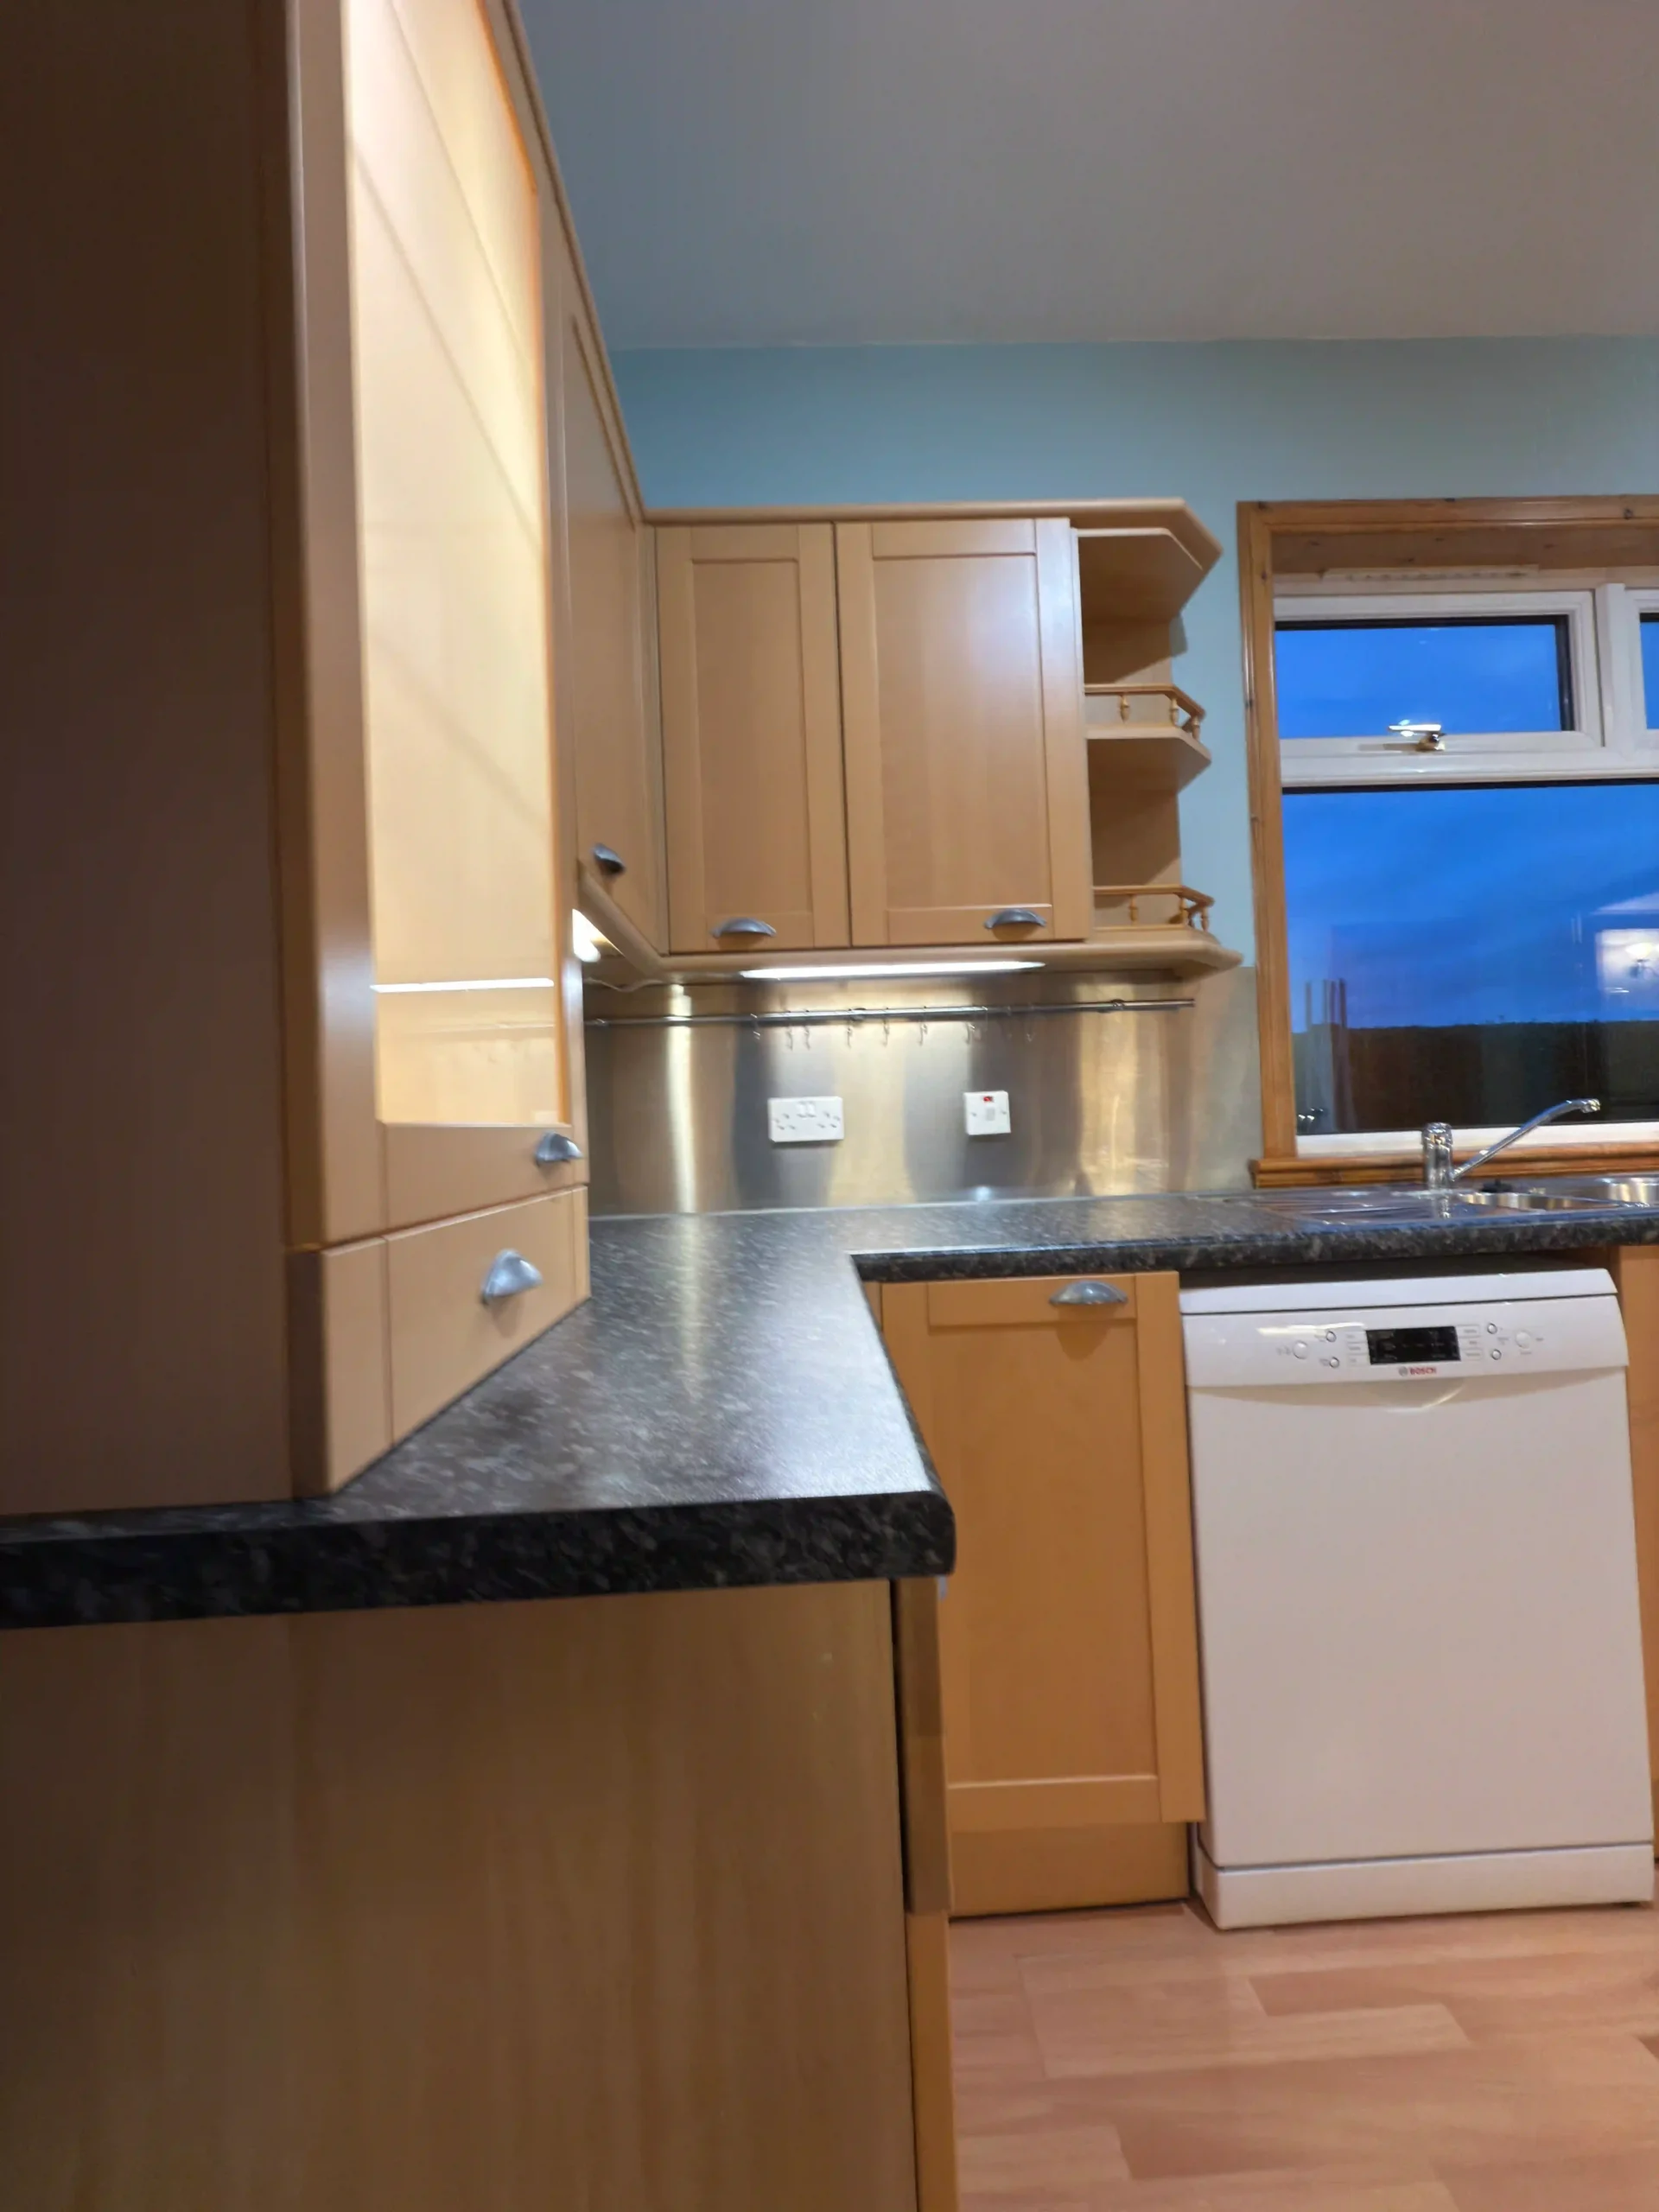
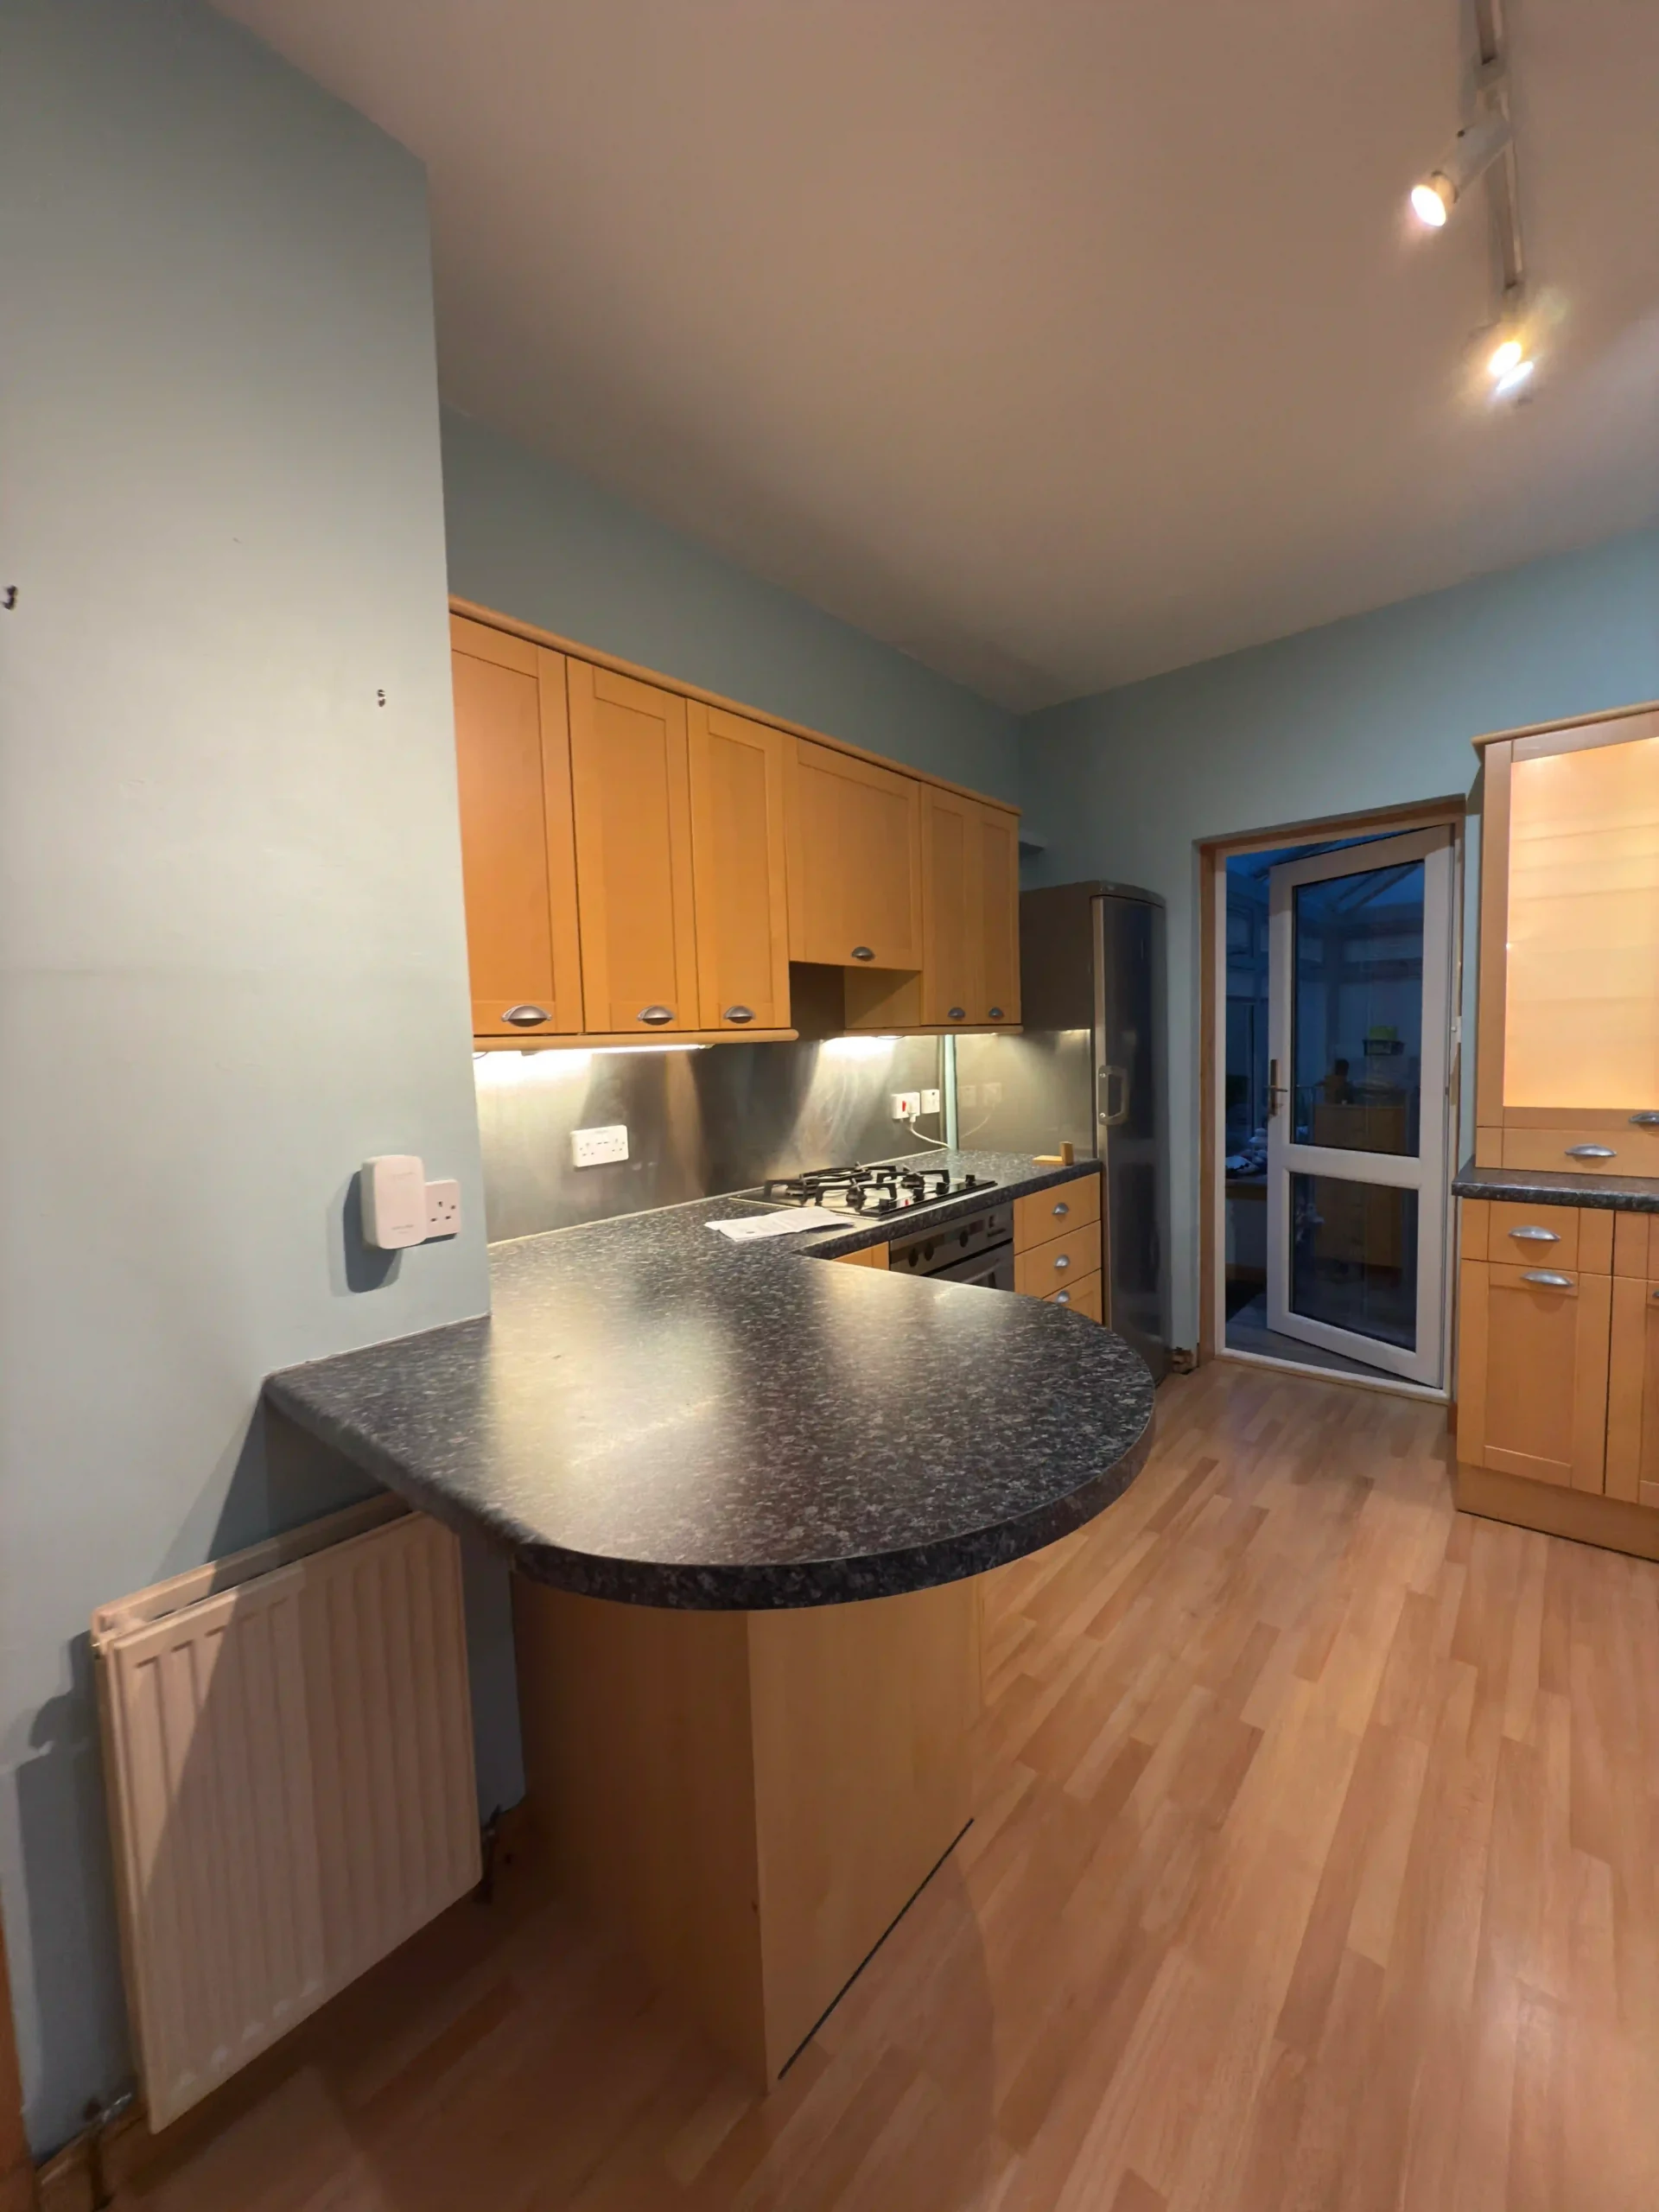
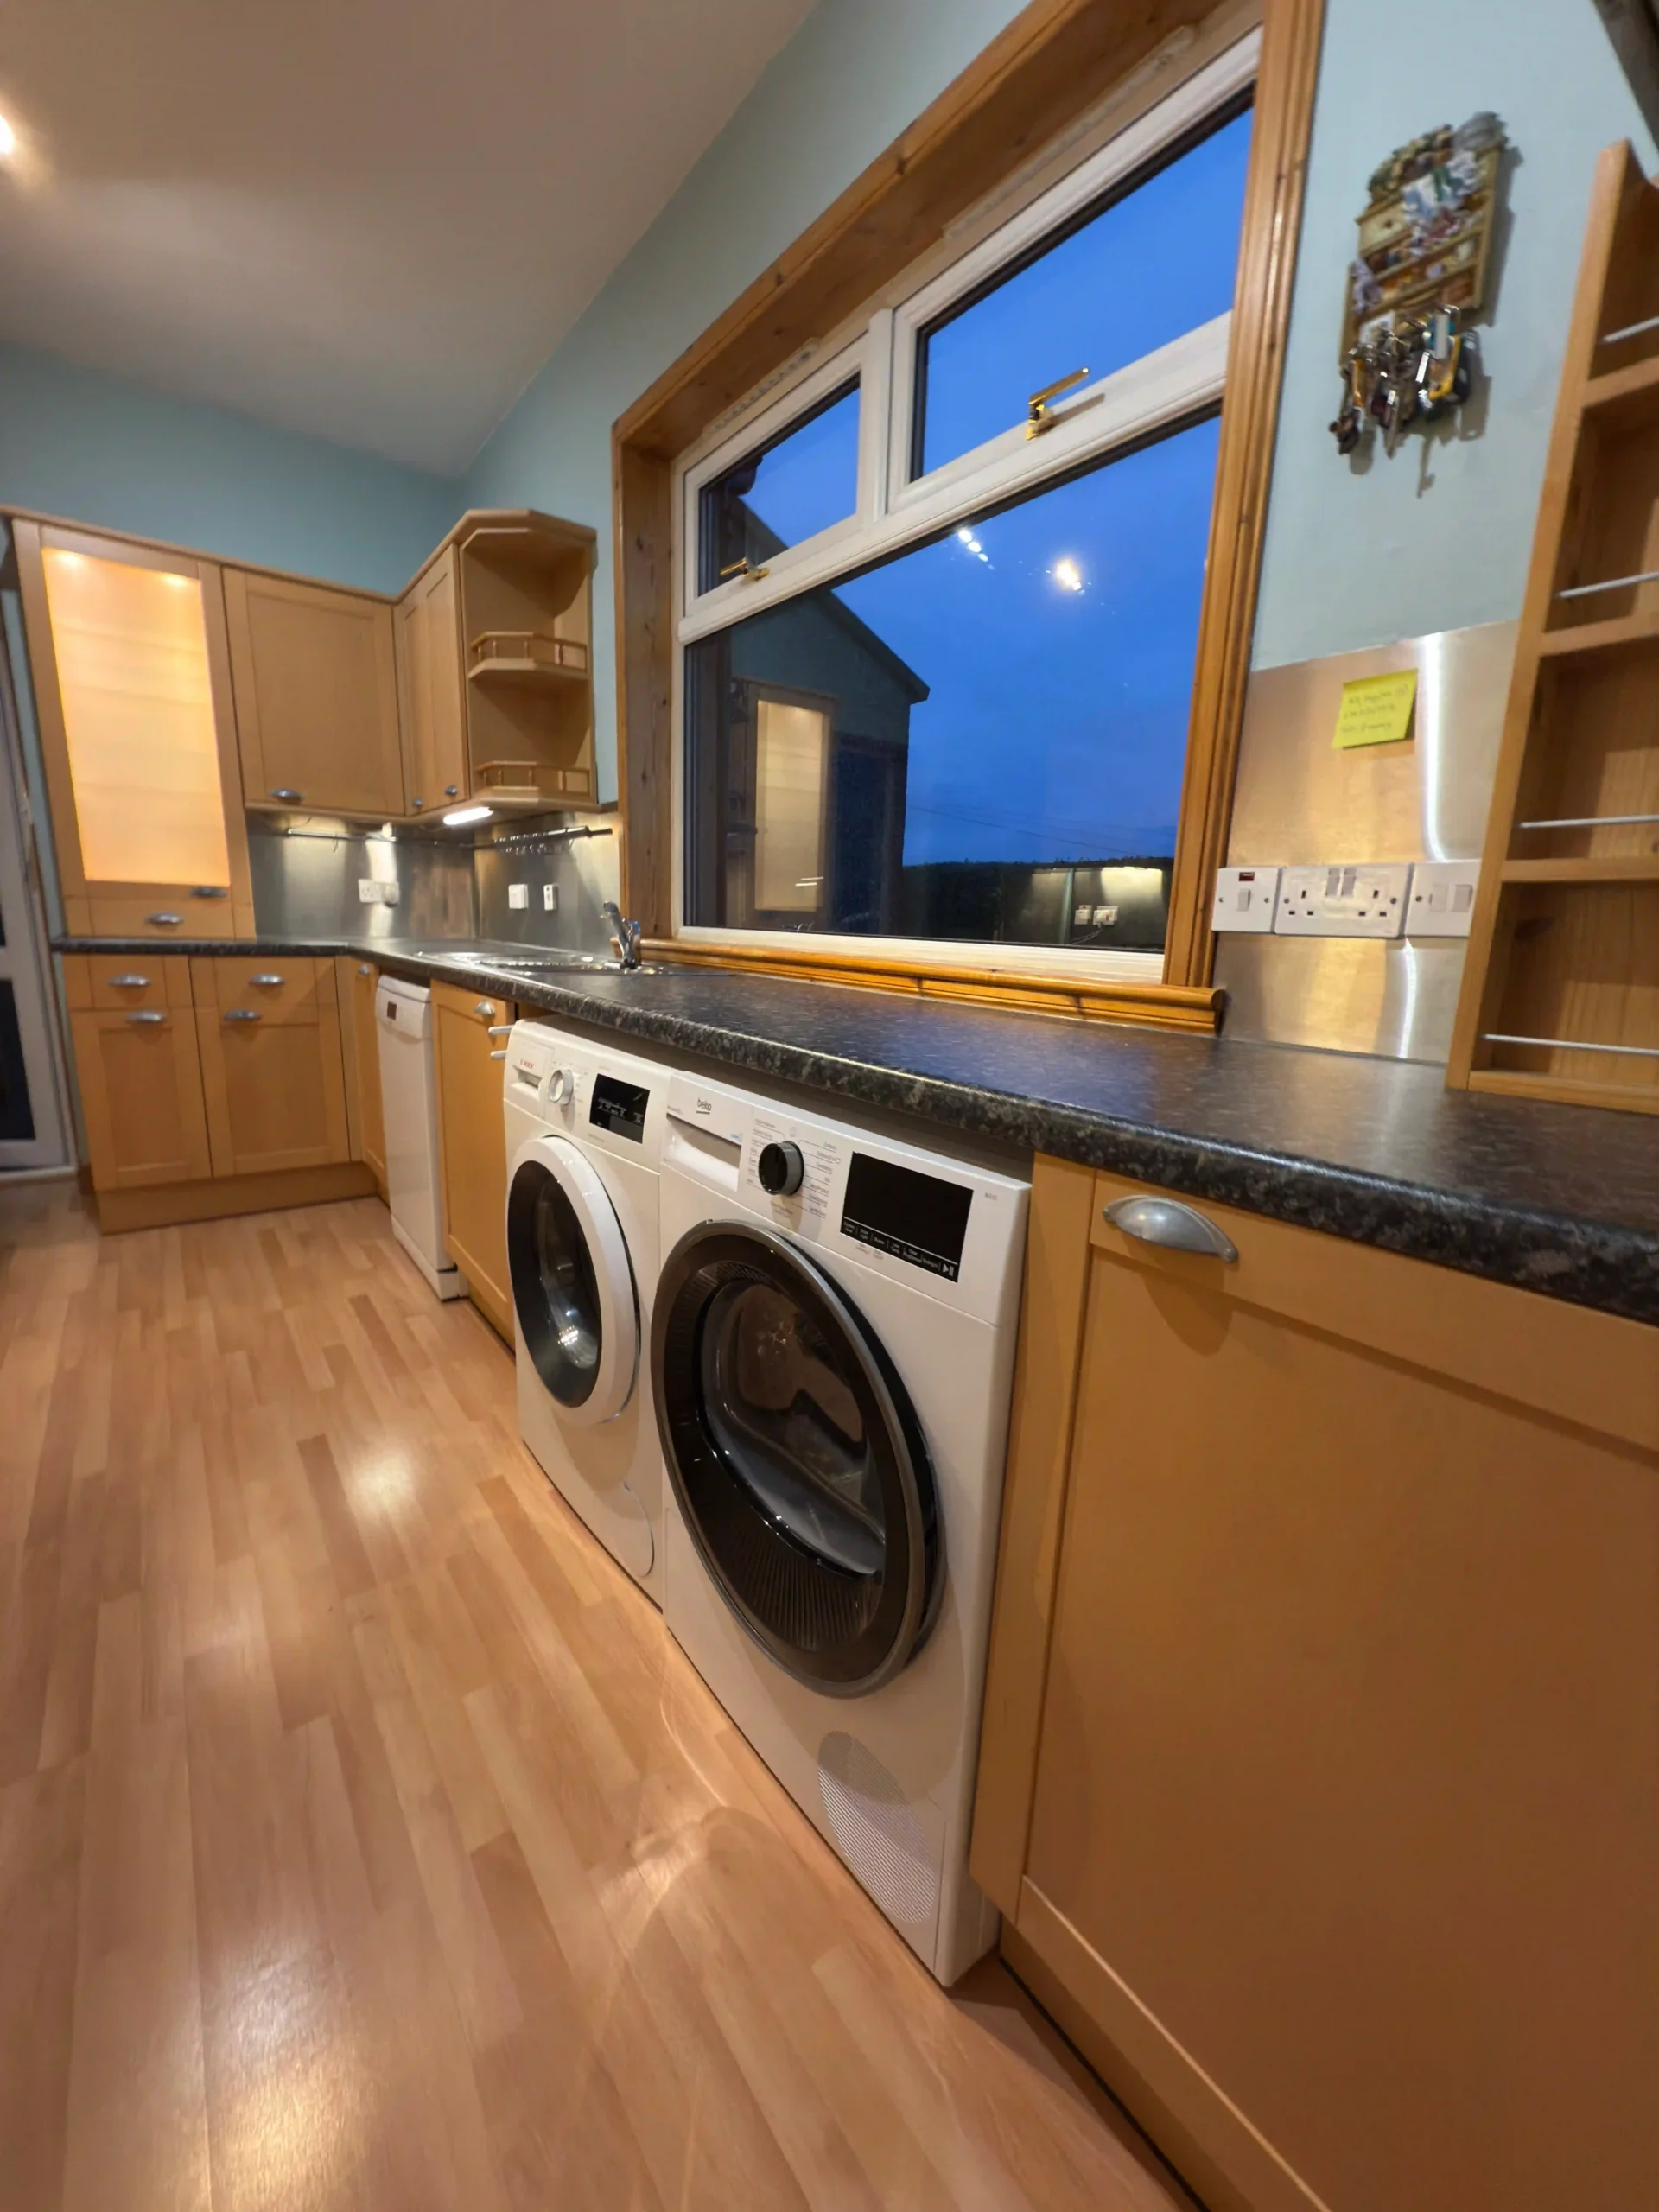
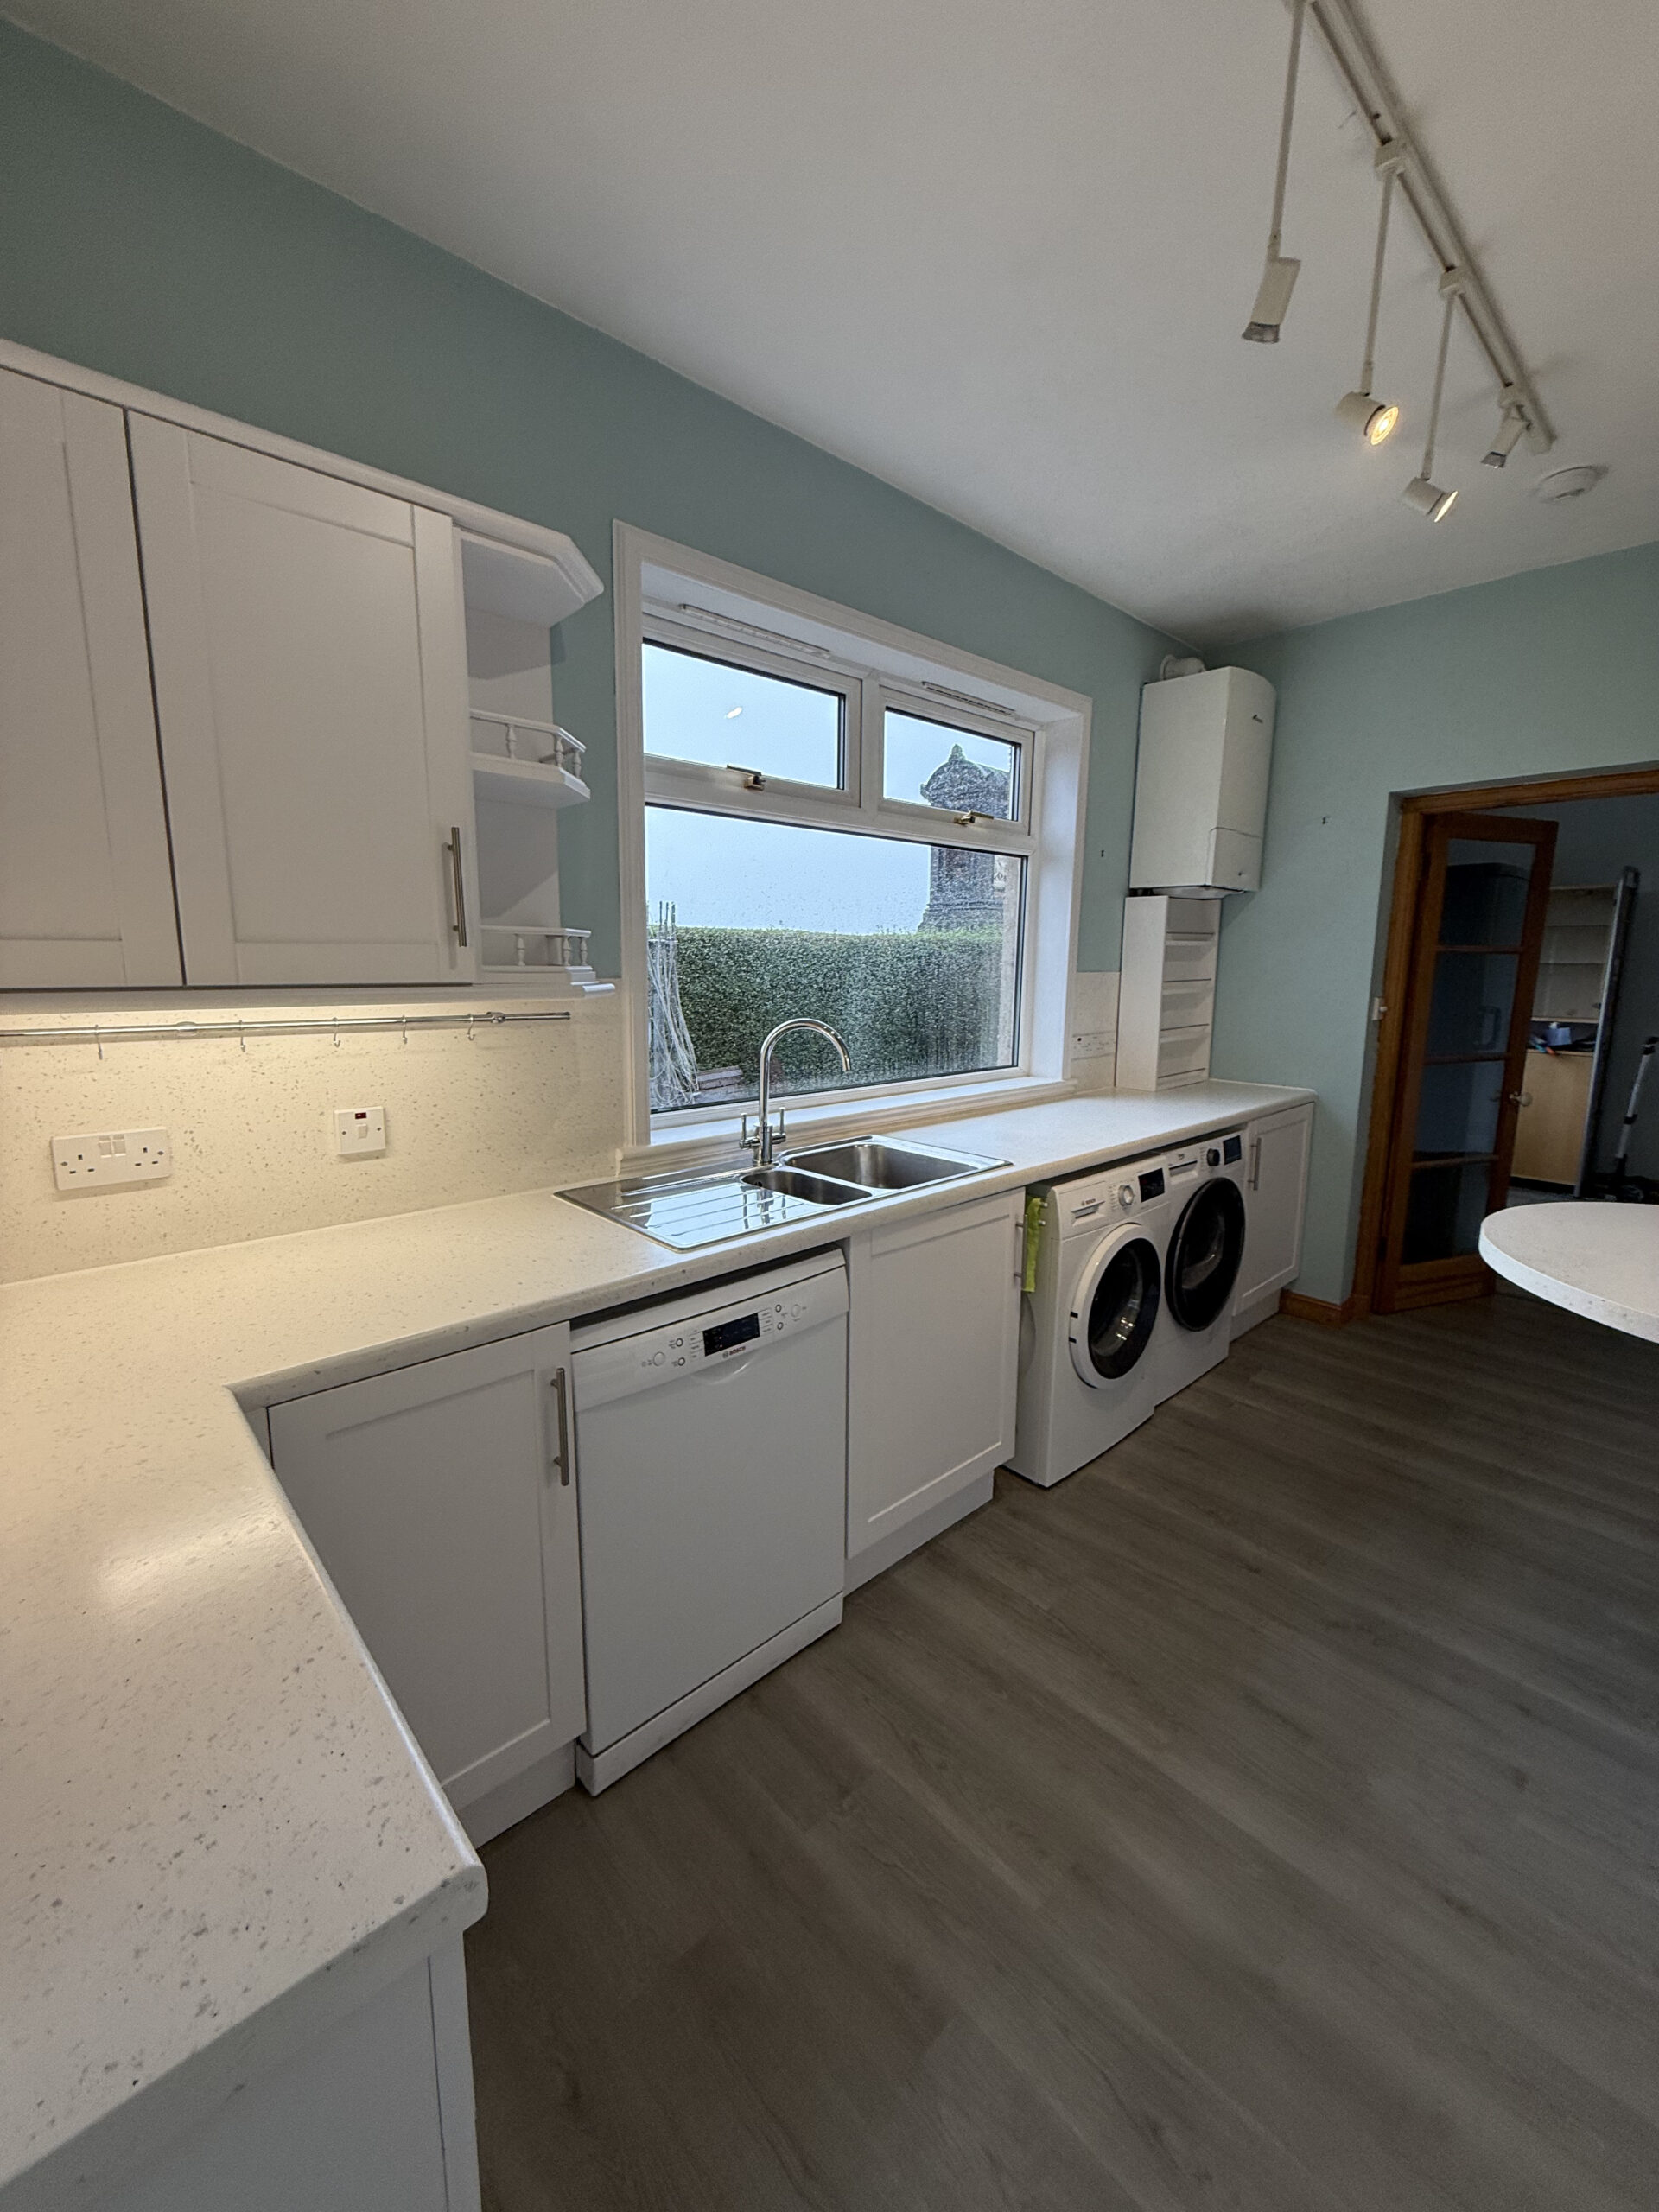
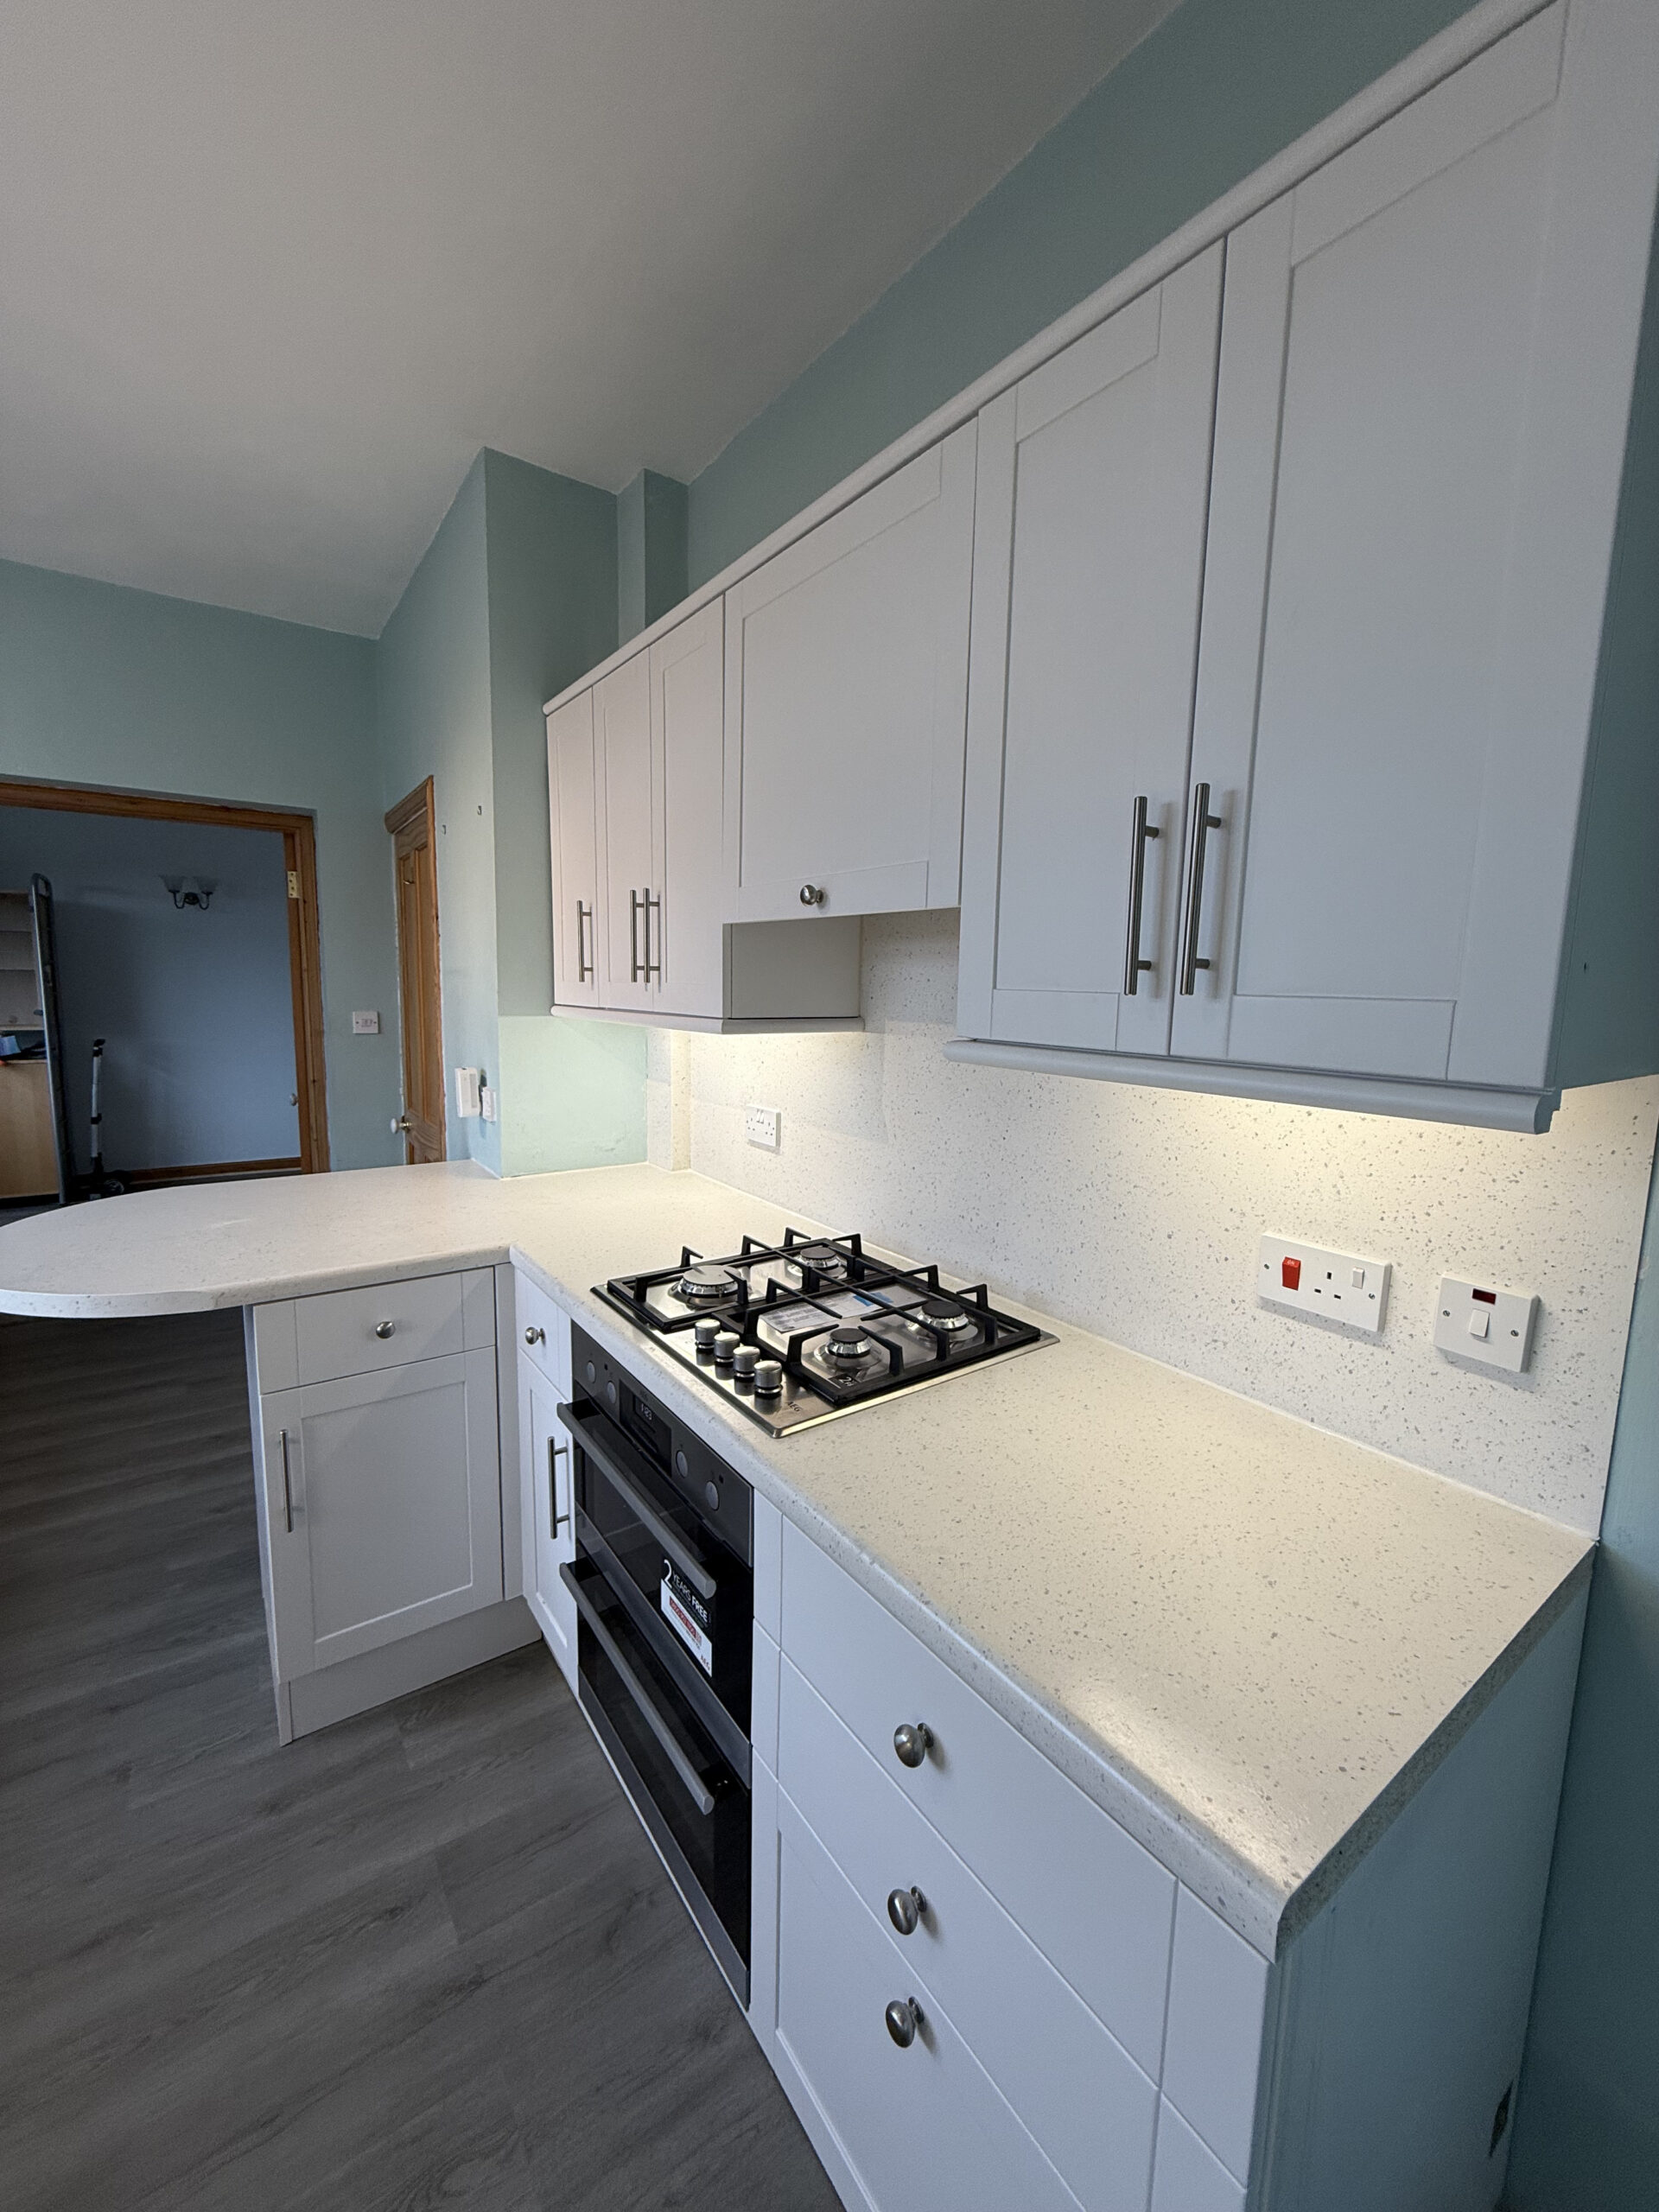
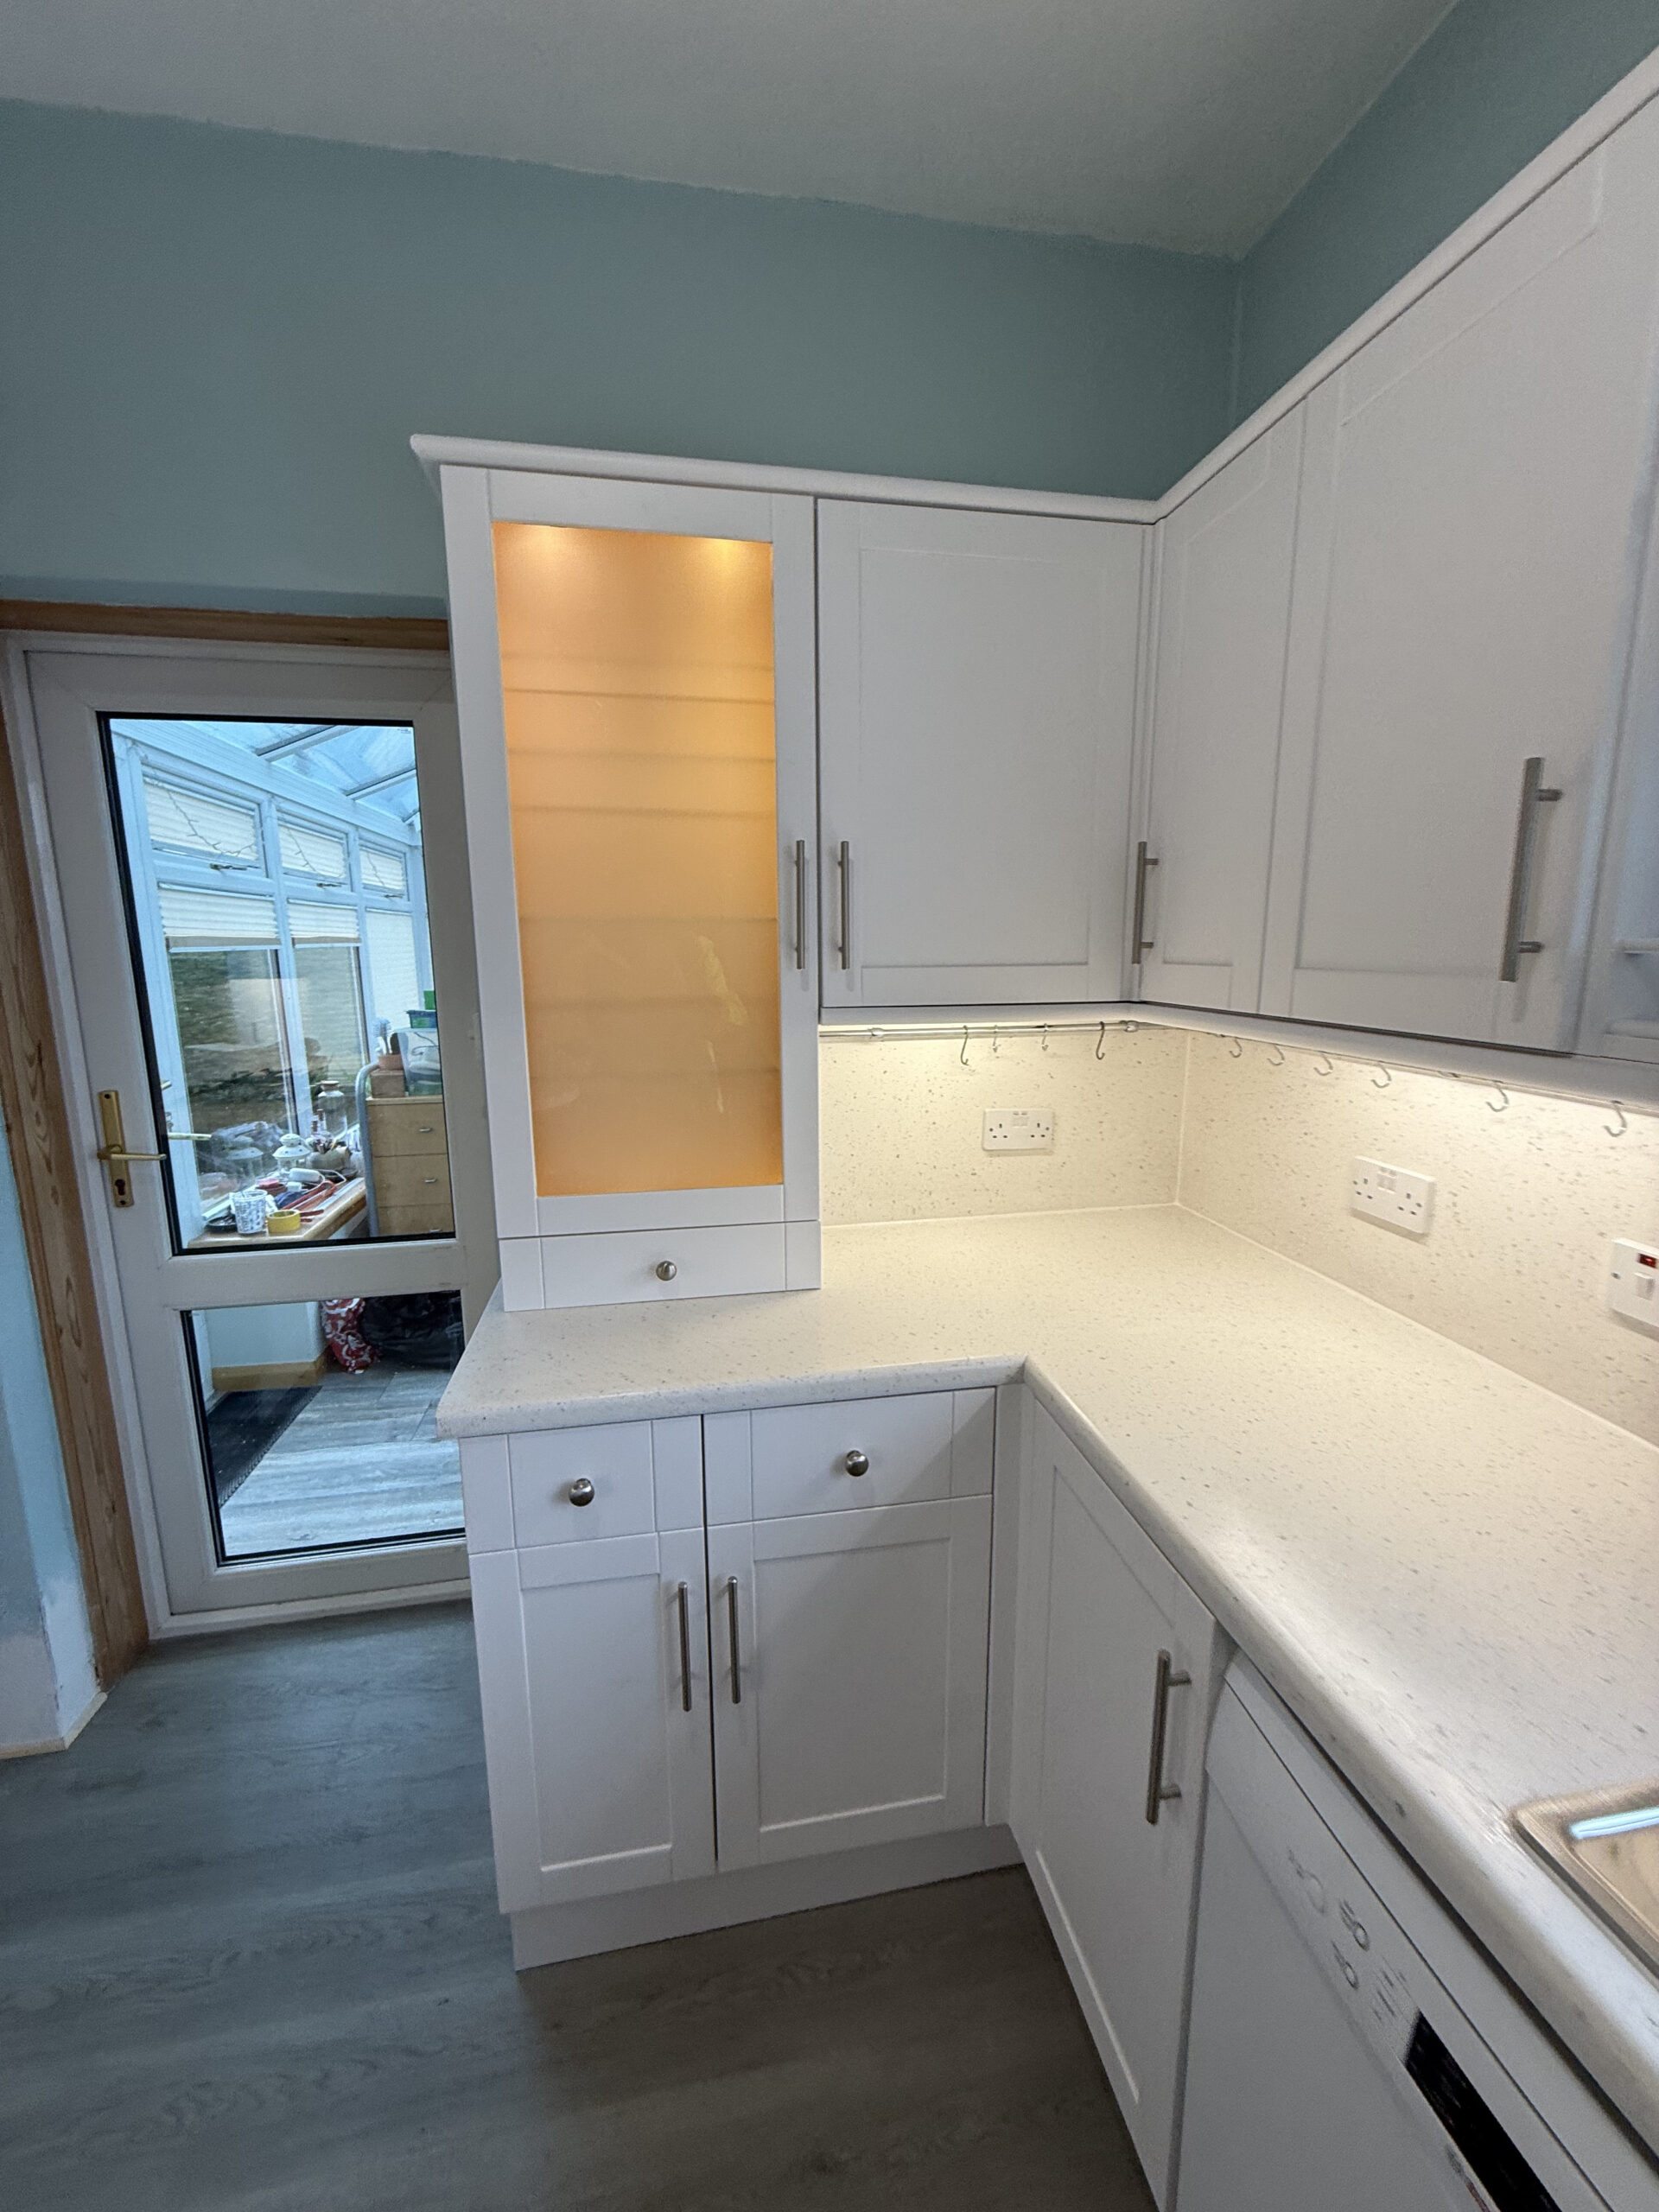
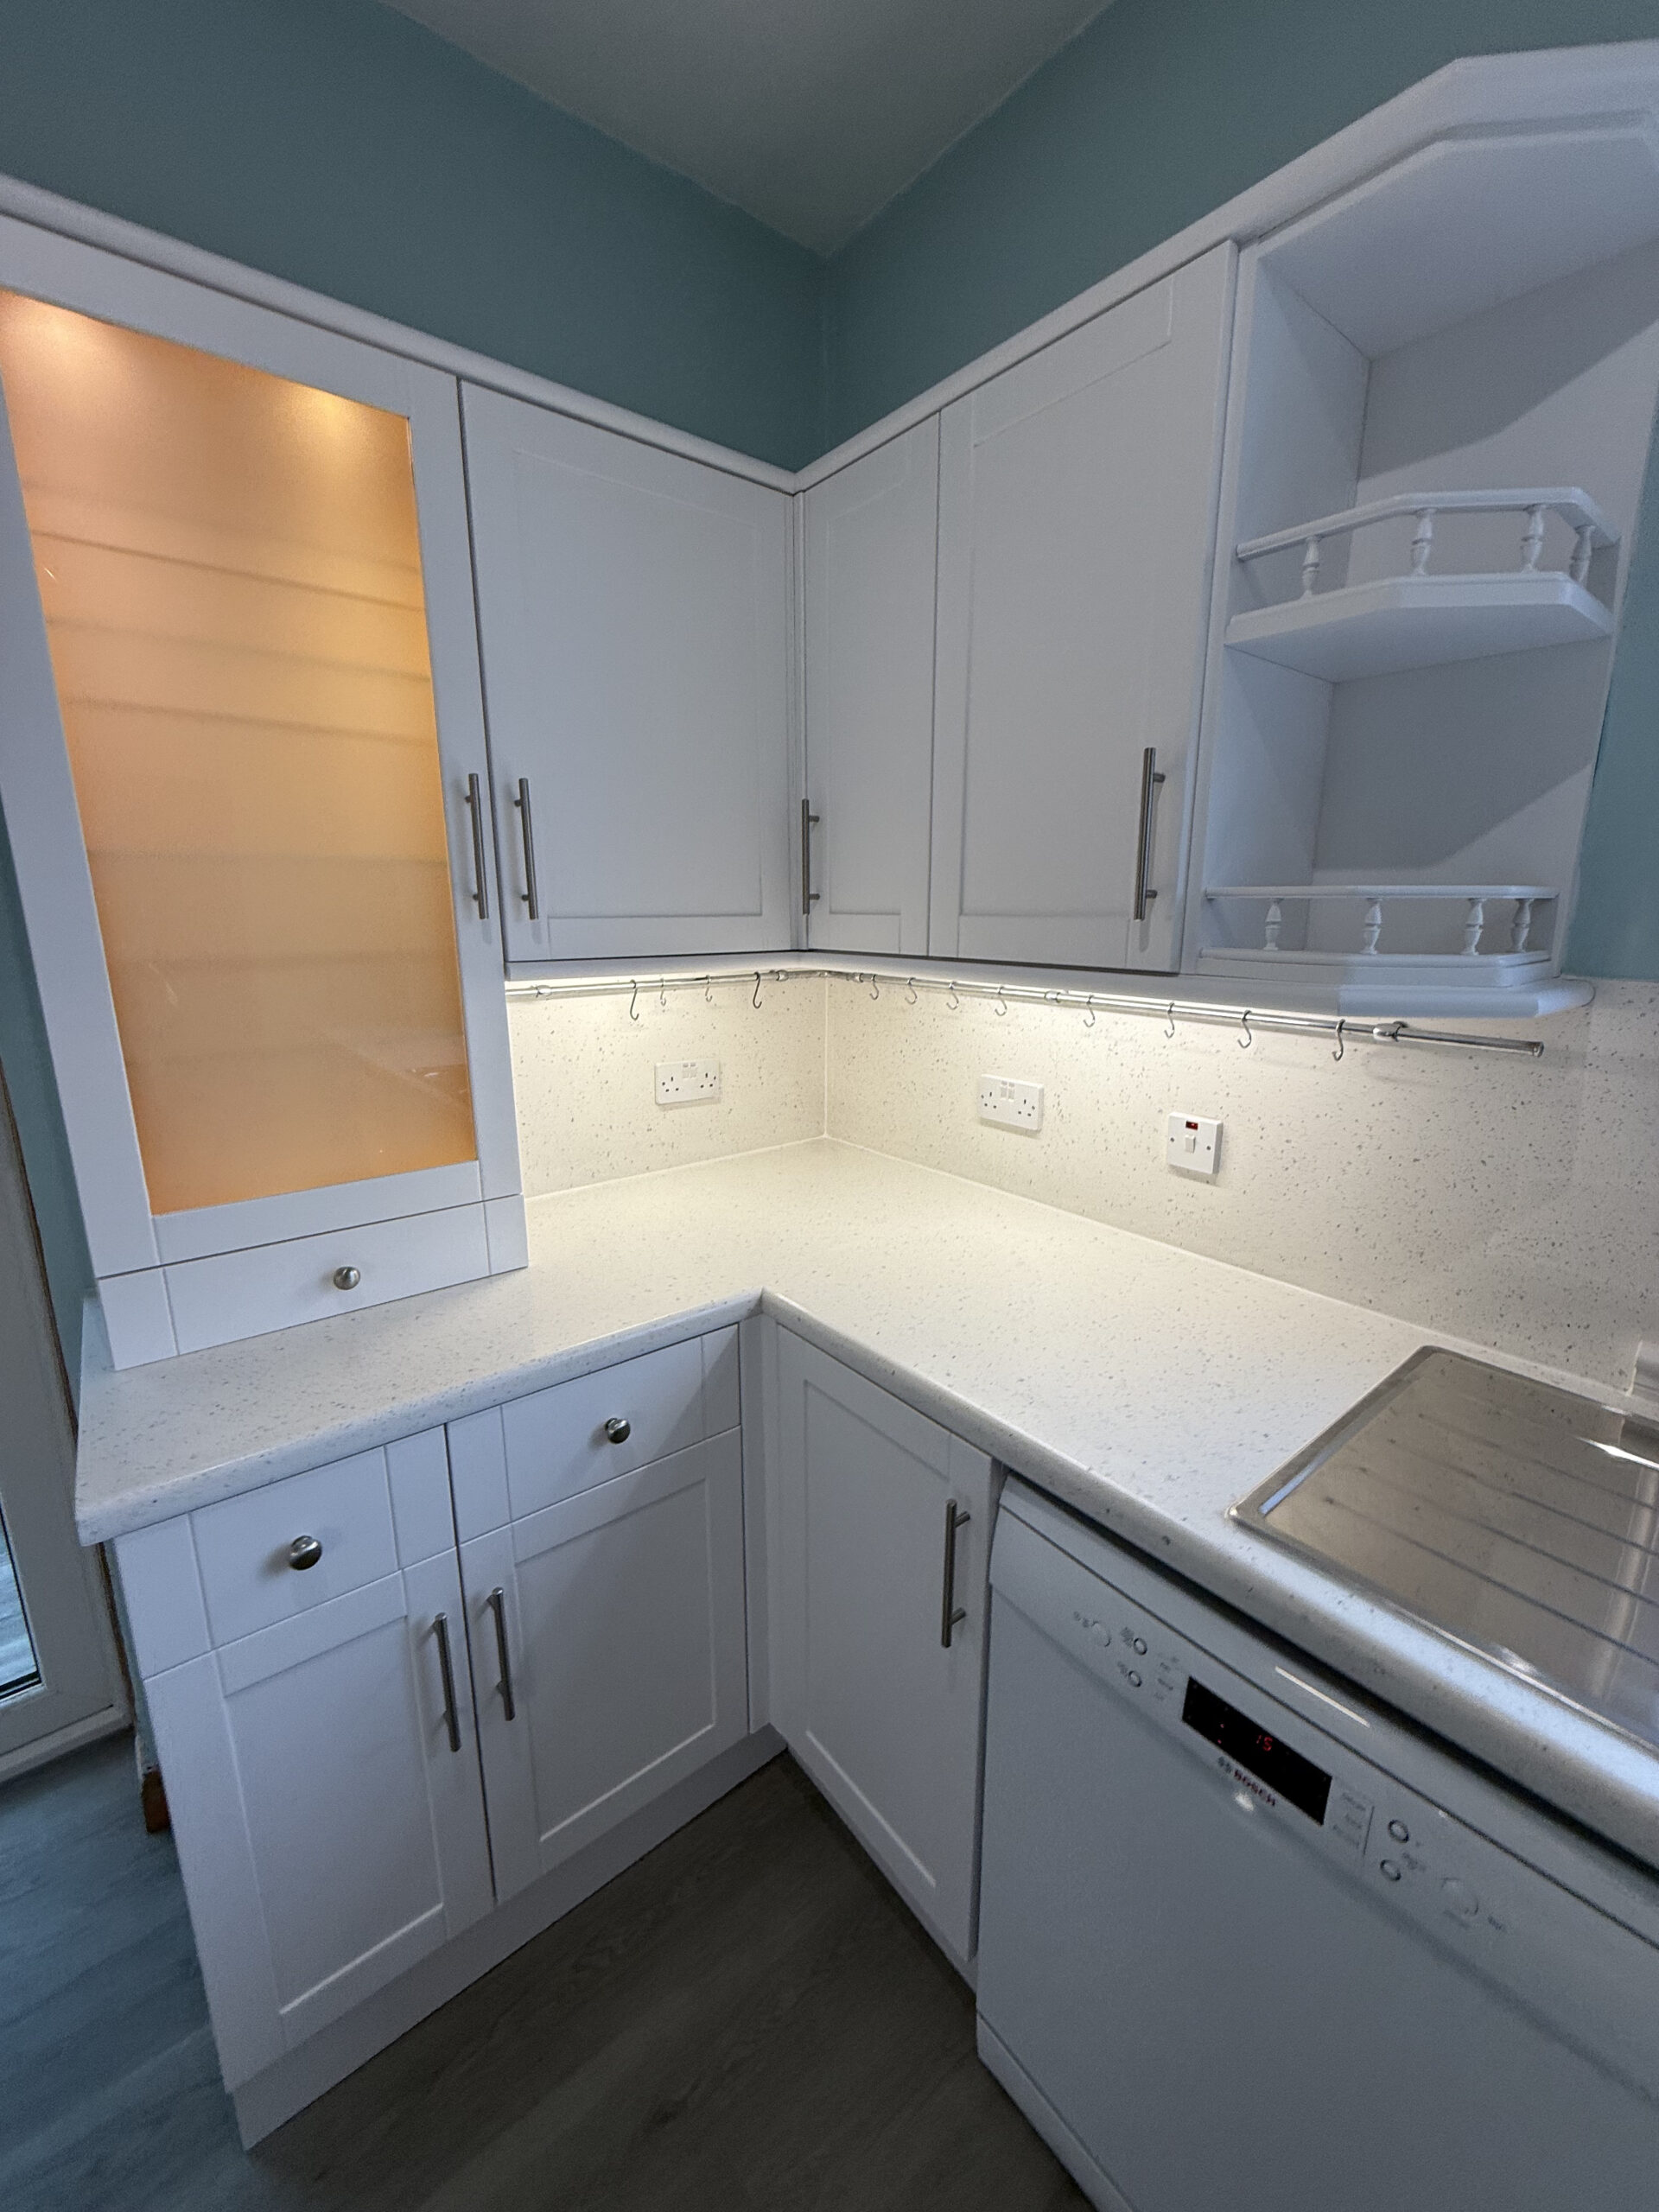
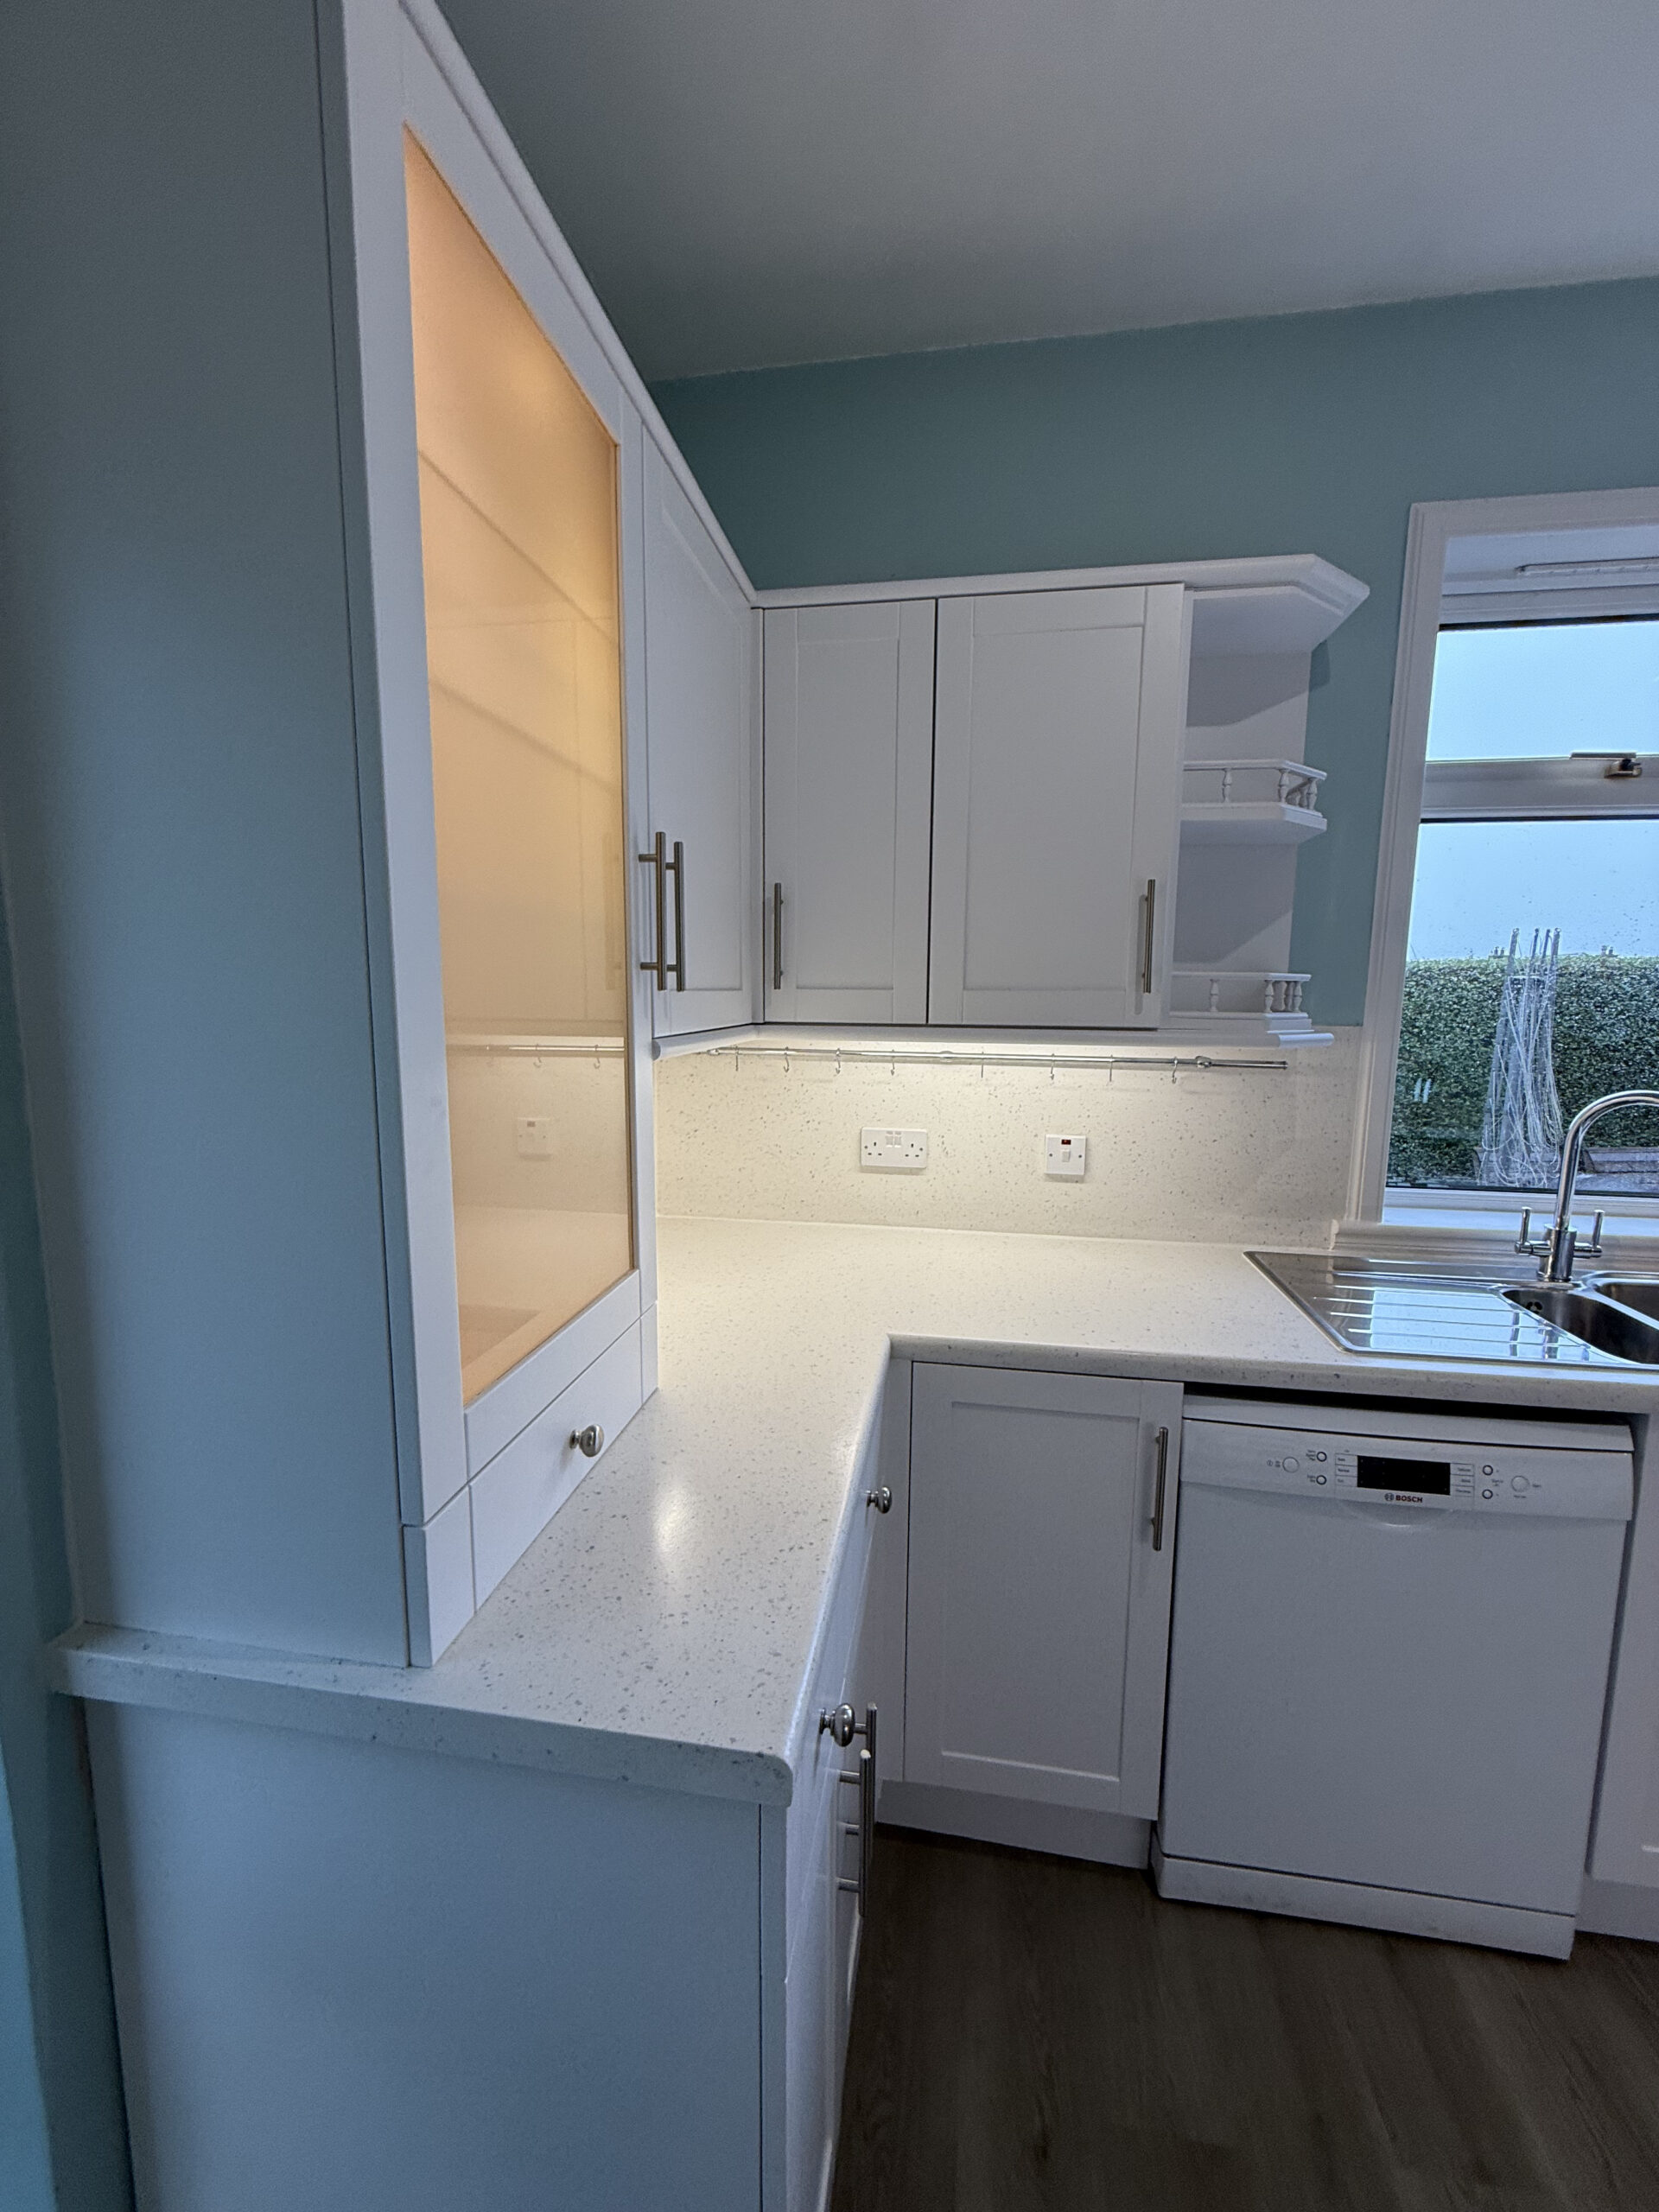
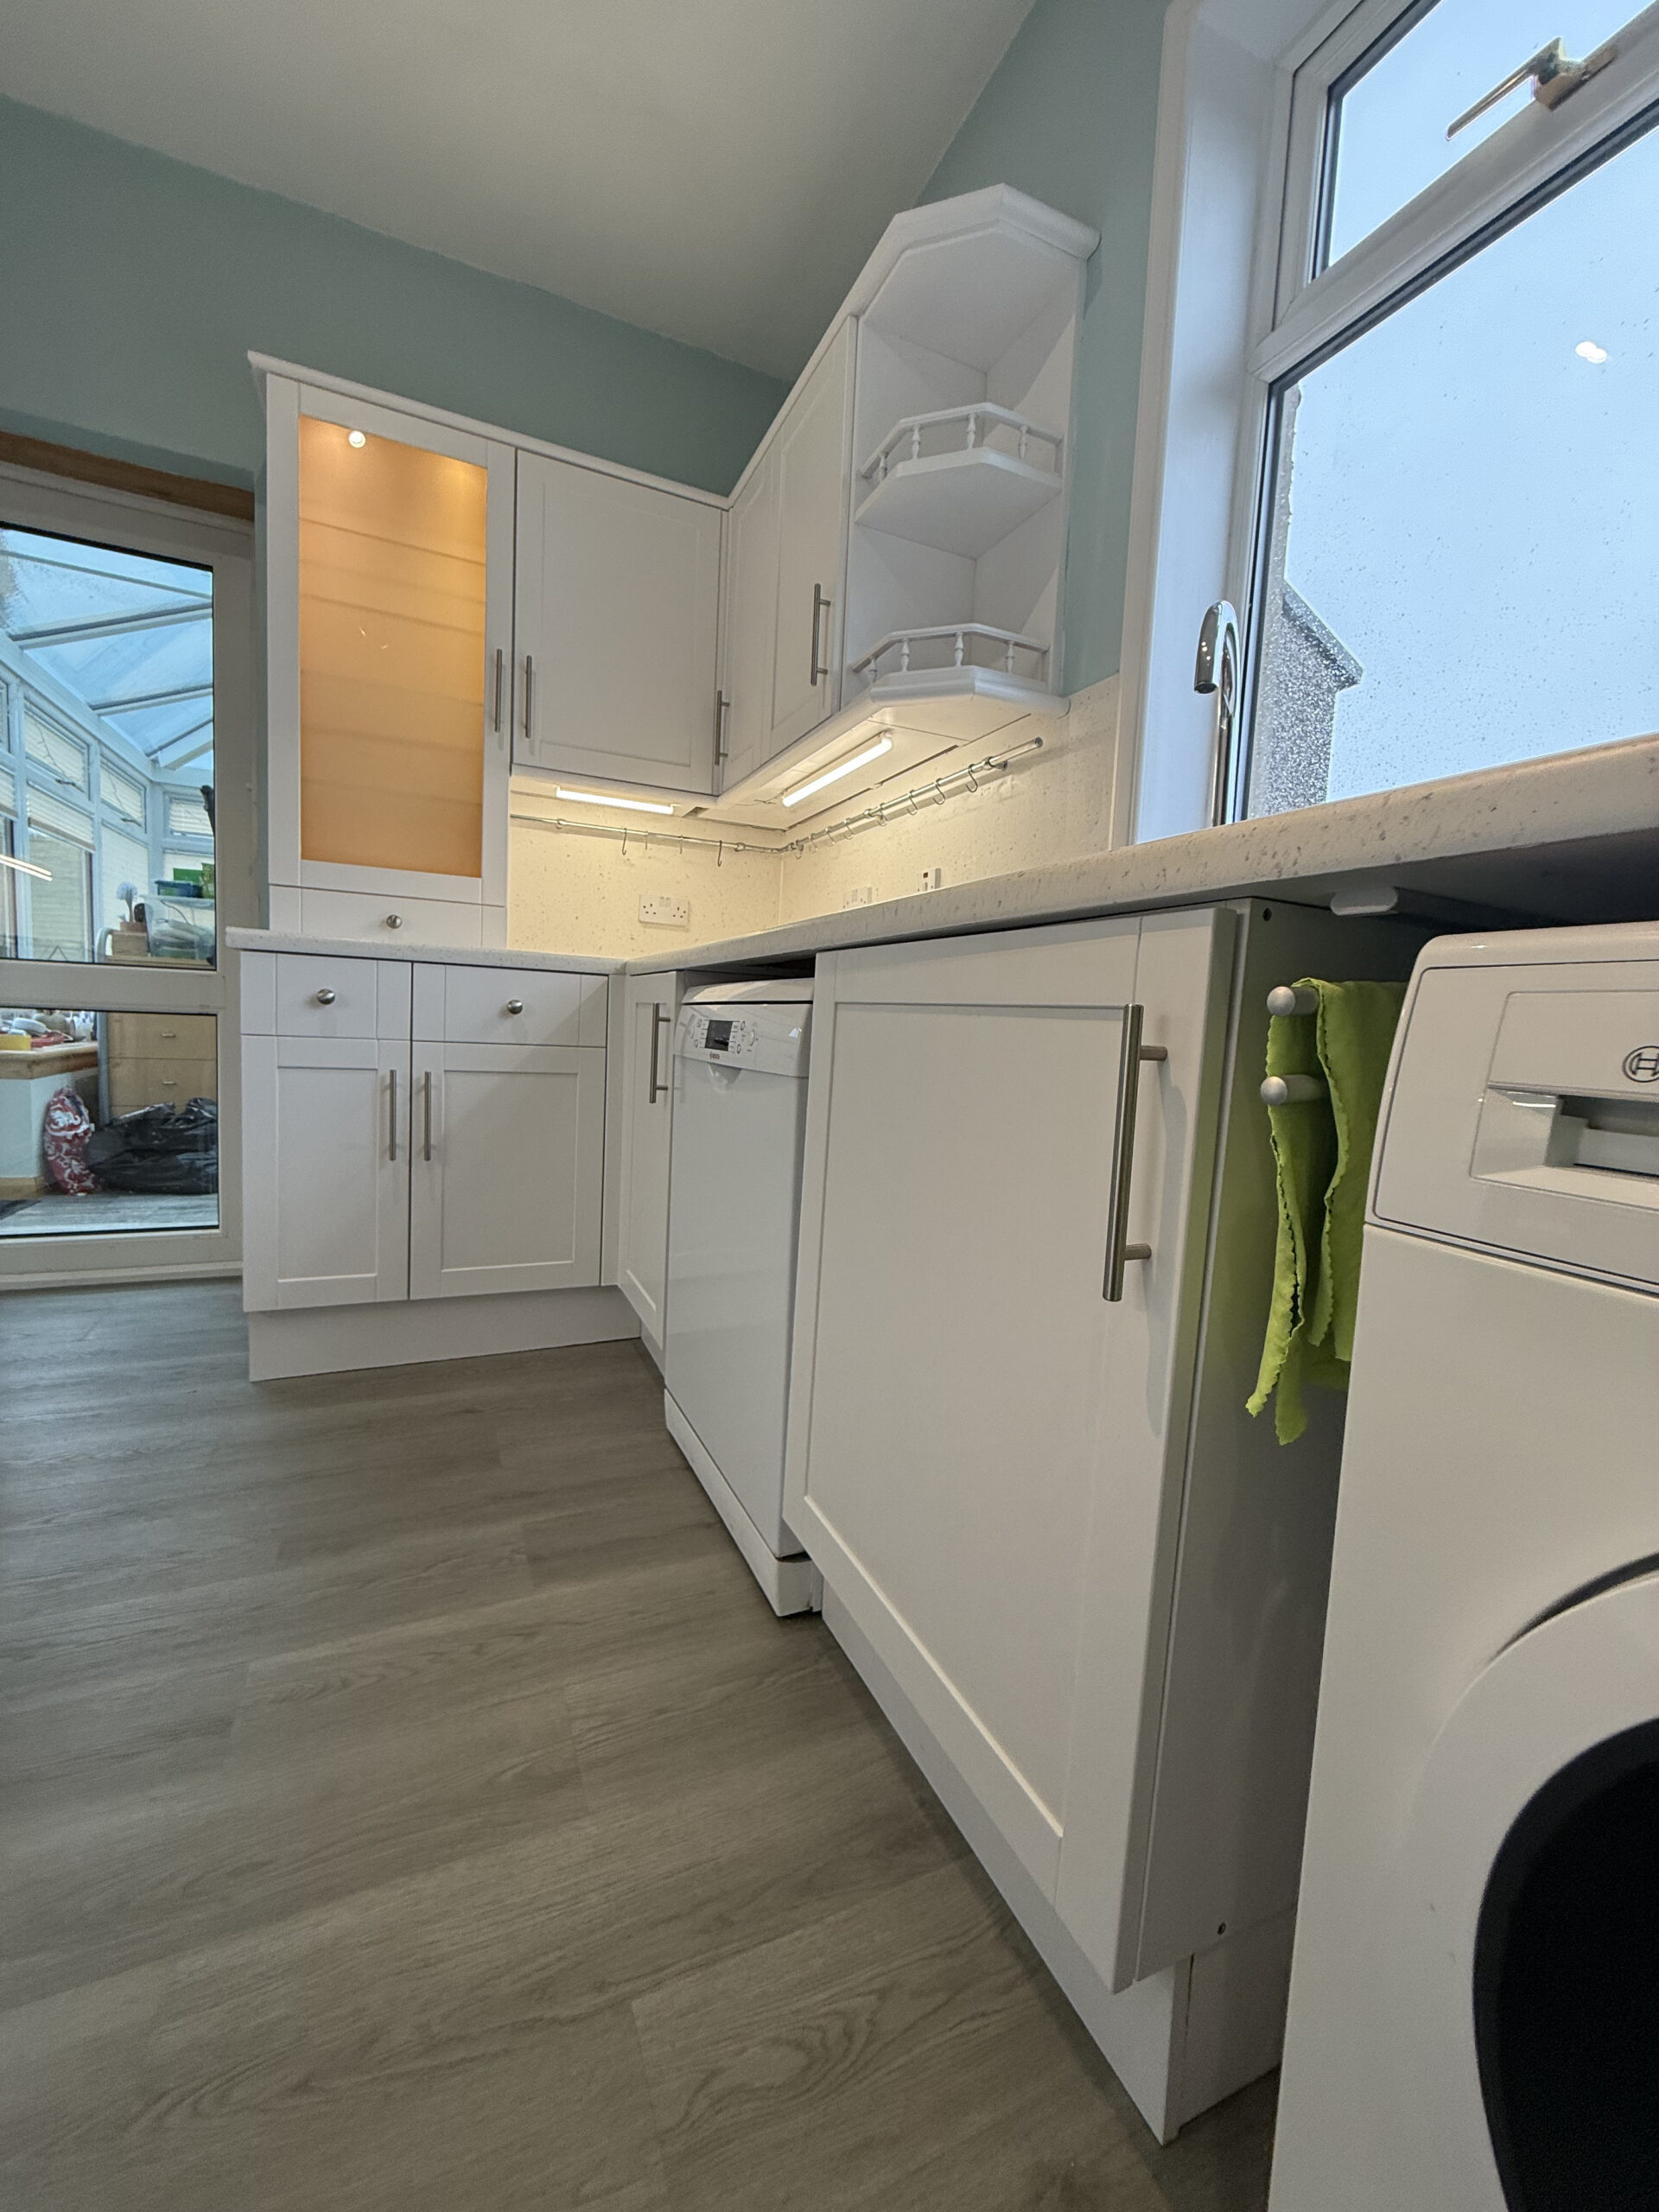
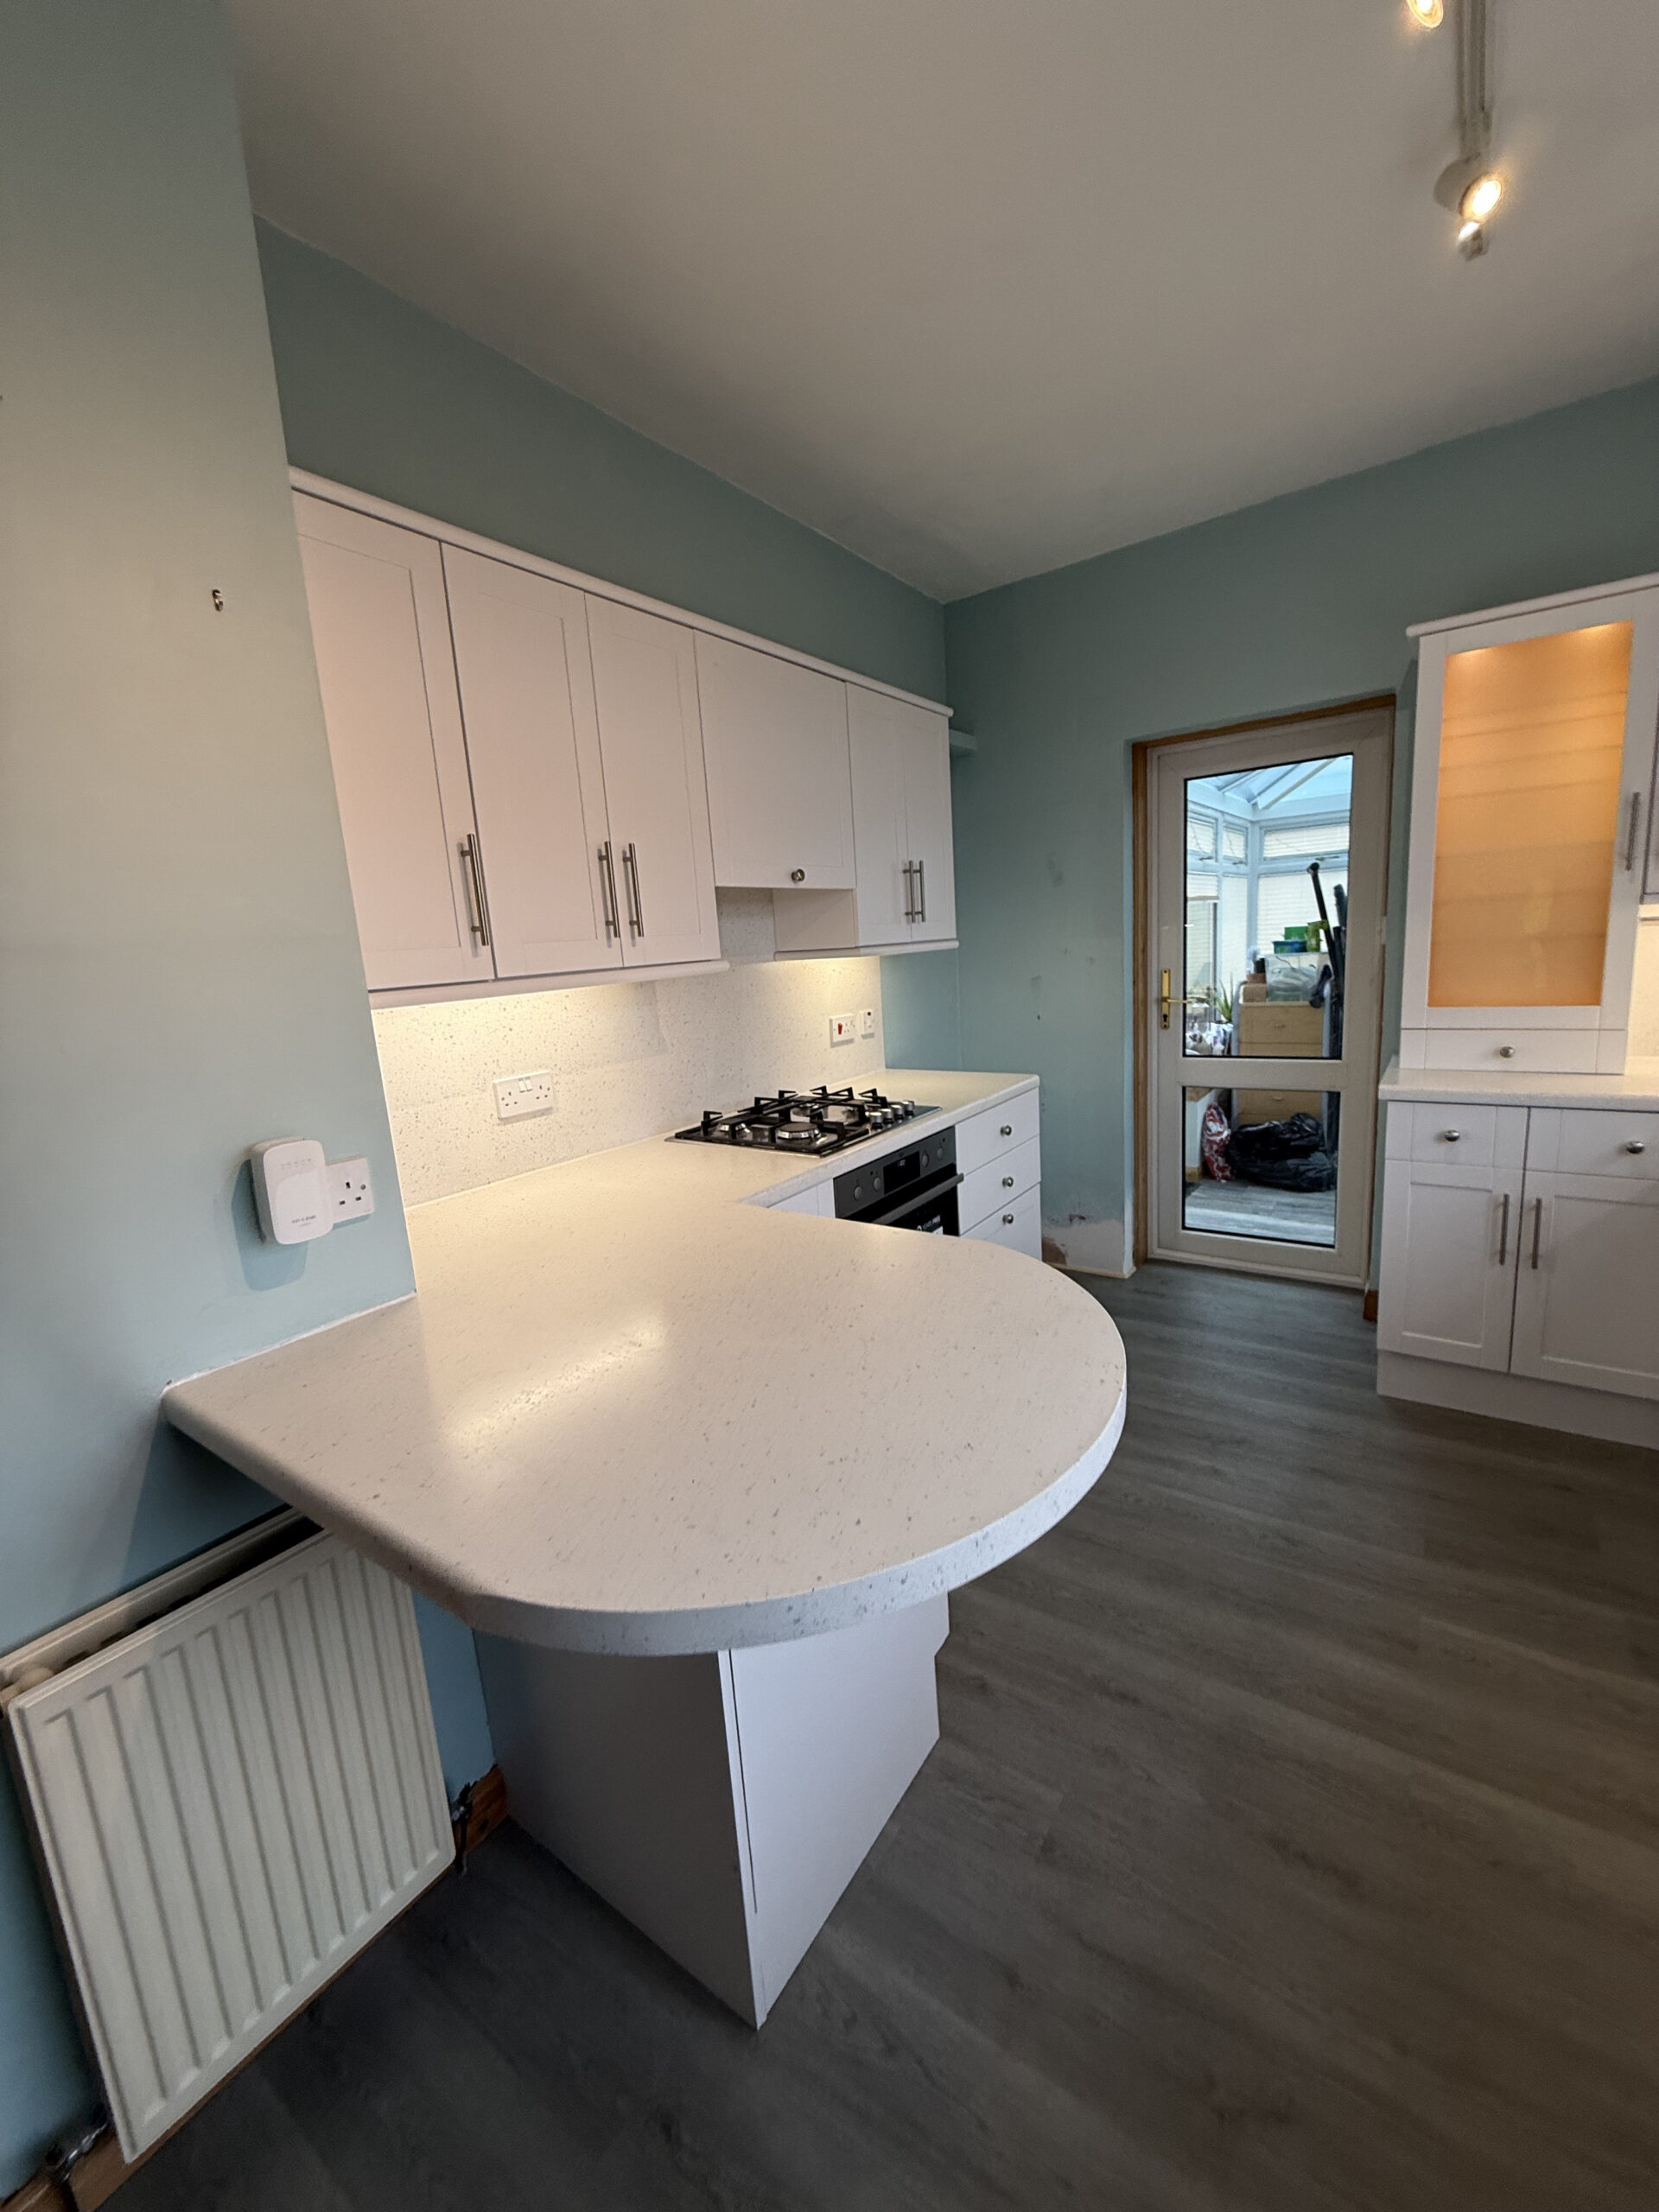
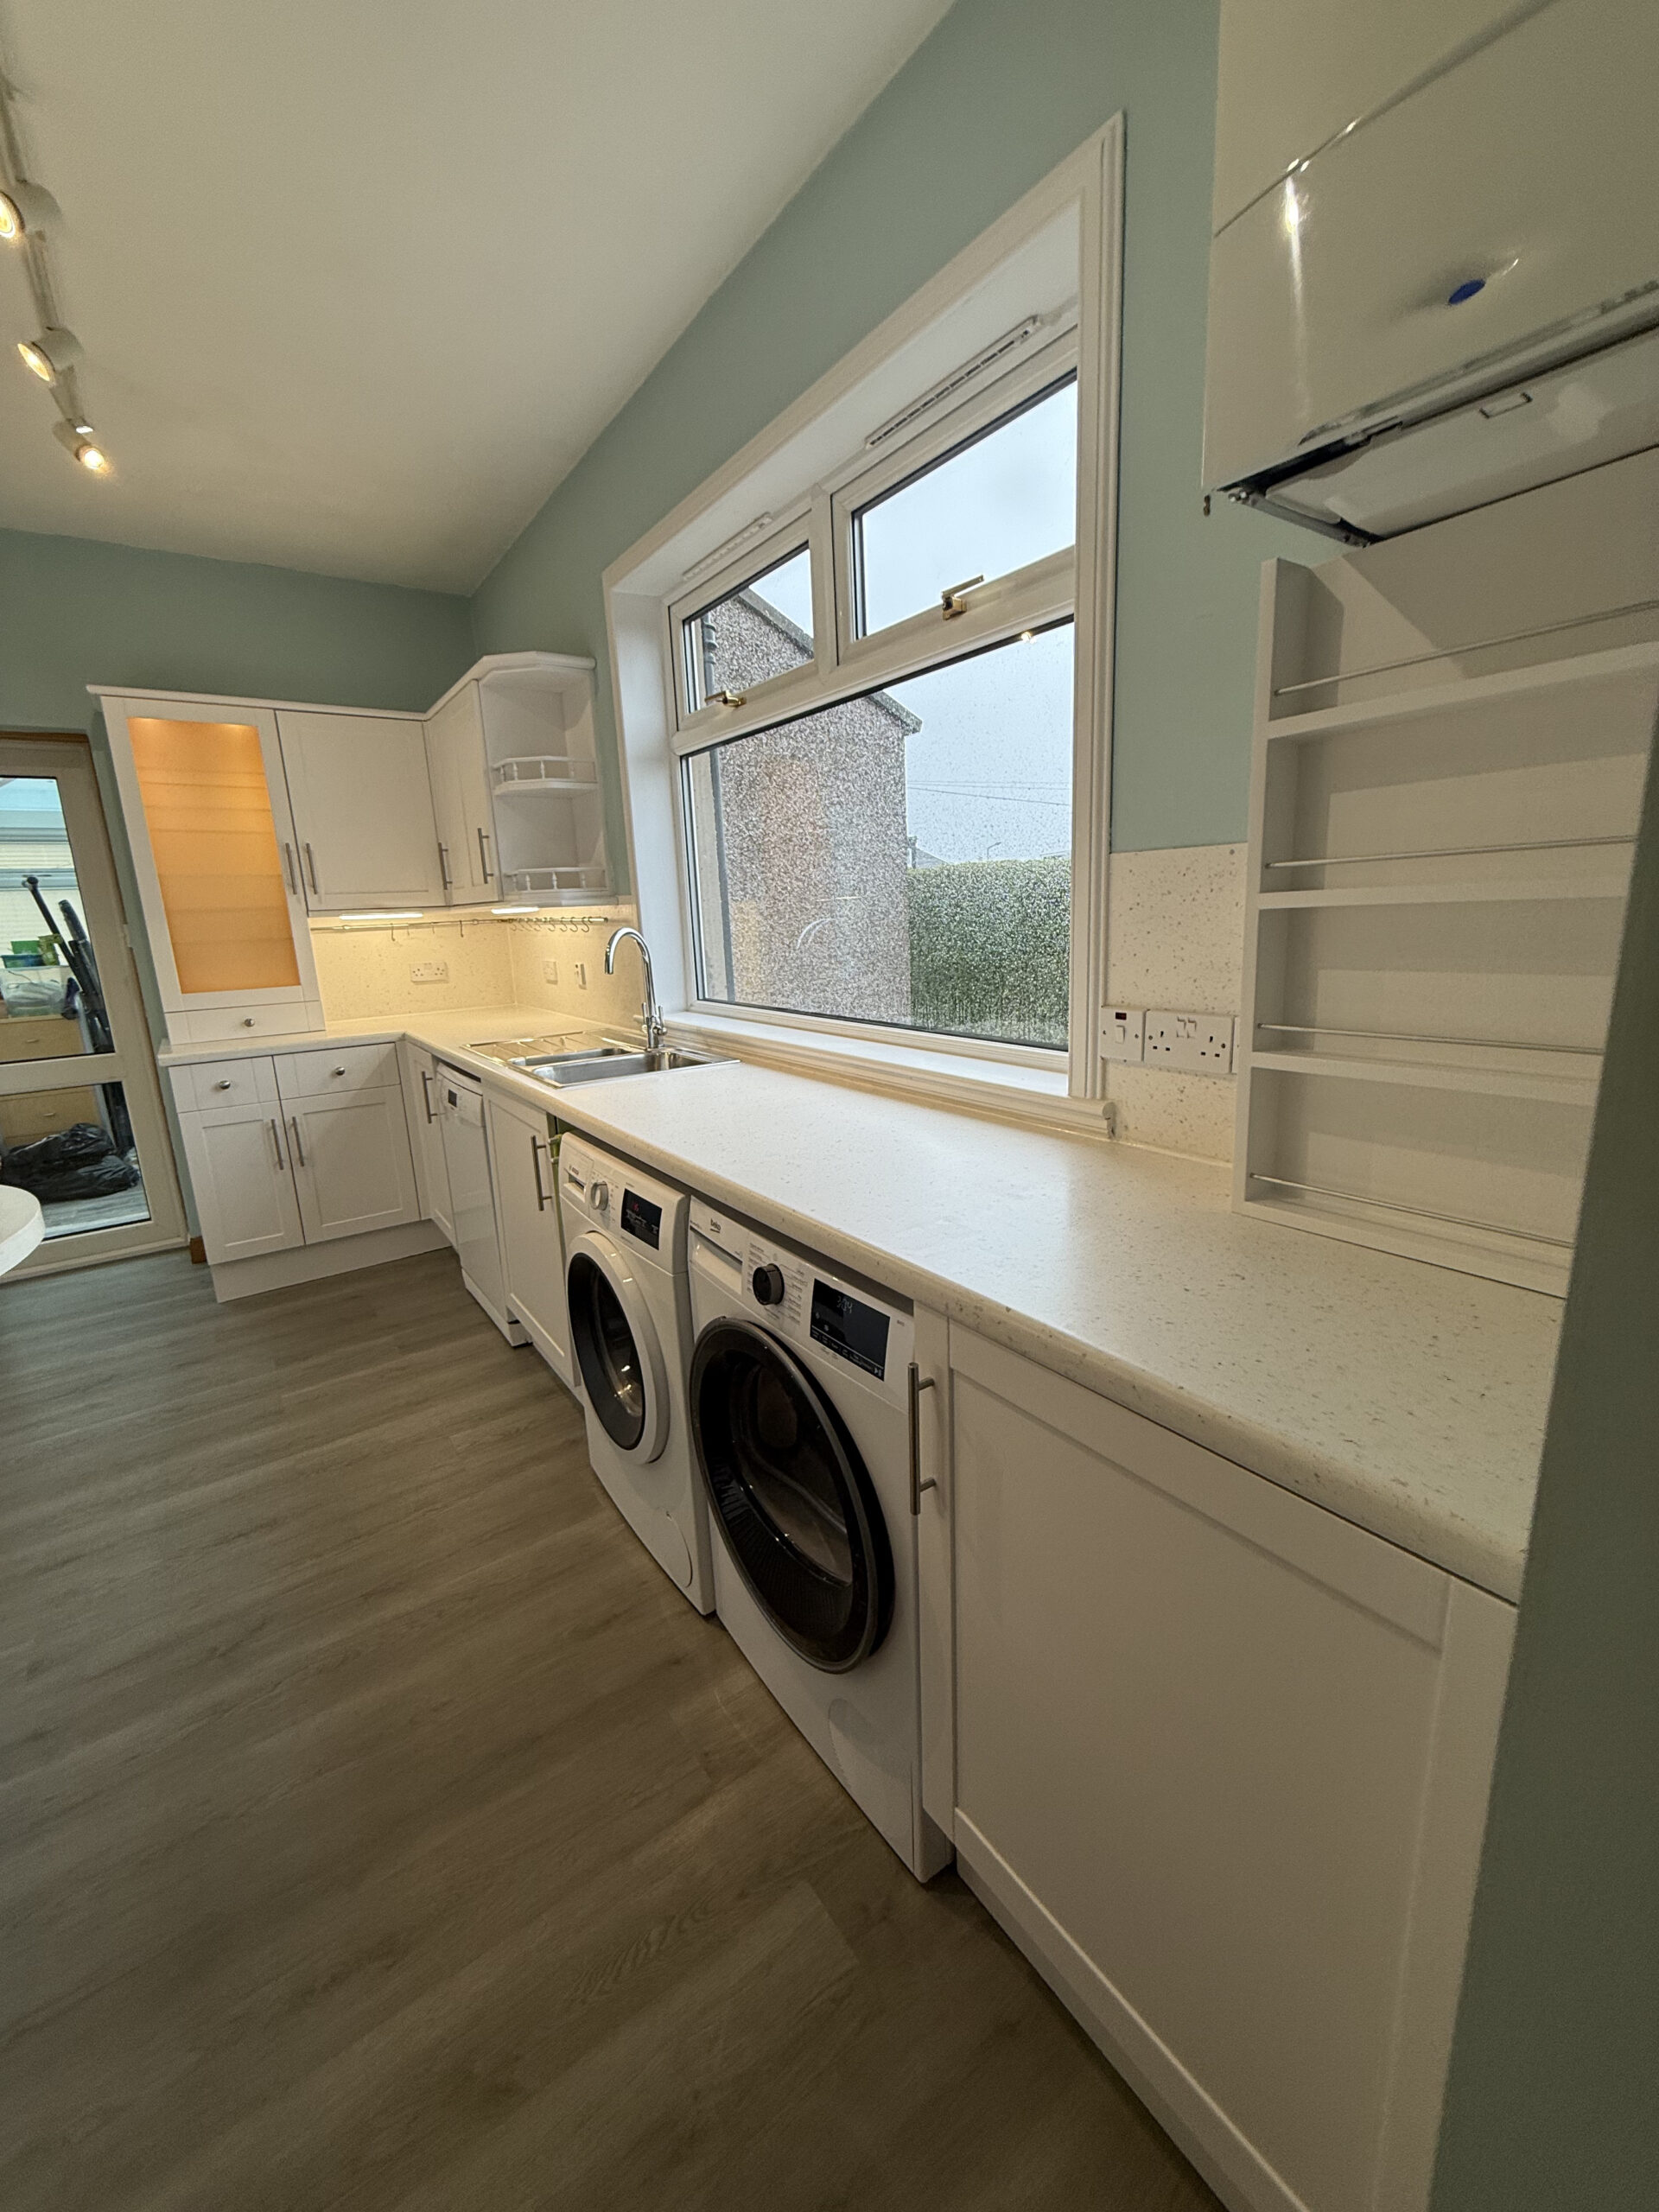
This project involved a full kitchen makeover, combining detailed spray painting of all cabinetry with Spray Granite finishes applied to the worktops, splashback, and tiles. The client was considering several elegant Spray Granite shades, including Egyptian Cotton, Aspen, Oyster Pearl, Polar, and Ivory.
We began on-site by dismantling all kitchen doors, drawers, and plinths for transport to our workshop. While those elements were taken away, we fully masked the kitchen — protecting the walls, floors, work surfaces, and all fixed cabinetry — and set up proper ventilation for safe spraying. We then sanded and degreased all non-removable areas and made minor repairs where necessary. A coat of two-pack primer was applied, followed by two coats of durable two-pack topcoat (colour and sheen to be confirmed).
At our workshop, each of the 25 kitchen fronts was thoroughly sanded, degreased, and repaired if needed. We then applied one layer of two-pack primer and two topcoats using a professional spray booth system to ensure a flawless factory-grade finish. We also filled old handle holes and drilled new ones to fit handles supplied by the client.
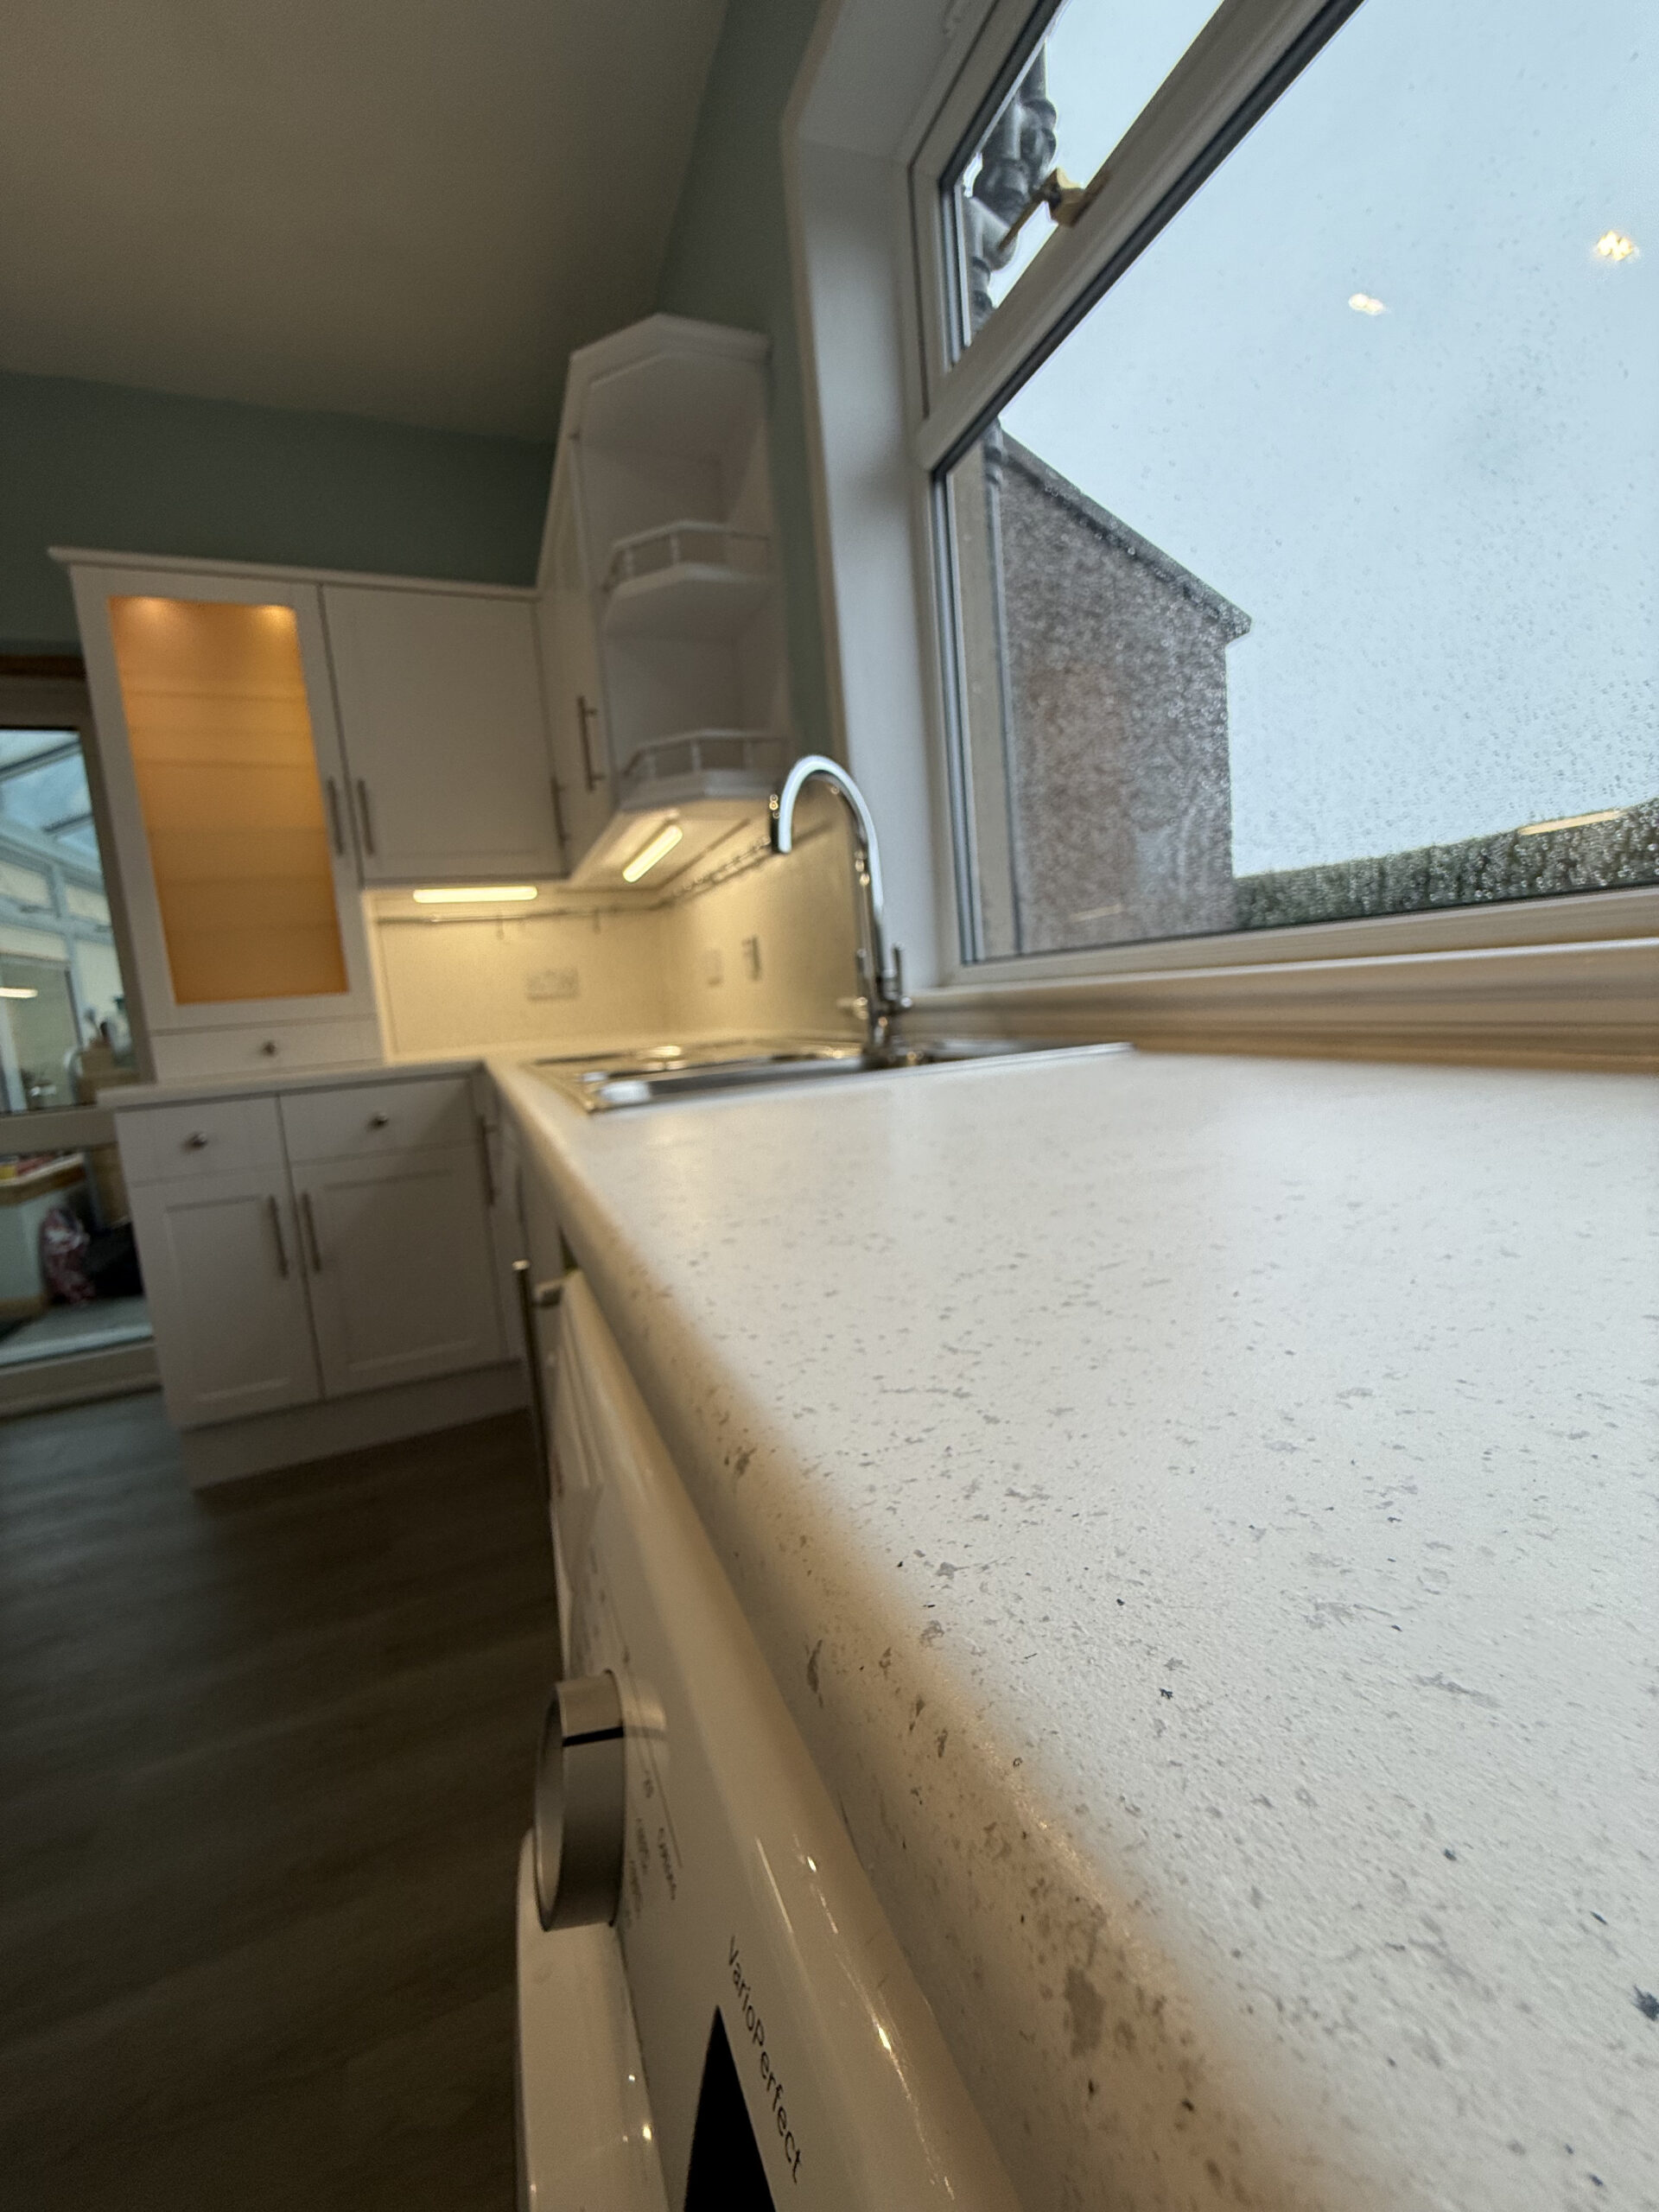
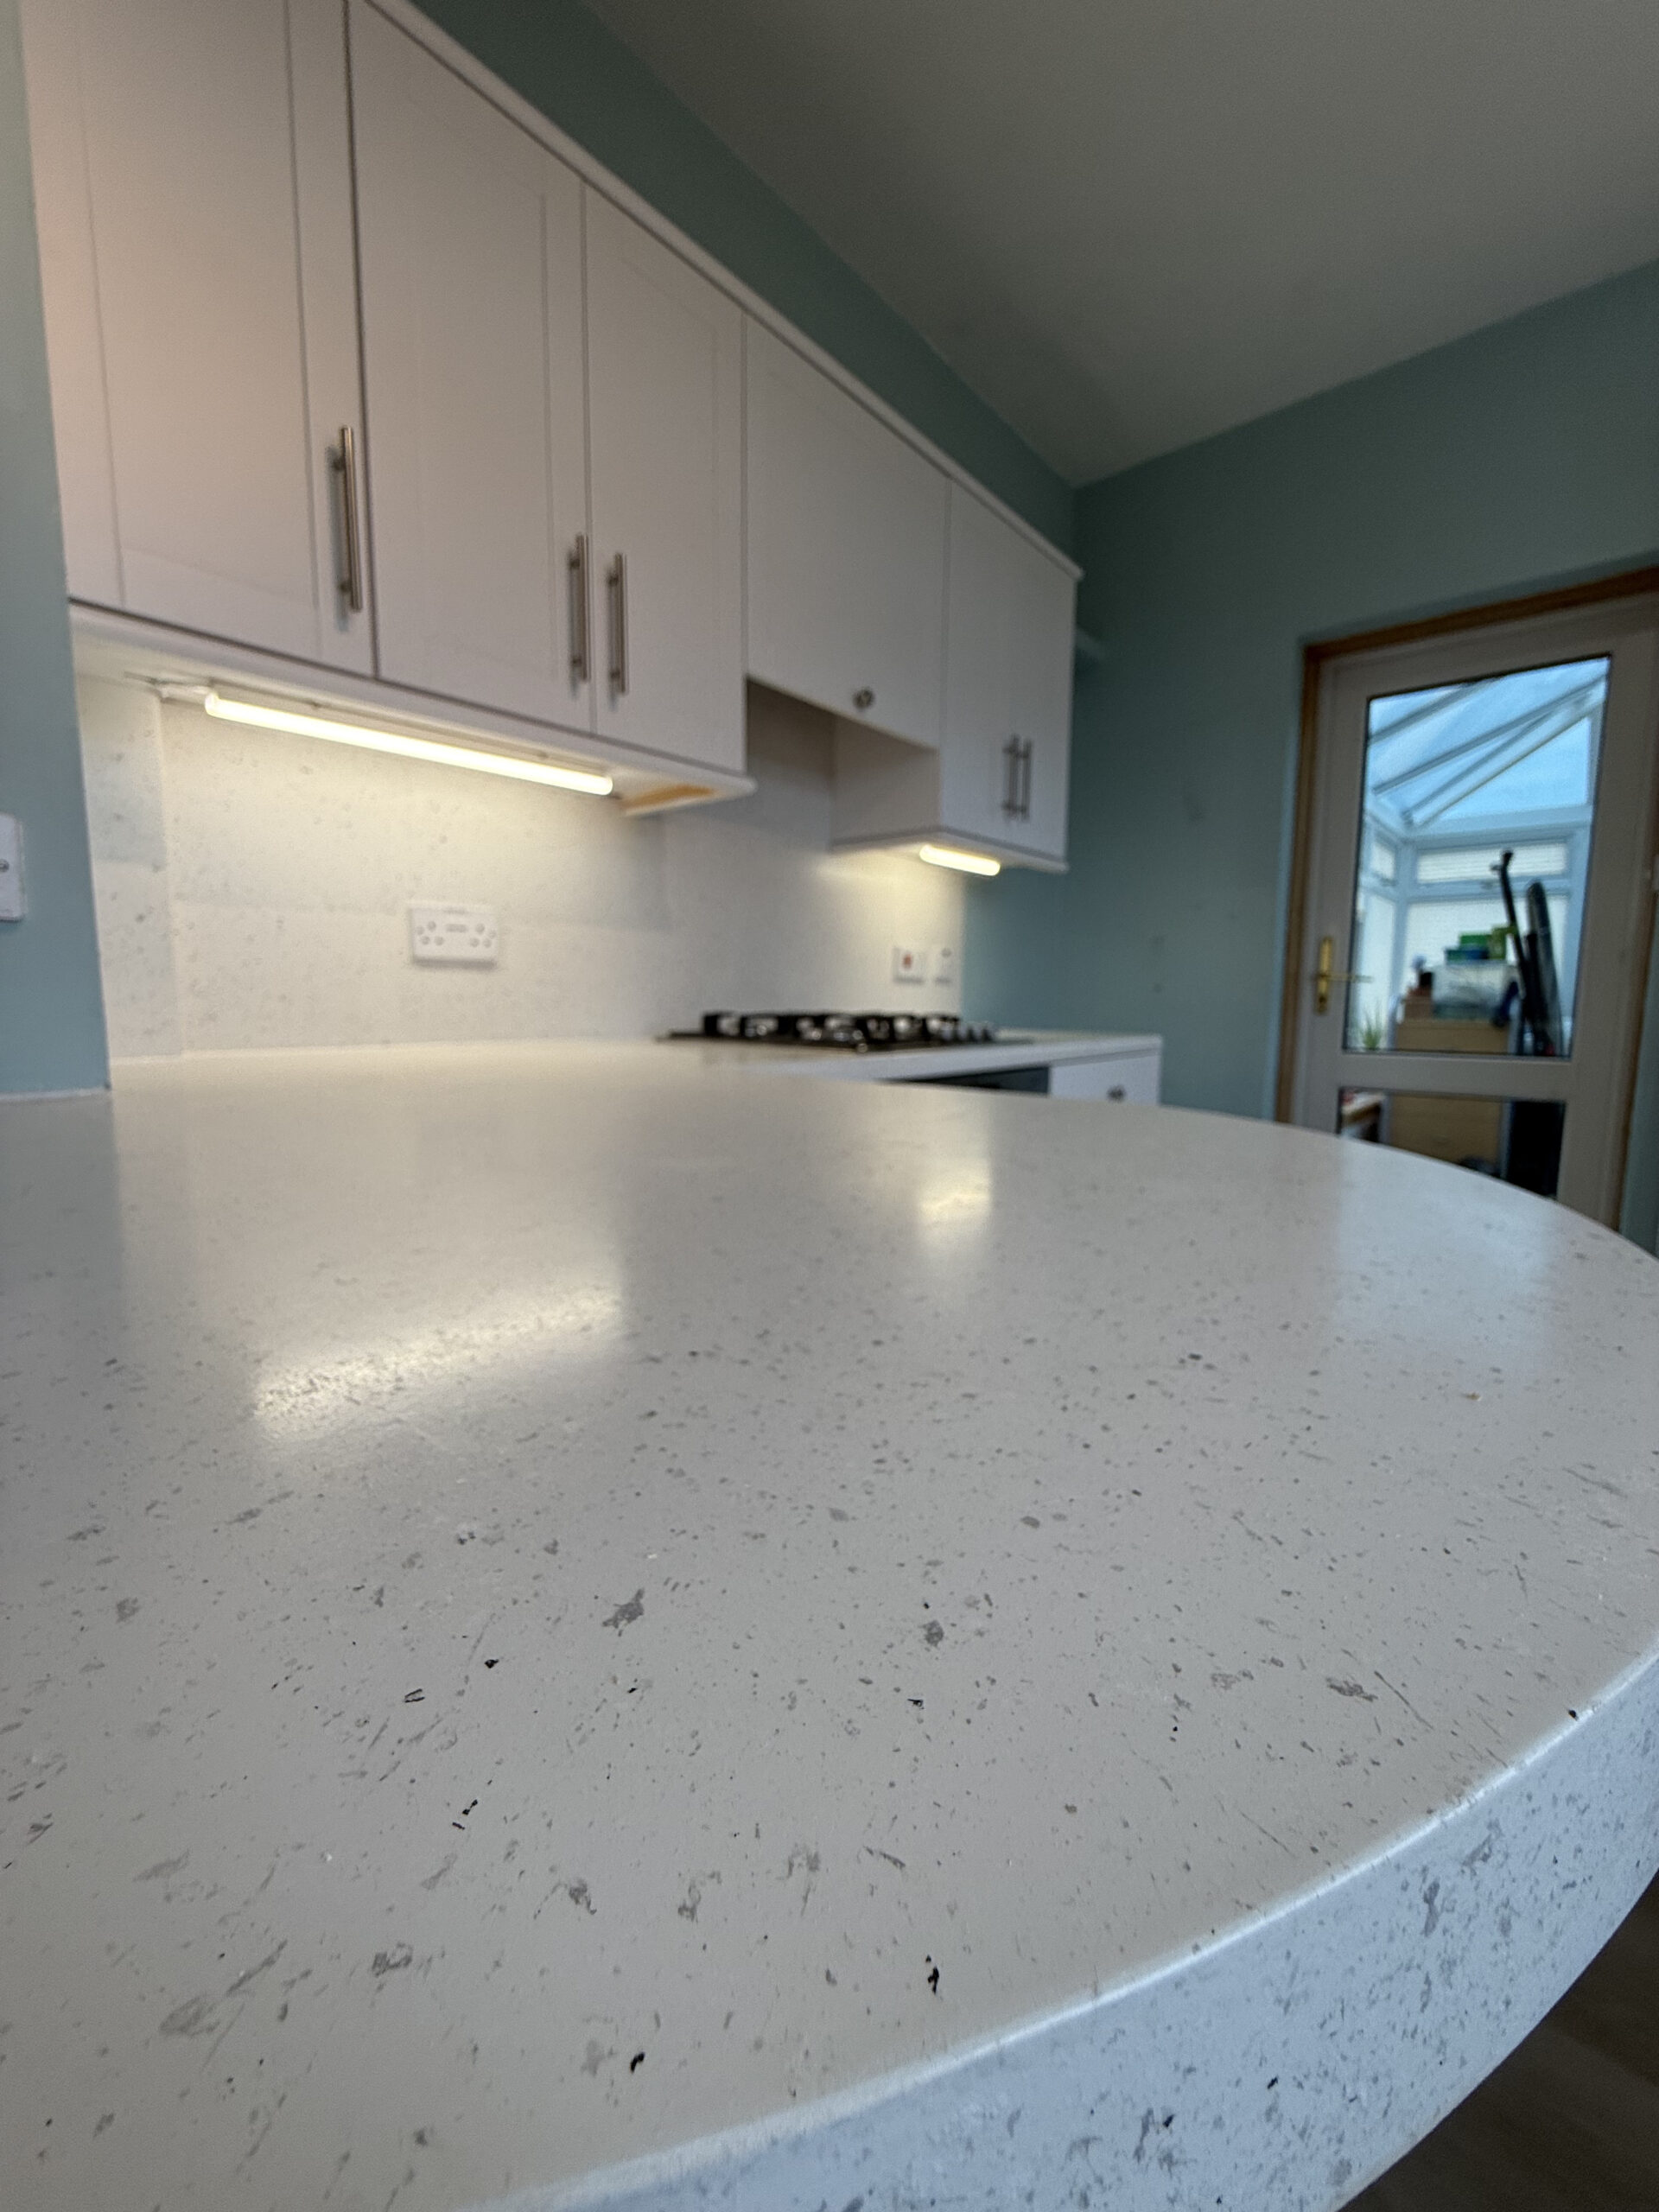
The worktops and window sill were refinished using the Spray Granite system. We began by removing the existing silicone and, where needed, disconnecting the hob and sink. All surrounding areas were carefully masked. After sanding, degreasing, and carrying out any minor repairs, we applied two coats of self-priming base colour, followed by a Mist Cast of Granite flakes, and sealed everything with two coats of ArmourGuard for long-lasting protection. New silicone was applied to all joins (colour to be confirmed).
We used the same Spray Granite process for the splashback and tiled areas: removing socket covers, masking, applying Fusion primer for better adhesion, base coating, granite flake application, top sealing with ArmourGuard, and finishing with new silicone.
We also installed LVT Rigid Core flooring in both the kitchen and dining room. This involved preparing the subfloor, cutting and laying the panels, and sealing edges with matching or white silicone for a neat, professional look.
Finally, we carried out some custom joinery work by removing existing shelves and installing six new white board shelves, ensuring everything was levelled and securely fixed.
The result?
A fully restored kitchen with a durable, stylish, and modern look – designed to handle everyday use while enhancing the space with a premium finish.